$100 Room Challenge : Week 2 Shiplap
I’m back to show you some major progress in week 2 of the $100 Room Challenge hosted by Erin over at Lemons Lavender and Laundry! If you missed my post from week one, you can click HERE to see my inspiration and read all about my plans for our master bedroom makeover.
Week 2
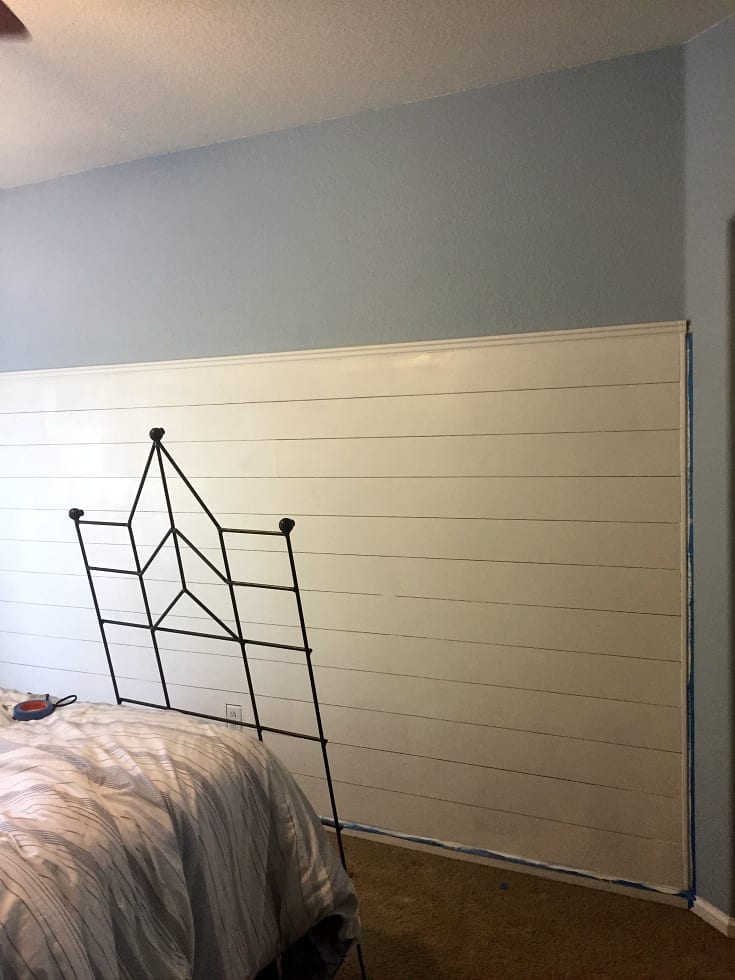
So far I haven’t gone crazy! This past weekend I decided to jump right in and go with some faux shiplap for the wall behind our bed. I know what you are thinking…this wasn’t even in her original plan! However, when I suggested that I wanted to paint stripes on our wall (like my inspiration photo) my husband wasn’t too excited about that. Of course that got my mind racing and thinking of inexpensive wall ideas that I could accomplish myself! After brainstorming ideas with my sister I decided with her help that faux shiplap would be the best for my budget.*This post contains affiliate links.
Faux 3/4 Shiplap Wall
I call it faux because to achieve the planked look of shiplap, I used sheets of plywood rather than real wood or tongue and groove boards. Here is how I did it (Or more accurately, here is how my brother in-law helped me do it).
The Steps
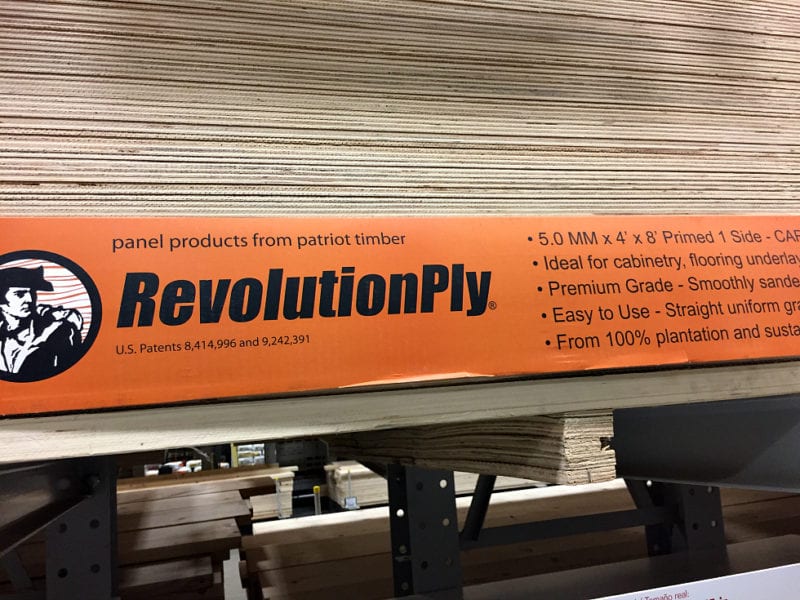
- I purchased plywood sheets at our local Lowes store. I looked for their cheapest boards and lucked out with these super thin ones that were already primed! The boards are by RevolutionPly. I was super excited about this because that means the plywood was ready to go!
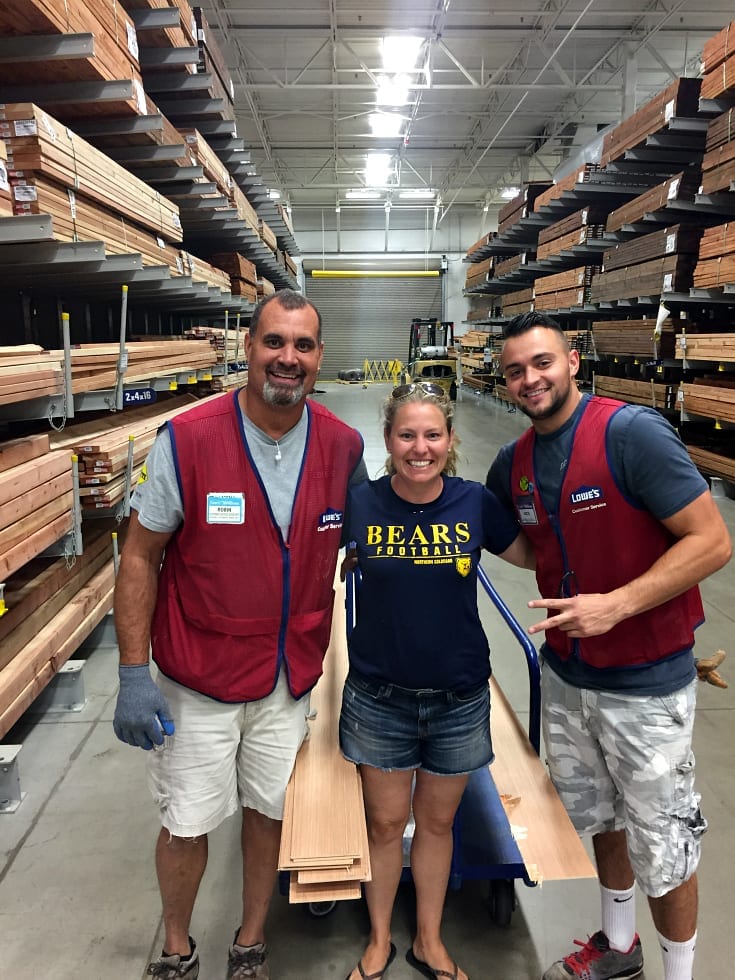
These are the exact sheets that I used! - Next, I had Lowes cut/rip the plywood for me (which is FREE!) The two guys who helped me were awesome! It took a bit of sweet talking, but once they understood the vision they were on board (no pun intended)! I wanted each plank to be 6 inches wide. To account for the cuts, I had them do 5 7/8 inch cuts/rips. My sister was the brains behind the math since she and her husband have shiplapped several rooms in their home! I couldn’t have done this with out her and was thankful she knew what to ask for!
Here I am with Robin and David at Lowes! You can see the planks behind us! - Once I got them home I sanded them. Honestly they didn’t need too much sanding which was also a nice bonus!
- Like I mentioned above, my brother in-law was so kind to help me out on this project! His payment came in the form of pizza and beer which I thought was amazing and so did he! He started off by marking the studs in my wall. He then nailed two trim pieces on the left and ride side of my wall so the planks would have the perfect spot to butt up against. We had to do this since my walls have rounded edges on one end. My wall is 13 feet long and each plank was 8 feet long. So there was some cutting involved and the boards ultimately went up like a puzzle.
- We used a nickel for consistent spacing between planks.
- Once we got to the top which was 3/4 up the wall, we nailed in a trim piece with a bit of a ledge to give the shiplap a finished look. I might try to set some art on top of it!
- That’s it for the shiplap part! It wasn’t too bad..at least for me. I owe my brother-in law and sister big time!
Finishing Touches
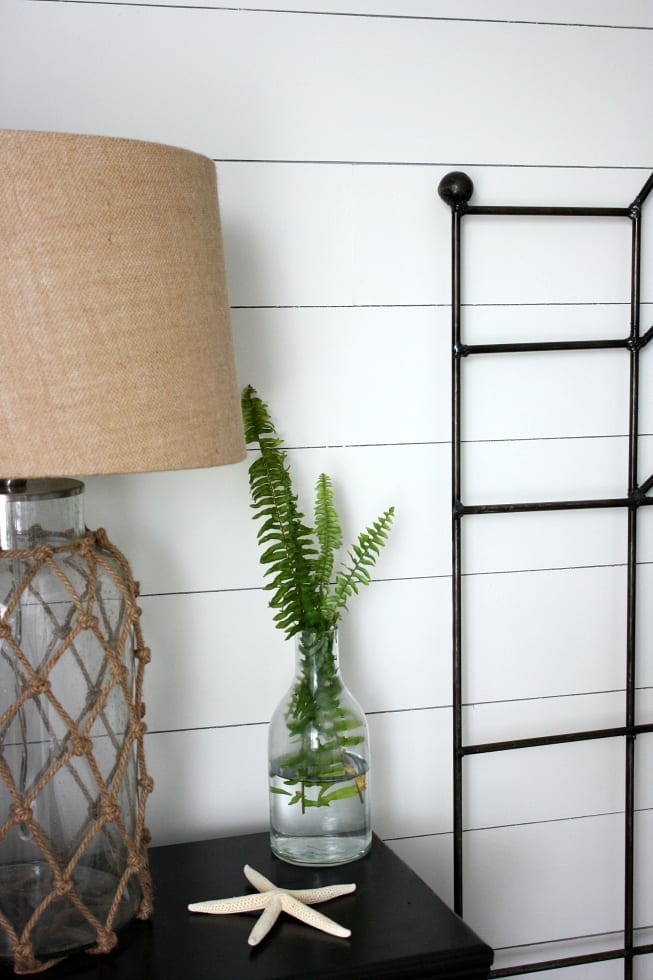
Next I had to caulk some gaps and paint it all. Luckily I had the caulk from a previous project and the left over (Alabaster) paint from Sherwin Williams that we used to paint our whole interior. (You can check out that amazing paint transformation HERE!)
Bed Skirt
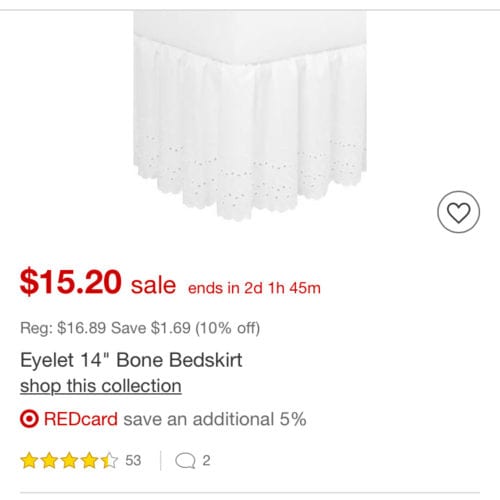
I also had time this past week to search for a bed skirt since I hate our current brown one. I was able to find one at Target for only $15! Amen and yes please! It was on sale plus I used my Red Card for free shipping! It will be delivered soon and I can’t wait to see it on our bed. Meanwhile here is a picture I snapped of it!
The Budget
So far this is what I have spent…
Plywood board 3 x $15 = $45
Trim for the top 2 x $7 = $14
Trim for the sides 2 x $3 = $6
Bed Skirt $15
Paint/Tools- I already had! (Thank goodness)
_____________
Total : $80
Left- $20
Next Up
Looks like I am going to have to get very creative and squeeze every last penny out of those last $20 I have left! Yikes! Luckily I LOVE the wall! Join me next week to see what else I do and to see if I decide to paint the metal pieces behind our bed.
xoxo,
Kelly
/Week 1 / Week 2 / Week 3 / Week 4 /
Don’t forget to look at the progress of the other bloggers in this challenge! Just click on the pictures below.
Also linking up over at Finding Silver Pennies and Little Farmstead !


Its looking great so far, Kelly!!
Thanks Jordan!
This looks fantastic! You do owe your sister and especially your brother-in-law! Can’t wait to see the finished room!
Thanks mom! I owe them BOTH big time!!!
You are doing such an awesome job! The shiplap wall looks amazing. I love how you were able to do it creatively for less money! You are lucky to have such helpful family members! I can’t wait to see how you are going to spend the last $20! ❤️
Sheri you are so encouraging! Thank you! I am so lucky to have handy family members for sure. I have no idea what the last $20 will go towards!
The shiplap wall looks amazing and $80 was a great deal for such a big feature. I can’t wait to see it all come together!
Yes it is amazing what $80 can get you! Thank you Tracy!
Oh my goodness, this looks AMAZING!! I cannot believe you were able to create a shiplap wall with plywood. So excited to see how the rest of the room turns out!
Thank you so much! Who knew plywood was so easy to work with? Thanks for checking it out!
Looks awesome! The girl married to that guy who did this for you must be pretty lucky 😉
Thanks! Yes, she is very and lucky indeed!
For one of our challenges I “paid” my husband’s friend with lasagna for helping to move a dryer down the stairs 🙂 You know, since we only have $100 to spend, we can’t afford to actually PAY people… The shiplap looks gorgeous in here, and you are doing amazing on your budget!
Thanks Erin! A girls gotta do what a girls gotta do!
What great progress you’ve made! Can’t wait to see more next week!
Thank you! It was such a fun project…that shiplap wasn’t too hard either!
That shiplap is brilliant, especially the part about getting the guys at Lowes to cut it for you! It’s looking great!
Thank you Meredith! They were awesome and I couldn’t have done it without them cutting it!