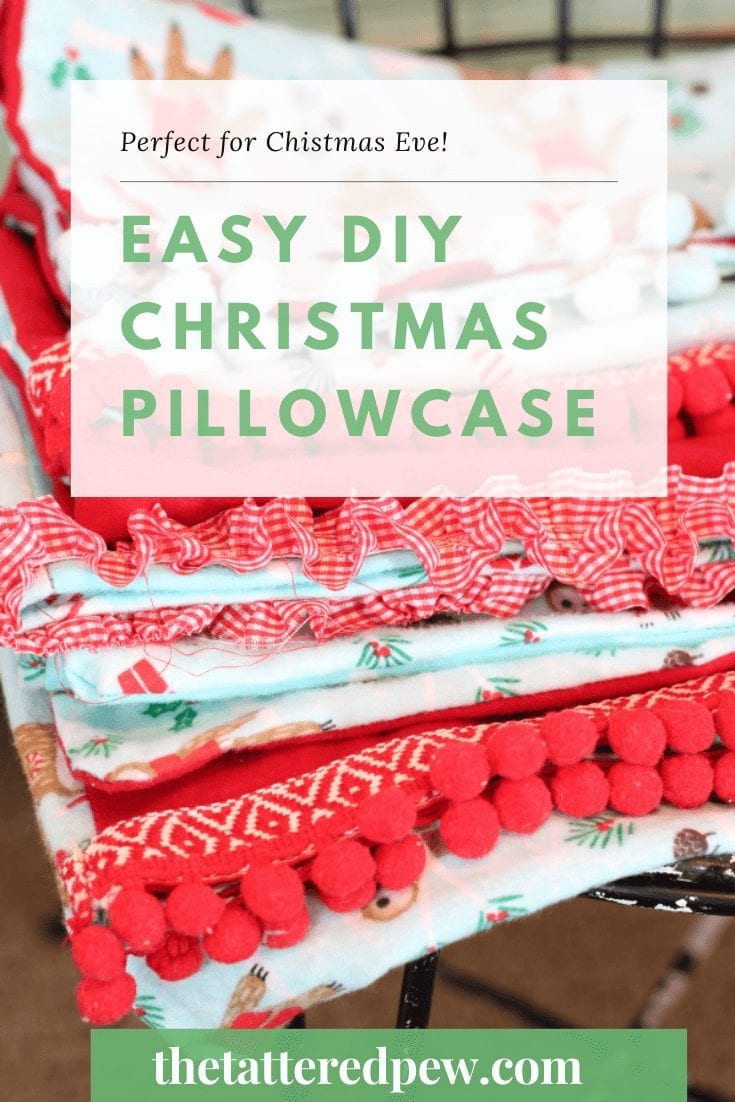
Easy DIY Christmas Pillowcase
Christmas is the perfect time for creating meaningful and special gifts for those you love. Why not try this easy DIY Christmas pillowcase? They are a simple project that even a beginner sewer can make and they can be customized for that special someone in your life!
Now that it’s November I have started planning my Christmas decor as well as some fun Christmas DIYs. Today I am joining Krista from the Happy Housie , and some some of my talented blogging friends for our first Christmas Seasonal Simplicity post of the year. We’re all sharing our holiday DIY or craft projects with you today! Be sure to check out these creative ideas linked at the end of my post.
Easy DIY Christmas Pillowcase
Each year our family opens pajamas on Christmas Eve. It’s a tradition I grew up with and I love that we have continued this tradition with our own kids!
This year I wanted to add the new tradition of a special homemade Christmas pillowcase. I’ve thought about it for a few years now but never really thought it was something I could do since I am not a sewer.
Well after mentioning this idea to my mom and sister they both convinced me that this was an easy sewing project with simple steps. Since I don’t own a sewing machine they were both kind enough to help me complete this project.
Here Is What You Will Need to Make A Pillowcase
- sewing machine
- the fabric of your choice (we used flannel Christmas fabric from JoAnn. I suggest using 100% cotton or flannel if you are a beginner) You will need 2 yards of 44″ fabric (for 1 pair of Standard Cases)
- matching thread
- fun trim
- scissors
- measuring tape or long ruler
- iron
- quilting pins
- an older pillowcase to use as a template
Getting Started On Your Pillowcase
First it’s very important that you make sure you measure your pillows or check their labels to find out their size before you begin this project.
Here are the standard sizes for pillows:
Standard: 20 x 26 in
Queen: 20 x 30 in
King: 20 x 36 in
-
If your pillows are not the size as the ones above do the following to create your pattern:
Width: measure the width of the pillow multiply by 2, then add 2.5″
Length: measure the length of the pillow and add 10″
Choosing Your Pillowcase Fabric
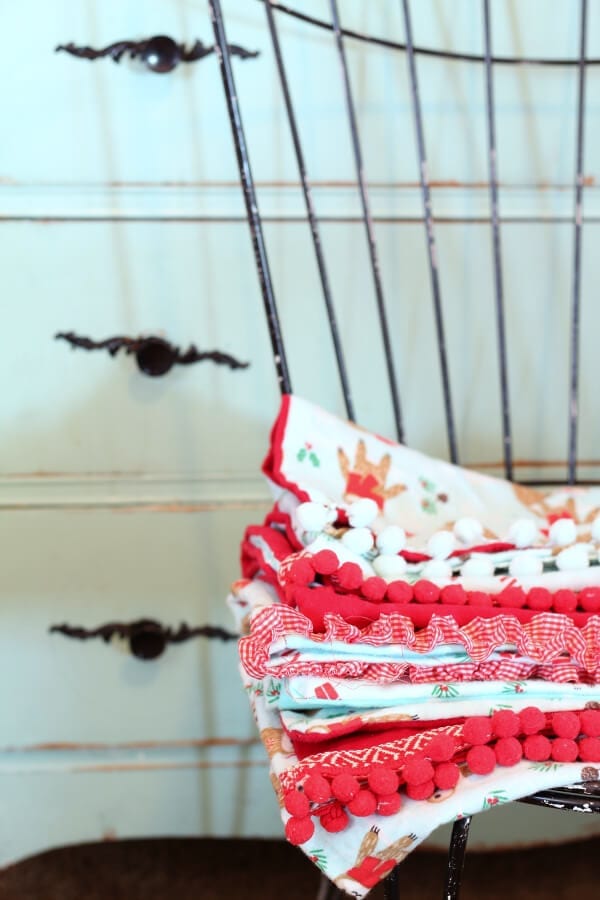
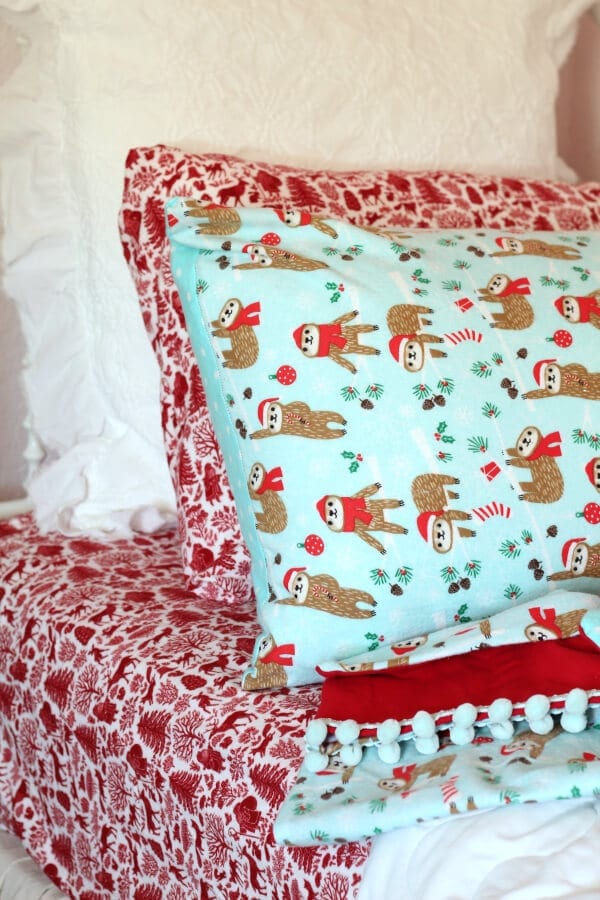
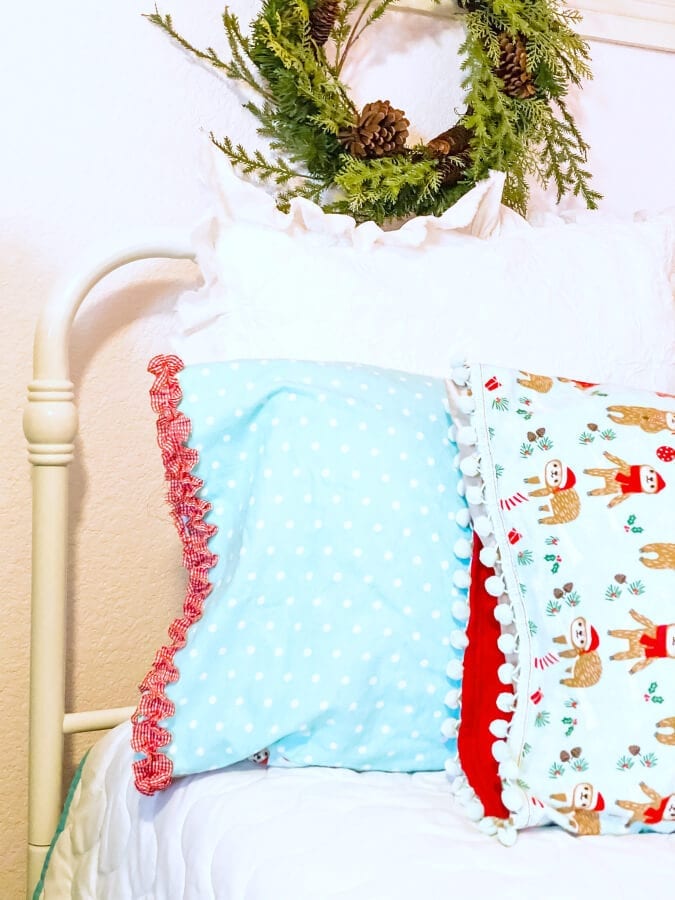
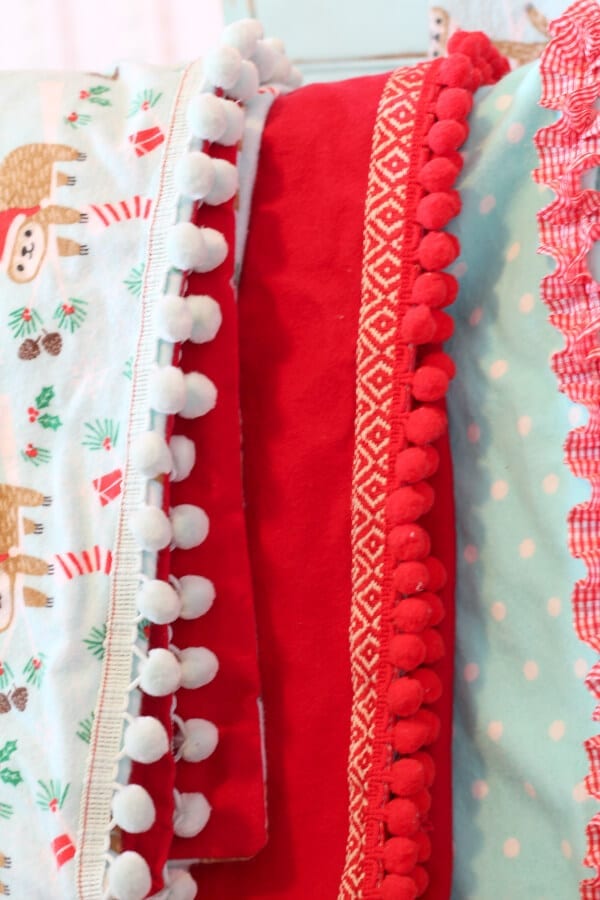
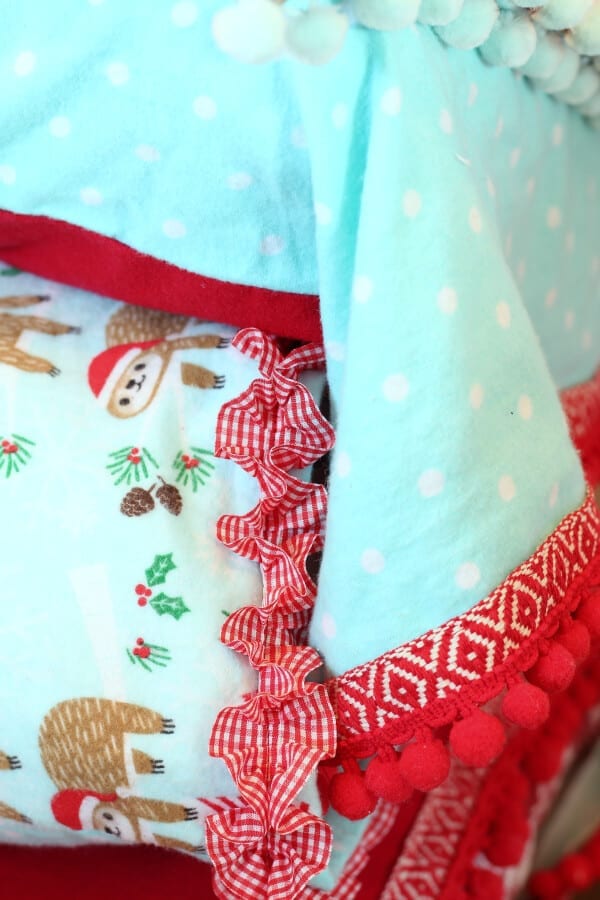
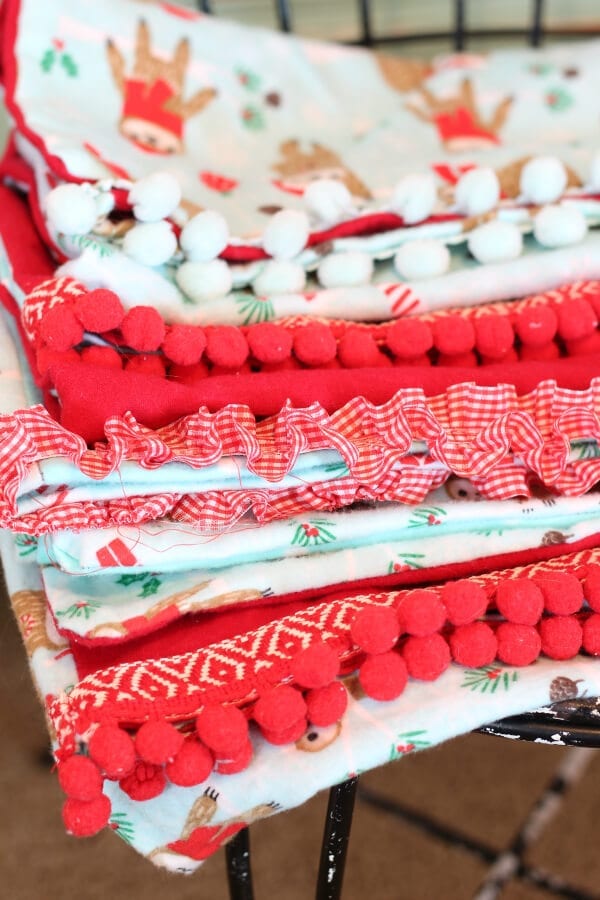
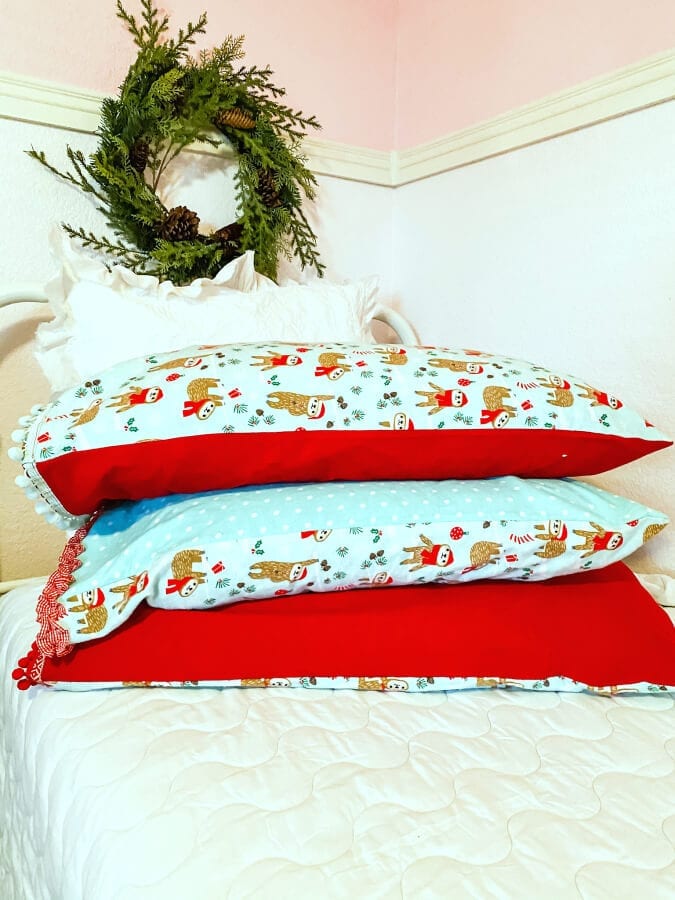
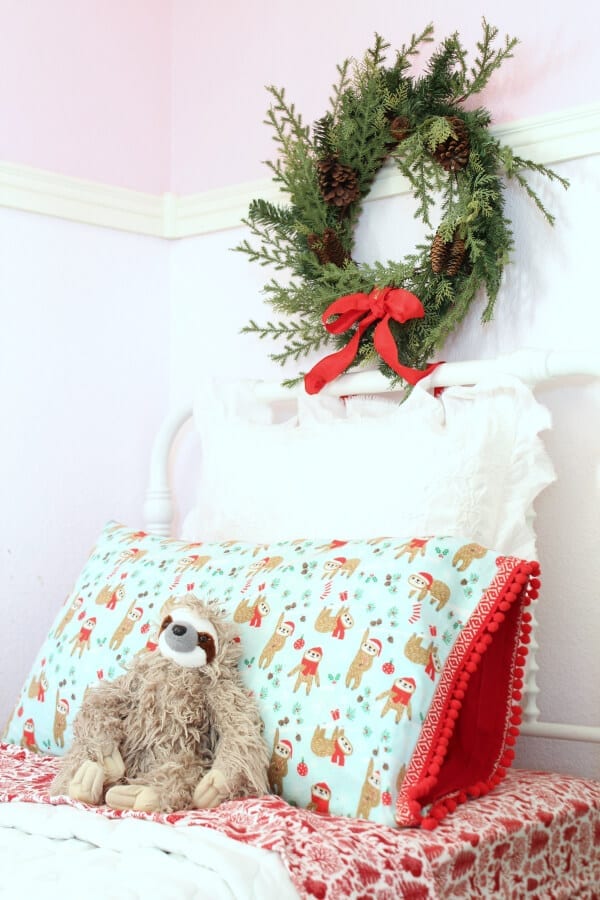
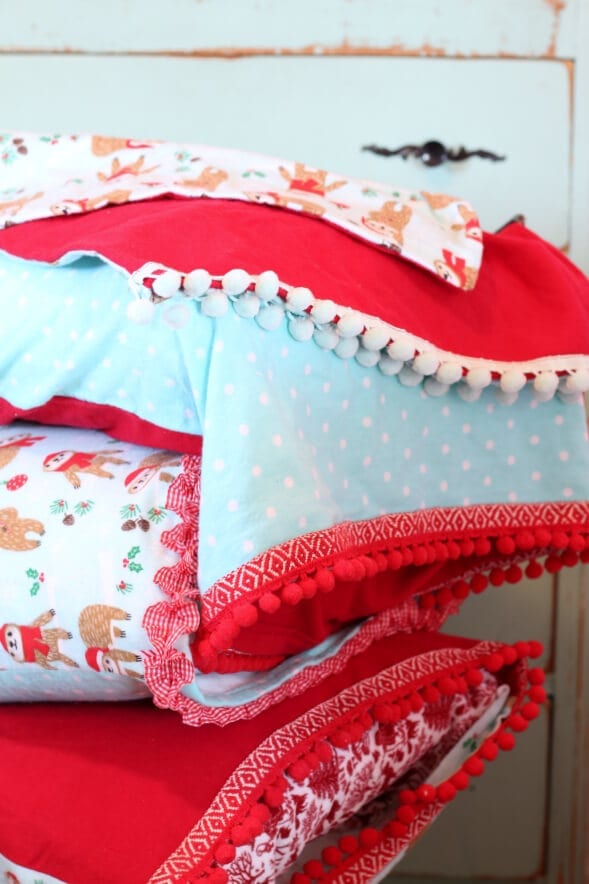
Next, decide what fabric you want to use. I had so much fun choosing the fabric for these pillowcases we made. My youngest loves sloths and her room has several of these fun bright colors. We shopped the Christmas flannel section at JoAnn and they had so many awesome patterns to choose from. Ultimately we chose 3 different patterns and chose to mix and match these on the fronts and backs of the cases for a fun whimsical feel. The extra special touch came in the form of adding some fun trims to make each pillowcase special!
How To Make a Christmas Pillowcase
So friends here is the low down easy version from someone who knows absolutely nothing about sewing. And I want to be clear, I am in no way proclaiming that I am an expert sewer. If you know me you know that I am not detailed oriented and I’m ok with things not being perfect. 🙂 So my method is mostly by sight. I would highly recommend checking out this pillowcase tutorial HERE for a true pattern for those of you lean more towards following precise steps.
Find a pillowcase that you know fits your pillows and take it apart to use it as a template. Then just like I mentioned above, measure the width of the pillow multiply by 2, then add 2.5″. For the
length, measure the length of the pillow and add 10″.
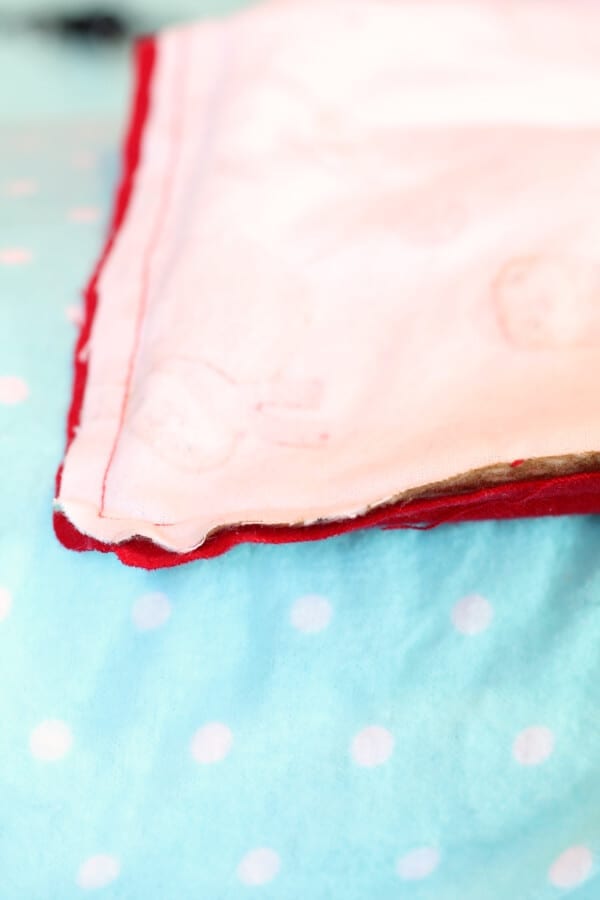
Once you have your fabric cut and measured. Turn the fabric to the wrong side/un-patterned side and match your two sides up. Placing each piece of the fabric on top of each other. If you have quilting pins use these to hold the sides together.
Next, line up the fabric so your needle is about 1/4-inch in from the edge of the fabric. Then guide it through. Run the machine for a few stitches, then use the button to run the machine/stitch backwards to where you started. This will secure your stitch so it doesn’t unravel. Switch it back and continue stitching and removing the pins as you go. Sew along the 3 sides turning your fabric as you go. You are almost done!
Adding The Trim
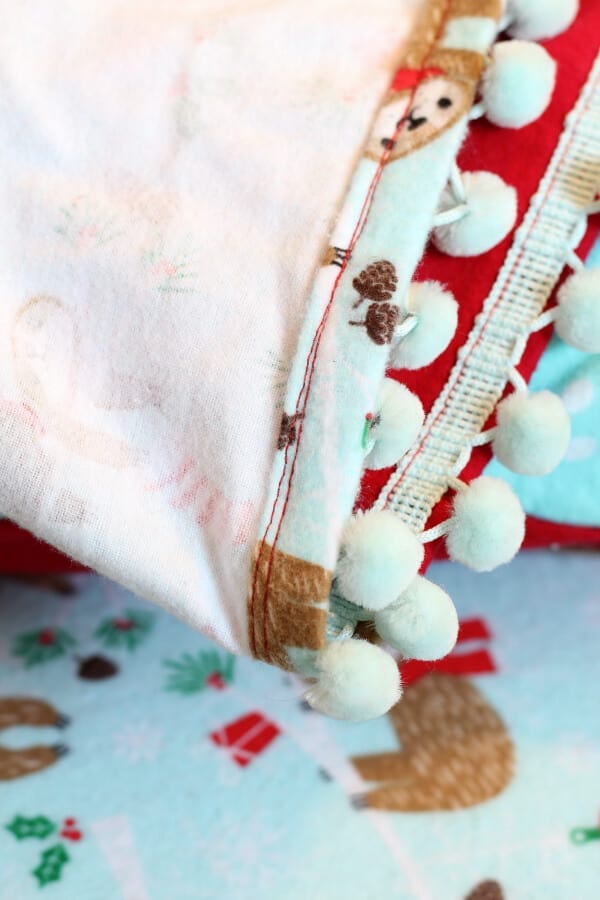
Now for the finishing touch! On the unfinished end turn it under a quarter inch and press it with an iron. Then turn it under again, press it again with your iron and then stitch that down to give the open end a finished look. and it will look like a pillowcase now!
Still wrong side out, clip a tiny bit of the corners off to make them cleaner. Once all three sides are done make sure to trim the corners and take away any unnecessary fabric. Then turn the pillowcase back to the patterned side. Now the edges will be inside the case.
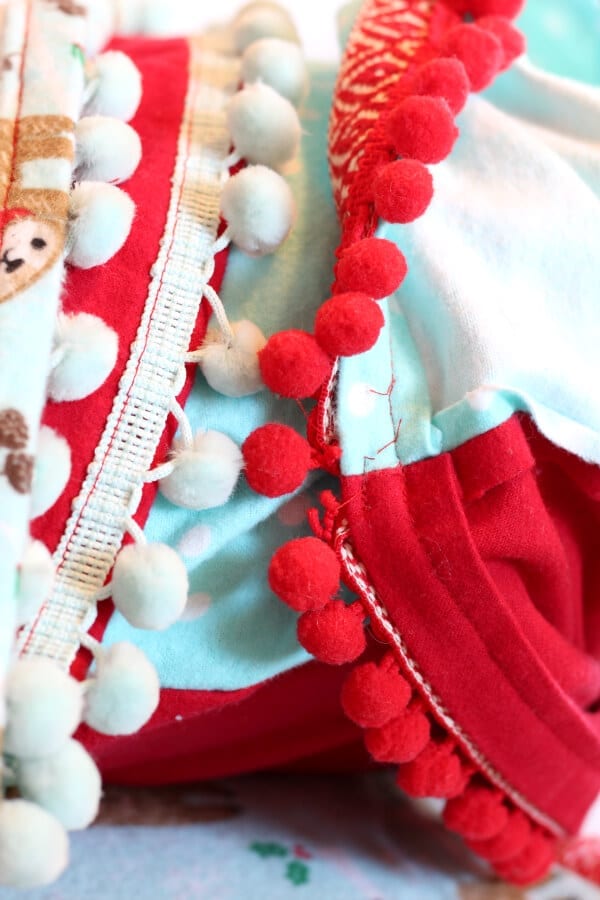
Finally, stitch trim on the correct side! This will create a fun accent to the end of your Christmas pillowcase. This is where you can have a little fun with mixing and matching colors and trims!
Easy DIY Christmas Pillowcase
Didn’t they turn out so cute? I’ve gone back and forth on if I should wrap our Christmas Eve pajamas in the pillowcases or just wrap up the pillowcase itself. Either way they are the perfect little gift to give your little ones to rest their heads on as they dream about Santa!
I figured if I shared these easy DIY Christmas pillowcase early enough, you would have time to make some for this Christmas! So what do you think? Will you be adding these to your Christmas traditions this year? Come see them in the girls room all decked out for Christmas!
XOXO,
Kelly
Today I’m joining some of my talented blogging friends for our first Christmas Seasonal Simplicity post of the year. We’re all sharing our holiday DIY or craft projects with you today! Be sure to check out these fabulous ideas by clicking on the links below each image.
How to Flock Natural Greenery at The Happy Housie
DIY Winter Village Wreath at Modern Glam
DIY Christmas Jingle Bells Hanging Decoration at Zevy Joy
Modern Organic Christmas Wreath at Cherished Bliss
Air Dry Clay Christmas Star Lights at Clean & Scentsible
Anthropologie Inspired Holiday Felt Wreath at Tatertots and Jello
Polymer Clay Christmas Village at Life is a Party
Free Advent Calendar at The Handmade Home
Embroidery Hoop Love Sign at Craftberry Bush
Jingle Bell Wood Bead Garland at Lolly Jane
Homemade Pom Pom Garland at Sincerely, Marie Designs
DIY Dollar Tree Succulent Christmas Tree at The DIY Mommy
DIY Christmas Advent Calendar at She Gave it a Go
DIY Faux Leather Trees at My Sweet Savannah
DIY Orange Hoop Wreath at Cassie Bustamante
Easy DIY Christmas Pillow Case at The Tattered Pew
3D Hot Cocoa Sign and Printable at Rambling Renovators
DIY Elf House at Dans le Lakehouse
Farmhouse Style Holiday Wood Banner at Home Made Lovely
Joanna Gaines Inspired Christmas Village at Fynes Designs
Christmas Canvas at Two Twenty One
Modern Whimsical Snowflake Christmas Tree at This is Simplicite
DIY Holiday Cutting Board at Joanna Anastasia


these are adorable- I love the sloth especially!
Thank you Cassie!
Kelly, These are soooooo cute!!! Maybe I should bring up the brand new sewing machine I have sitting in my basement because I was going to learn to sew last year…😂😂😂
Oh my gosh you totally should!!! Ha ha These are so simple. Maybe I need to actually buy a machine now too!
These are so adorable, Kelly! We have a Christmas eve tradition that we started a few years ago with our girls and it is so fun. We do PJs too along with snacks like popcorn and hot cocoa and either a new movie or book.
I just love Christmas eve traditions! Yours sounds like so much fun too!
These are so sweet! I especially love the pom pom trim.
Aa thanks Tanya! The trim made them extra fun for sure!
These are just the cutest, Kelly! You did a great job and inspired me. I actually love to sew but don’t sew much anymore but I think I need to make some of these for Christmas this year. Blessings, mb
Thank you so much Mary Beth! The best part if you decide to make these you can customize them to your favorite colors or patterns! Have fun!
I love these so much I think I’ll make some for us!
Yes you should, and I am so glad you like them too!
Anything with Pom Pom’s is the best!!! I love the vibrant colors too. Great job!
Thank you Jenn! The colors have my heart…and the girls love them!
How in the world have I never thought to make cute Christmas pillowcases?! Oh I know, because YOU are creative and I’m not! Love these and am totally surprising my kids (grown ups) with some! They will love it. Hope you will post this over at the Farmhouse Friday link party tomorrow! Pinned
Cindy you are so sweet! Thank you your comment made me giggle and blush! Have fun making them for your kids…these are perfect for any age!
These are so lovely! Definitely adding them to my list of must-do Christmas crafts.
Yay I am so glad you liked them!!!