A Guide to Harvesting Zinnia Seeds
Hey there, fellow gardening enthusiasts! If you’re anything like me, you can’t get enough of those beautiful zinnia flowers gracing your garden. Today is when I finally share my guide to harvesting zinnia seeds!
Their vibrant colors, ease of growing and charming appearances are a true delight, but did you know you can keep their beauty going year after year by harvesting and saving zinnia seeds? I’m here to guide you through the simple steps!
*As an Amazon Associate, I earn from qualifying purchases. This post contains other affiliate links too for your convenience. Click here to read my full disclosure policy.
Disclaimer
Just to be clear, I am by no means a flower expert. I just love getting my hands dirty and sharing what works for me in hopes that it will work for you too. I encourage you to do zinnia research like I did (mainly on google and Pinterest) to see how they will best work for you and your garden zone. We live in northern Colorado which is zone 5b, but these tips are very general and will work for all zones.
A Guide to Harvesting Zinnia Seeds
My zinnia beds are officially almost done for the season here in Colorado and I am truly sad. But luckily that doesn’t mean they are done!
Even though zinnias are not listed typically as perennials they can sometimes reseed themselves which I had several do last year.
But I figured I wanted to have a bit more control of where I planted them. So this year I did some research (that I am sharing with you below) on harvesting zinnia seeds myself. And let me tell you, it is honestly super easy and simple.
Before We Get Started…Don’t Miss My Planting Guide
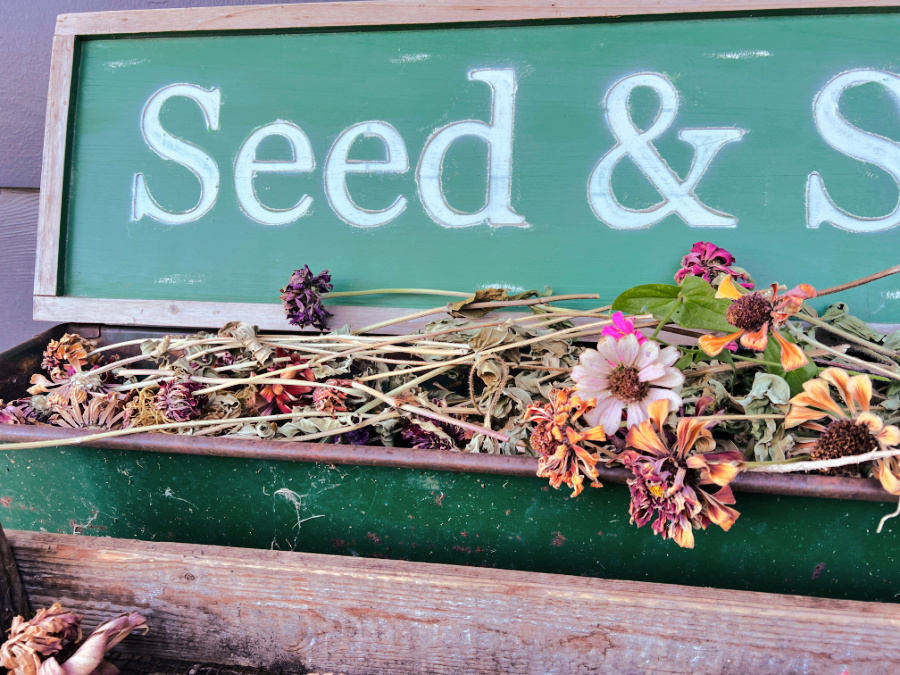
If you haven’t seen my Lazy Girl’s Guide to Planting Zinnia Seeds you will want to visit that post too. It is full of so much helpful information and was the beginning of my love affair with these easy to grow flowers. And if you want a DEEP dive I have The Lazy Girl’s Guide to Growing Zinnias E-BOOK you can find it HERE!
Let’s get started!
Step 1: Wait for the Right Time
First things first, timing is everything. To harvest zinnia seeds, you need to let the flowers do their thing throughout the growing season. The longer they spend on the stem the better chance your seeds are viable!
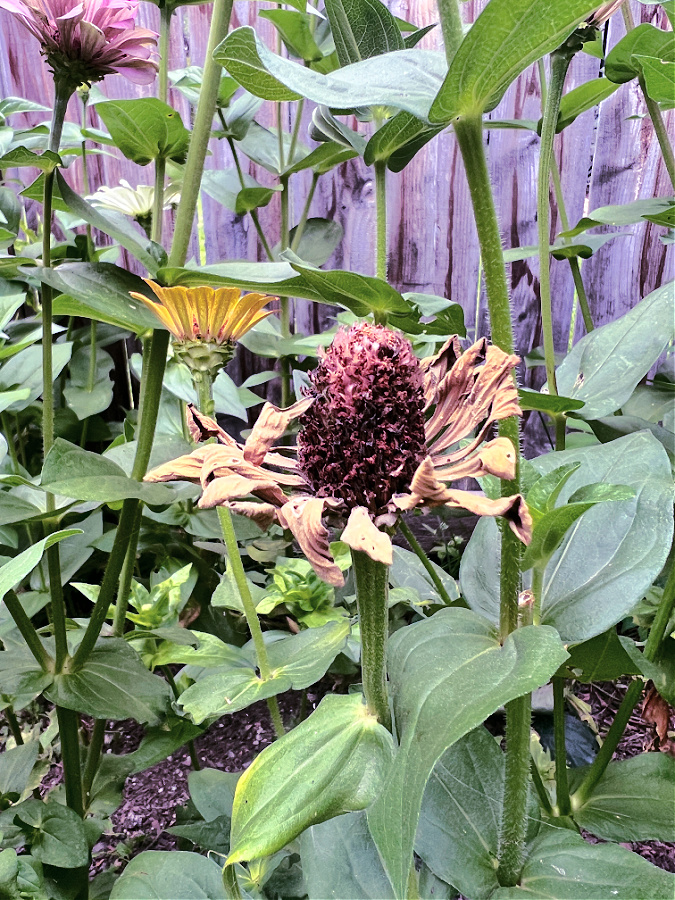
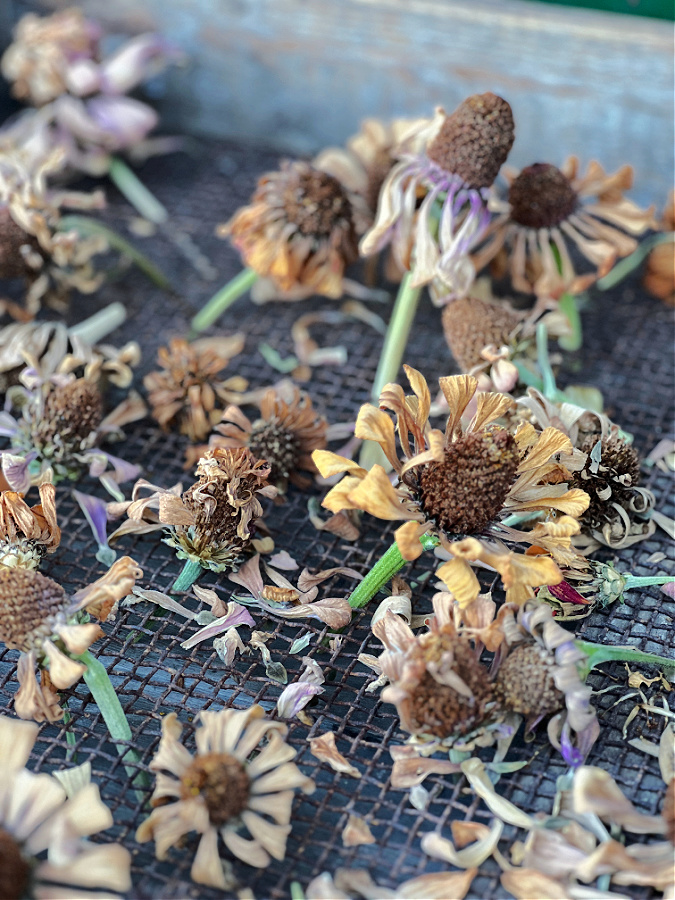
Allow those zinnia plants to bloom and dazzle you with their colorful displays. As the season progresses, you’ll notice the flowers mature, and this is when you should start thinking about seed saving. For best seed harvesting results you should let your zinnias dry out on the stem. They will look spent and usually are brown. Here is a picture below.
Can You Harvest Seeds from Flowers Not Brown?
The short answer is, yes! The long answer is there are ways to see if the seeds of these flowers that still have color are ready . I share how to find out below by trying the petal test!
I do both methods: harvest brown flowers heads and flower heads with some color too. But just know, the longer they are on the stem the better chance your seeds are viable and will grow.
Try the Petal Test
Lazy gardeners, here’s a trick to know if your zinnia seeds are good to go on your flowers still on the stem with color! Before you start saving those precious seeds, let’s do the petal test—a quick and easy way to check if your blooms have been pollinated and can be cut and are ready to dry. Here’s how:
1️⃣ Gently tug on the petals on the underside of a bloom still on the stem.
2️⃣ If the petals easily pull away, leaving behind a firm, thick, dark seed base, you’ve most likely got pollinated seeds!
3️⃣ If the petals are still attached or the seed base is soft, give it a little more time before harvesting or covering.
I like to earmark certain flower heads that I want to save seeds from after I know they have been pollinated (I did the petal test on them). Sometimes birds or pests can get to them so I cover them with organza bags. Then let them get brown in the bag. But TIP: remember to make sure the zinnia has been pollinated before you cover it because you want to make sure your seeds have been pollinated and viable (will grow).
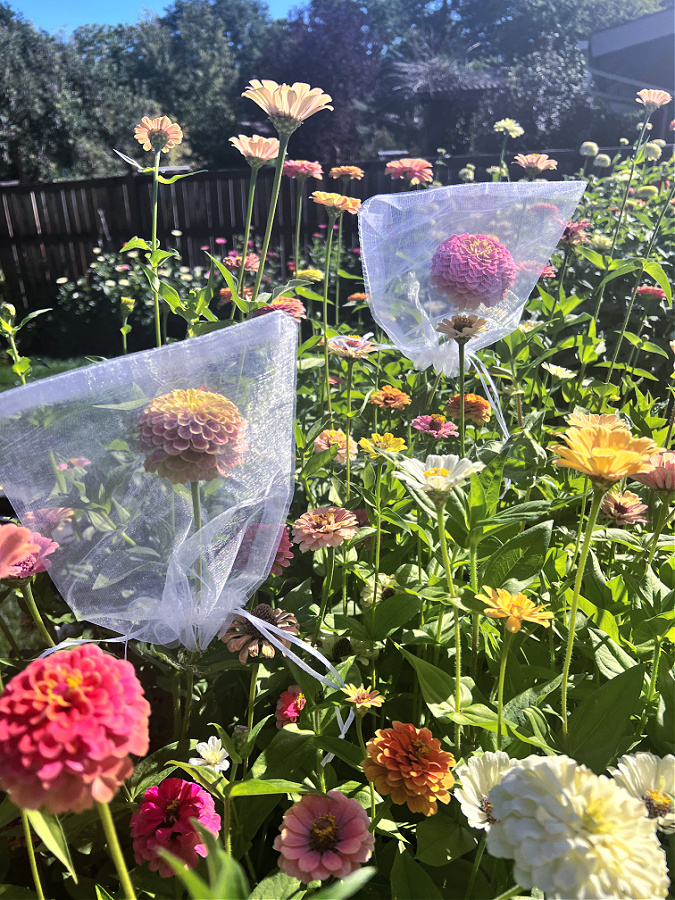
Step 2: Cutting Flower Heads
Once you have earmarked or found zinnia blooms that are ready to be cut you can harvest the flower heads to prepare for drying.
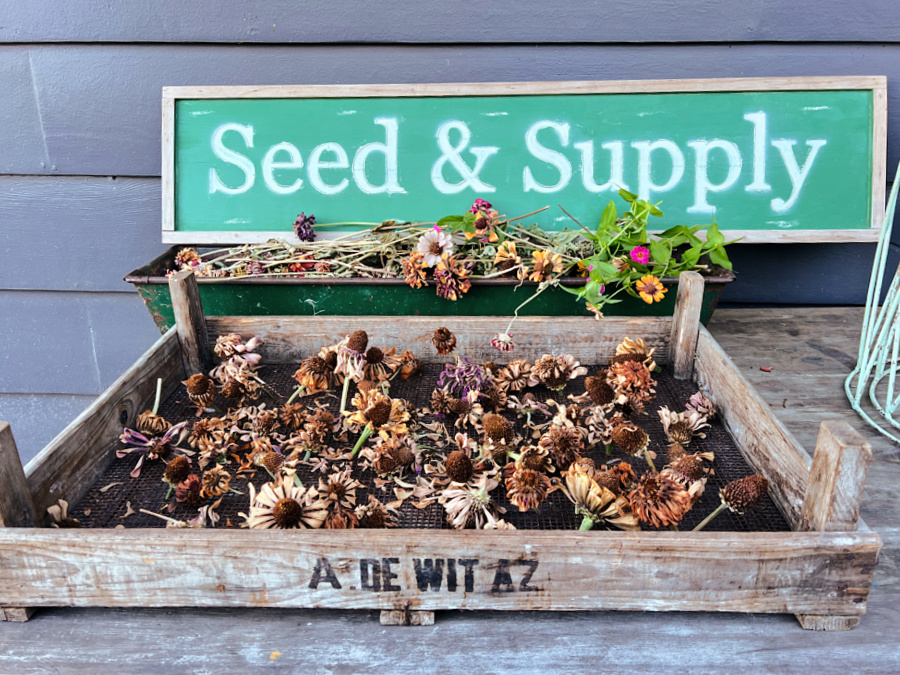
The easiest way to do this is to just snip off the flower heads. No need to keep the stem! Here are my favorite shears to use.
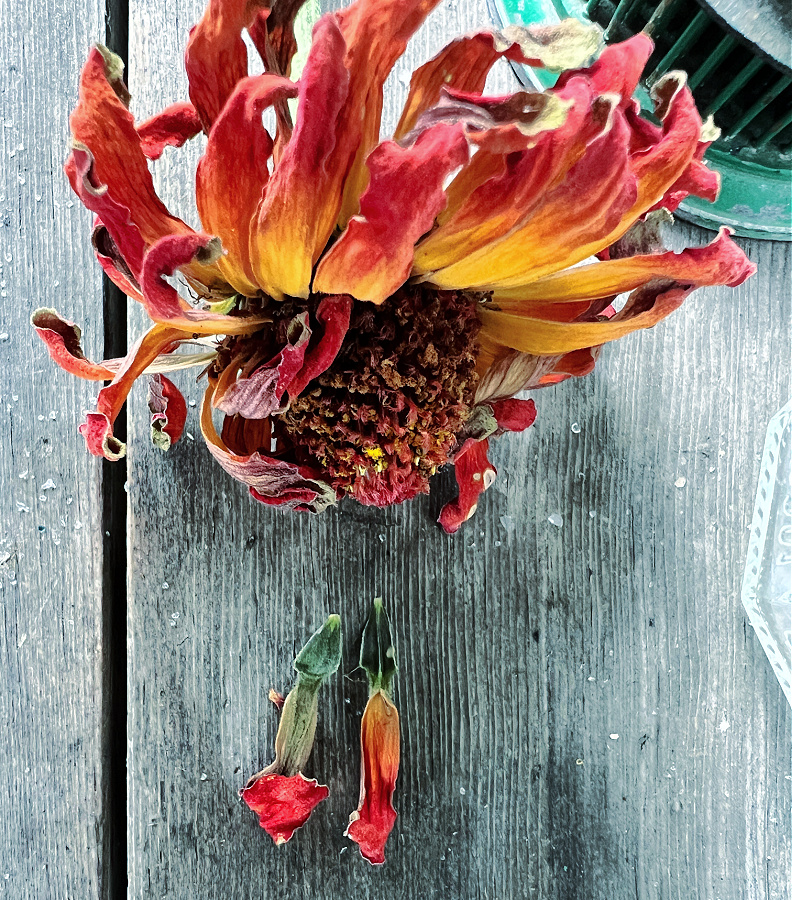
Step 3: Drying Zinnia Seeds or Flower Heads
Place your freshly harvested flower heads (which are full of seeds) in a dry place. I like to use a paper towels spread them out on my counter or dining room table, as it allows for good air circulation while keeping the flower heads contained. I recommend letting them dry for 2-3 weeks so there is not chance of moisture. Zinnias hold a lot of moisture so I always go longer when drying.
Where to Dry Flower Heads
Finding a spot with good airflow and warmth is crucial for drying seeds effectively. Here are some ideal locations you can consider for drying harvested flower heads:
- Near a Sunny Window: A spot that gets indirect sunlight can provide warmth without the intense direct sun that might damage the seeds. Ensure there’s good air circulation to prevent moisture buildup.
- Attic: Many attics have good airflow and are typically warmer than other parts of a home, making them suitable for drying seeds, especially if they’re well-ventilated.
- Airing Cupboard: If you have an airing cupboard at home, this can be a great place to dry seeds. The warm air from a hot water tank can help speed up the drying process while keeping the environment dry.
- Above the Refrigerator: The top of a refrigerator often has a slightly warmer temperature due to the heat expelled by the appliance. This area usually also has adequate air movement, which can help keep seeds dry.
- Near a Dehumidifier or Fan: Setting up seeds to dry in a room with a dehumidifier or a fan can enhance airflow and reduce humidity, speeding up the drying process without adding too much heat.
- Greenhouse: If you have a greenhouse, placing seeds in a shaded area where there is natural warmth and airflow can be effective. Ensure that the area is not too hot and that there is sufficient ventilation to prevent condensation.
- Screened Porch or Covered Patio: These areas usually have good natural airflow and can be ideal if the weather is warm but not excessively hot or humid.
- Table or Counter: I leave mine on my dining room table in a tray! (Pictured below)
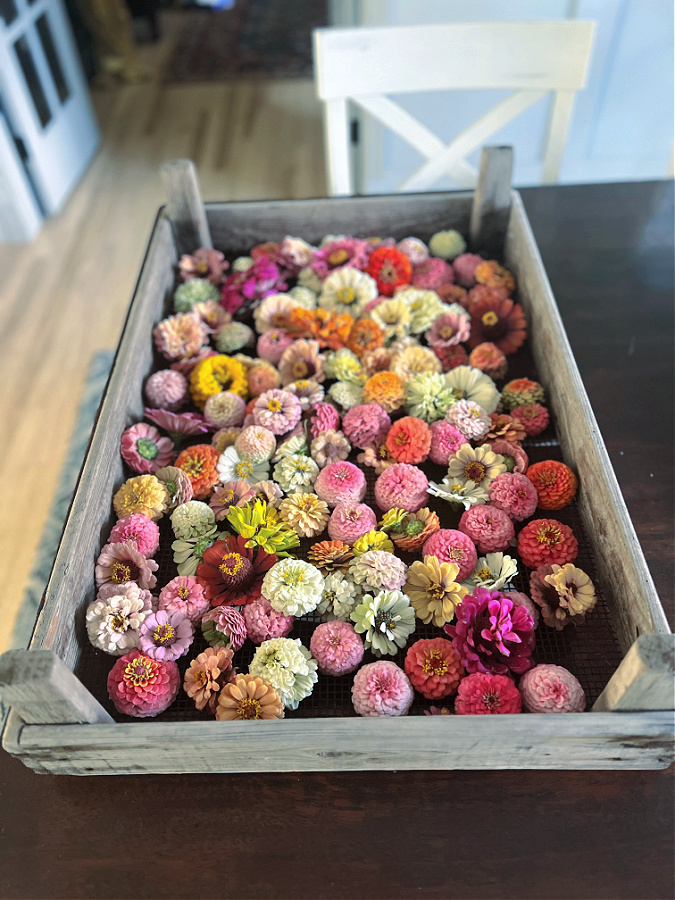
It’s important to regularly check the flower heads in these drying areas to ensure they are not overheating or collecting moisture, which could lead to mold or deterioration.
Step 4: Observe the Seed Heads
Once the zinnia flowers have dried for weeks, you have two choices.
- This is the Lazy Girl Way! I don’t remove the seeds from the dried flower heads and just store them until next year’s planting time. When it comes time to planting I either toss the heads back in the dirt or rub them between my lams over the dirt. So easy!
- Or you can remove all the seeds from the dried flower heads. This takes more time as you have to remove chaf and petals, and debris from the seeds. But is great for gifting!
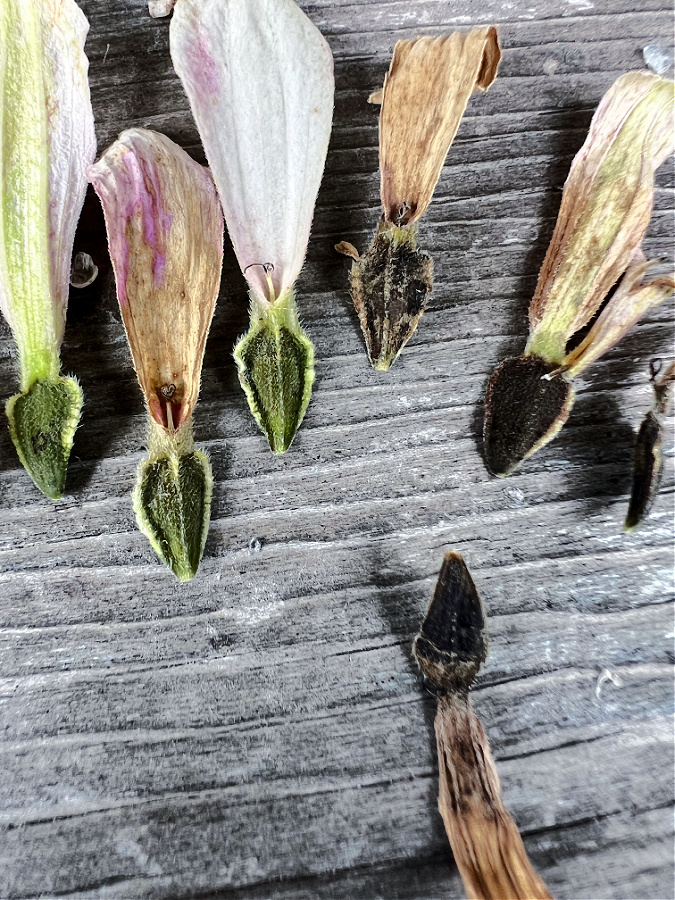
Sometimes I leave the petals on the seeds and call it flower confetti. It’s fun to gift your seeds this way!
Step 5: Harvesting Zinnia Seeds
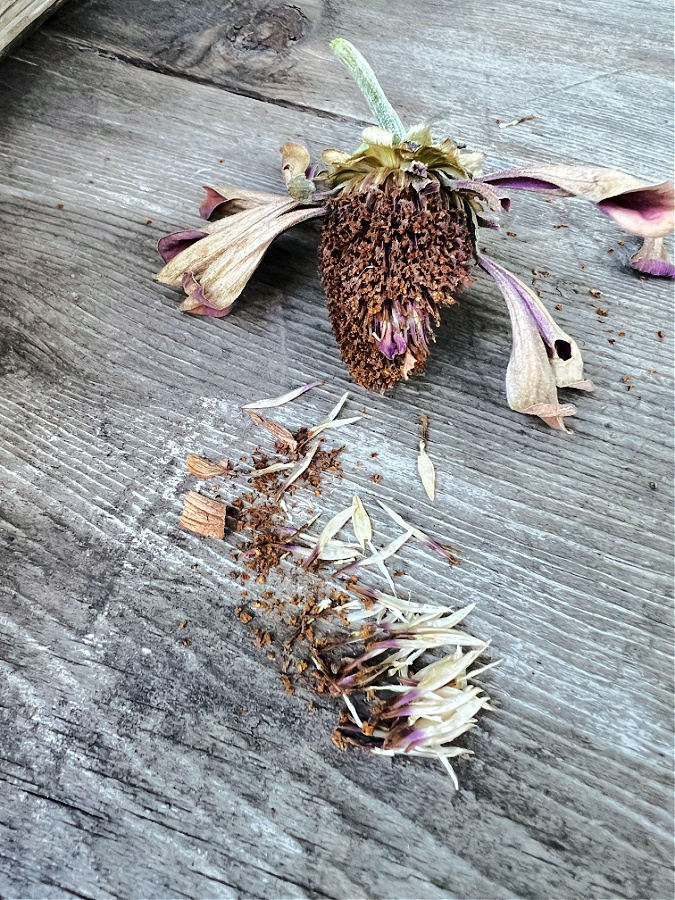
If you opted for choice #2 above then this next section is for you! Now comes the fun part – harvesting zinnia seeds! This is simple also, you can pull the petal off to reveal seeds like seen in the picture above. But that’s not it! There are also seeds in the center cone part.
To remove seeds from the cone simply roll the cone between your palms and let the seeds and chaf fall into a bowl or bucket below. Then separate the seeds. Remember they are arrowhead shaped and should be dark!
Step 5: Saving Zinnia Seeds
Now that you’ve successfully harvested and dried your zinnia seeds, it’s time to save them for future planting.
Place the seeds in a labeled envelopes, organza bags or a container that has some breathability. Don’t forget to note the zinnia varieties and the year you harvested them so you can keep track of your seed collection.
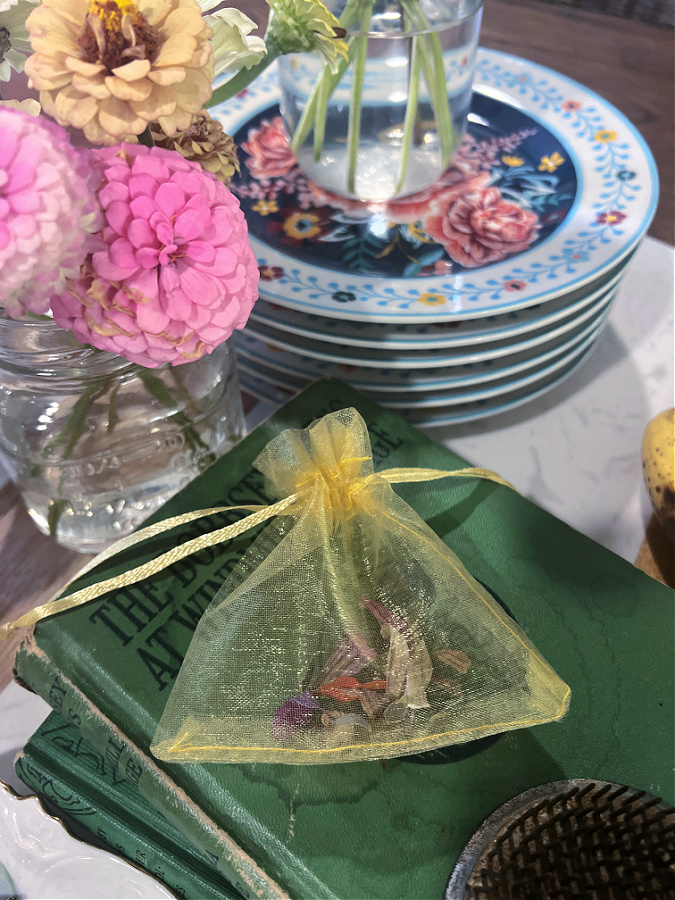
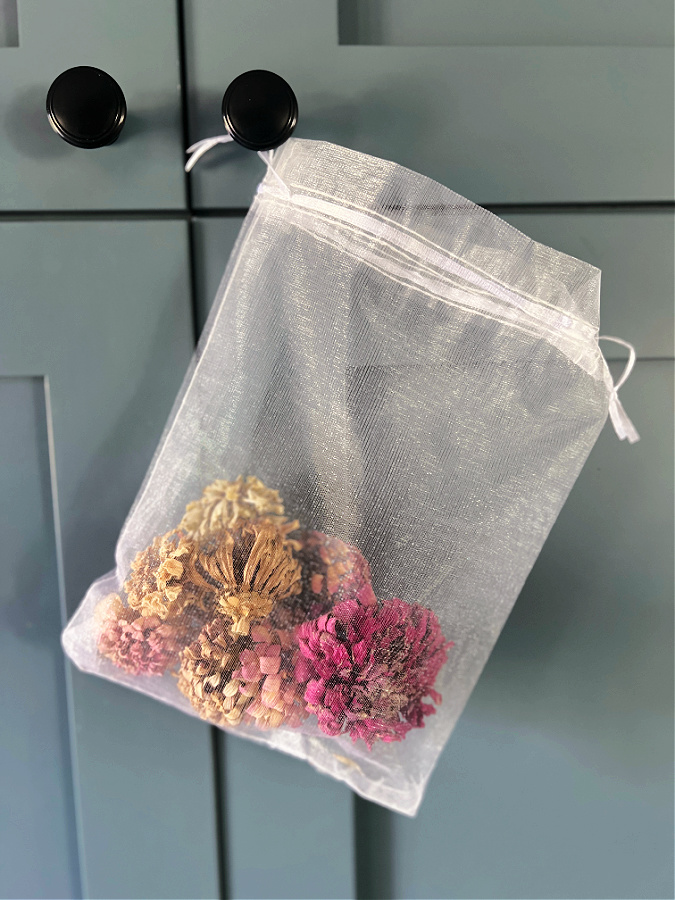
If you used the lazy girl method and left your seeds in your dried flower heads you can also store them in organza bags like I did (below) and just store them like that as well!
Also, I have noticed that the pink and purple variety tend to be more dominant. And even if you harvest seeds from a certain color or variety, they are not always guaranteed to come back as that color.
👉Want More Detailed Info on Saving Your Zinnia Seeds? Click HERE to sign up to watch my FREE Seed Saving Celebration via Replay & more!👈
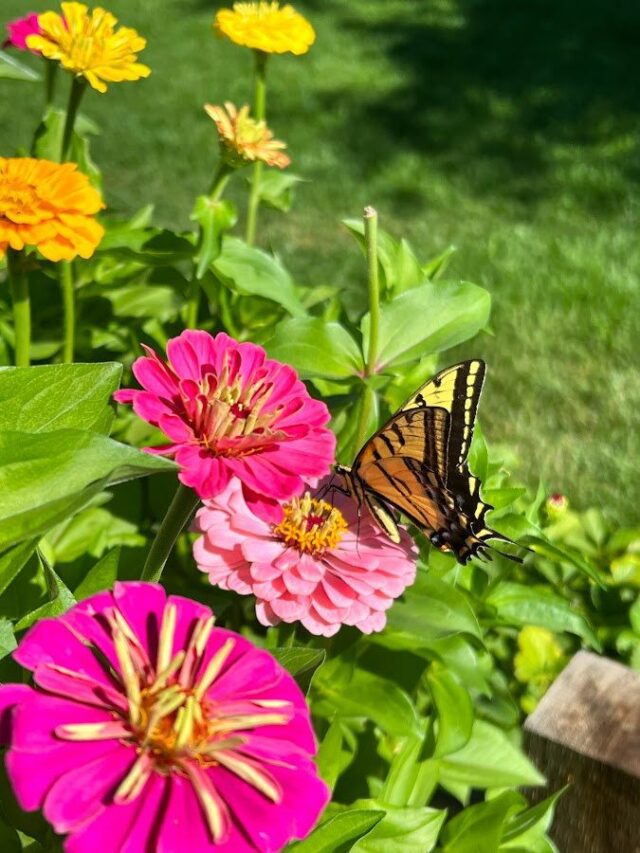
This has to do with pollinators as cross pollination changes the colors! So if you like or prefer a variety of colors then you will most likely need to add fresh or new seeds to your planting regime for the next year!
Keep Your Zinnia Garden Going!
Harvesting and saving zinnia seeds is a delightful journey that allows you to preserve the beauty of these charming flowers and share them with generations to come.
By following these simple steps and keeping your zinnia seeds dry and well-organized, you’ll have a garden that bursts with color and character year after year.
Pro Tip: Maye sure to visit my Lazy Girl’s Guide to Growing Colorful Zinnias From Seed so you can make sure your harvested seeds don’t go to waste!
FAQ’s About Harvesting Zinnia Seeds
- When is the best time to harvest zinnia seeds?
- Zinnia seeds are best harvested when the flower heads have fully matured and dried on the plant. Typically, this occurs in late summer to early fall before your first frost.
- How do I know if zinnia seeds are ready for harvesting?
- Zinnia seeds are ready to harvest when the flower head turns brown and feels dry to the touch. Or you can pull out a seed and if it is dark (not white) and thick it is likely ready. It should not be flimsy or bendable.
- What tools or equipment do I need for harvesting zinnia seeds?
- You will need a pair of garden shears or scissors to cut the seed heads, a paper bag or envelope for collecting the seeds, and a marker to label the seeds.
- Should I deadhead my zinnia flowers to encourage seed production?
- Deadheading (removing spent flowers) can encourage more blooms but will reduce seed production. If you want to harvest seeds, leave some flowers on the plant to mature.
- Can I collect zinnia seeds from different varieties and mix them?
- Yes, you can collect seeds from different zinnia varieties, but if you want to maintain specific characteristics, it’s best to collect and label seeds from each variety separately. You also must grow them very far apart or cross pollination will happen anyways.
- How do I collect zinnia seeds from the plant?
- Use scissors or garden shears to cut the seed heads from the plant, leaving a few inches of stem attached. Place the seed heads on a tray of sorts or papers towels to dry further.
- How long should I let zinnia seed heads dry before removing the seeds?
- Allow the seed heads to dry for at least one to two weeks in a warm, dry place. The seeds should be easy to remove when they are fully dry.
- What’s the best way to remove zinnia seeds from the seed heads?
- Gently rub or shake the dried seed heads between your hands to release the seeds. You can also use your fingers to break the seed heads apart and collect the seeds. Look for seeds that are shaped like arrowheads.
- How should I store zinnia seeds after harvesting them?
- Store zinnia seeds in a cool, dry place. Either in an organza bag, seed envelope or even a cardboard box.
- How long can zinnia seeds be stored and remain viable?
- Zinnia seeds can remain viable for 2 to 5 years when stored properly. However, their germination rate may decrease over time, so it’s best to use them within a year or two for optimal results.
- Can I share or trade zinnia seeds with other gardeners?
- Yes, many gardeners enjoy sharing or trading zinnia seeds with others. Just be sure to provide accurate labeling and any relevant information about the variety.
- Are there any specific precautions to take when harvesting zinnia seeds for saving?
- Avoid collecting seeds from plants that show signs of disease or pest infestations. But you CAN save seeds from zinnias that have powdery mildew. Additionally, ensure that the seeds are fully dry before storing to prevent mold or mildew.
- Can I directly plant harvested zinnia seeds in my garden?
- Yes, you can plant harvested zinnia seeds directly in your garden in the spring when the soil has warmed up. Make sure to prepare the soil and space the seeds according to the variety’s recommendations. (Read my Lazy Girl’s Guide to Growing Colorful Zinnias From Seed for the best tips!)
- Are Zinnias Perennials?
- Zinnias are primarily grown as annuals, completing their life cycle in a single growing season. While they typically do not return year after year, in milder climates, zinnias may exhibit short-lived perennial tendencies and come back for a second year under favorable conditions. However, most gardeners treat them as annuals, replanting each spring for a season of colorful blooms or by collecting and saving seeds for the following year. This way, you can enjoy zinnias annually, despite their annual classification.
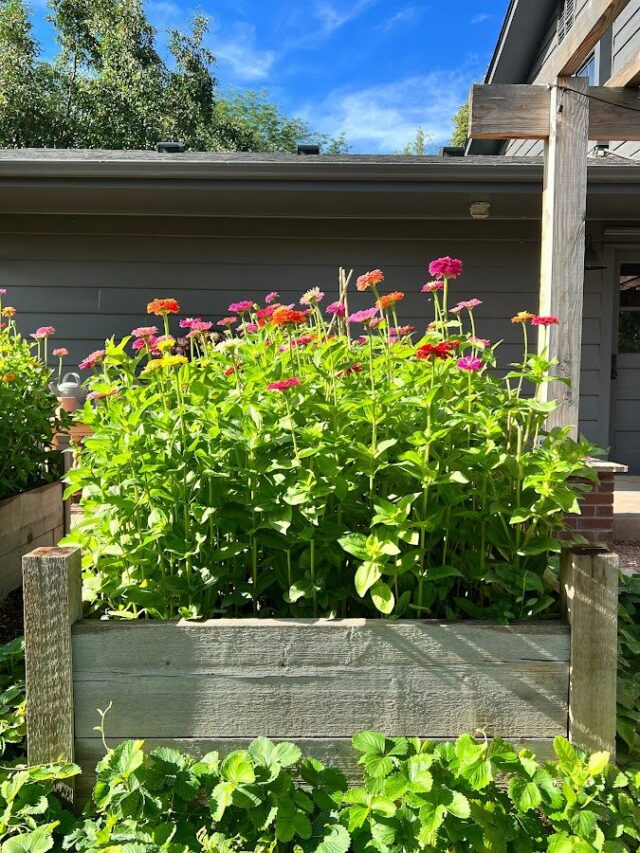
So, whether you’re a seasoned gardener or just starting your green-thumb adventures at home, give zinnia seed saving a try.
It’s a rewarding process that connects you with the natural cycle of life in your garden. Plus, it’s a great excuse to spend more time outdoors and watch your zinnia plants flourish.
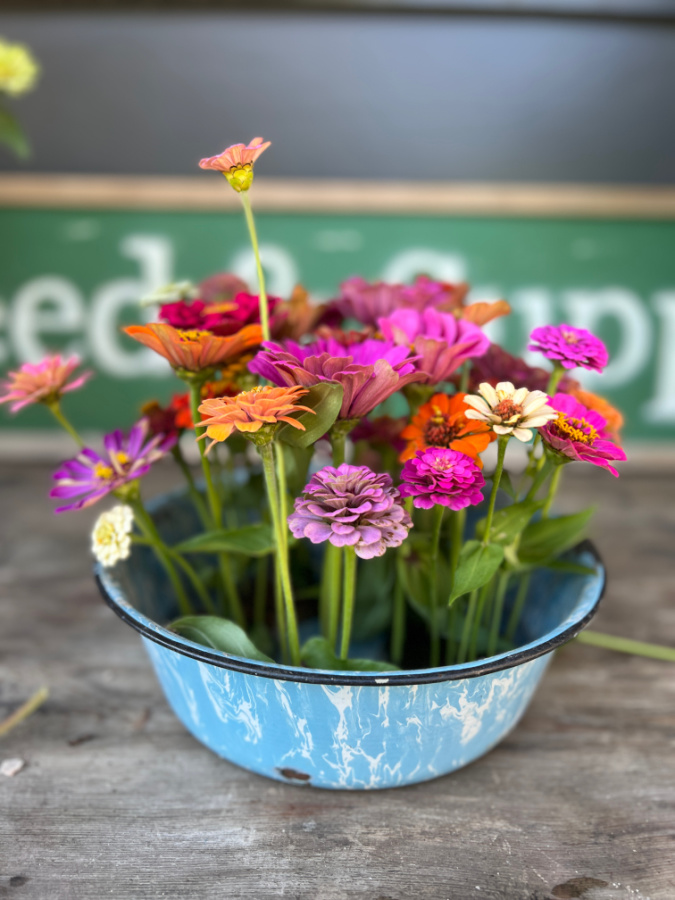
A Guide to Harvesting Zinnia Seeds
Remember, every zinnia flower tells a story, and by saving their seeds, you become a part of that story. Don’t forget to share your zinnia seeds with friends and fellow gardeners, spreading the joy of these beautiful flowers even further.
Thank you for joining me on this zinnia seed-saving journey, and here’s to many more seasons filled with vibrant colors and cheerful blooms of zinnias. Happy gardening, my friends!
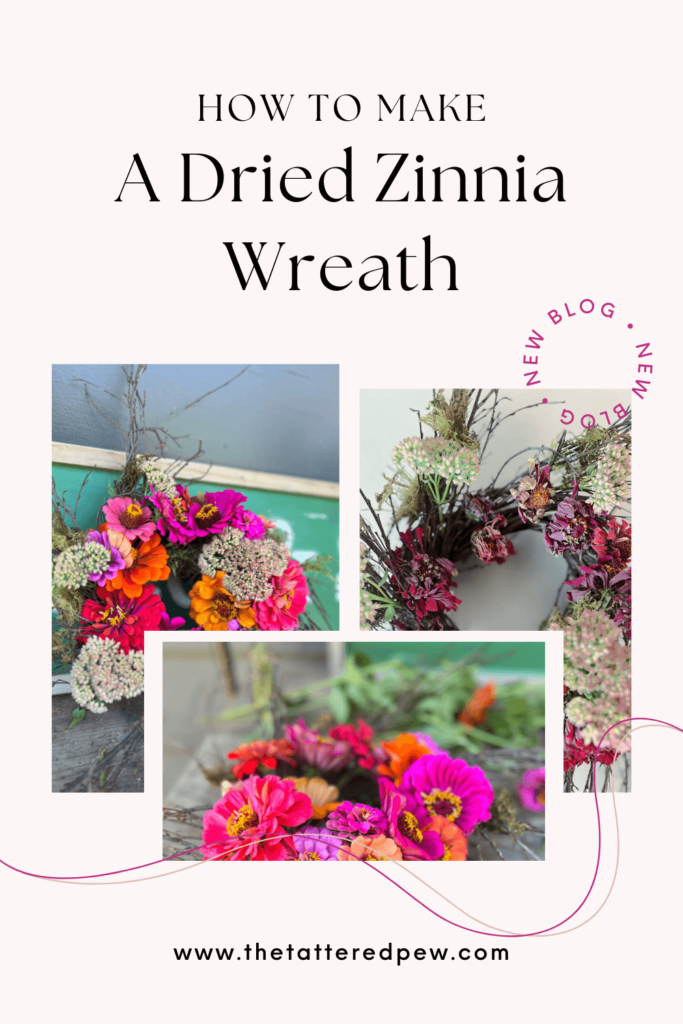
If you liked this post don’t miss my post on How to Make a Dried Zinnia Wreath!
I’d love to have you hang out with me some more! Feel free to follow along with me on any of the platforms linked below.
LTK | Facebook | Instagram | Pinterest | Amazon



Your zinnias are always a joy to see.
Thank you mom!!! I miss them already!
I love my zinnias too! They are such a bright spot in the season! Great tips!
Thank you, Kim! Your garden always inspires me!
Interesting, I am not a gardener but still found it interesting
So glad to hear that!
I know how much you love your zinnias. I’m so happy to see you harvesting seeds for next year Kelly! They were so pretty in your garden this year.
Thank you Kim, I ‘m learning so much and loving every thing about these glorious flowers!