A Simple Guide to Decorating Pumpkins with Dried Flowers
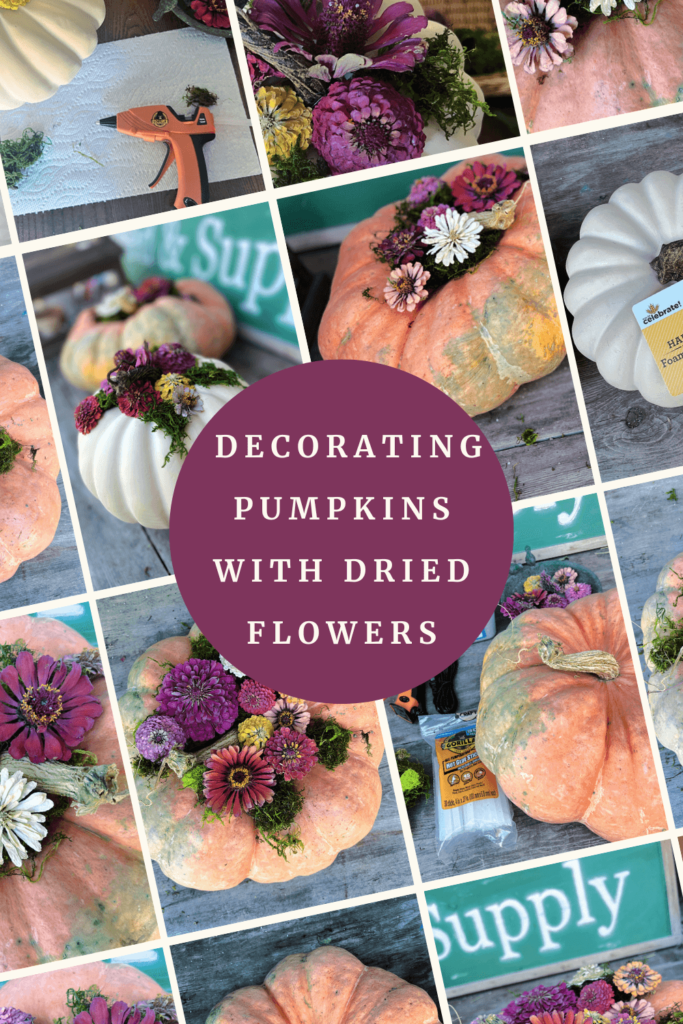
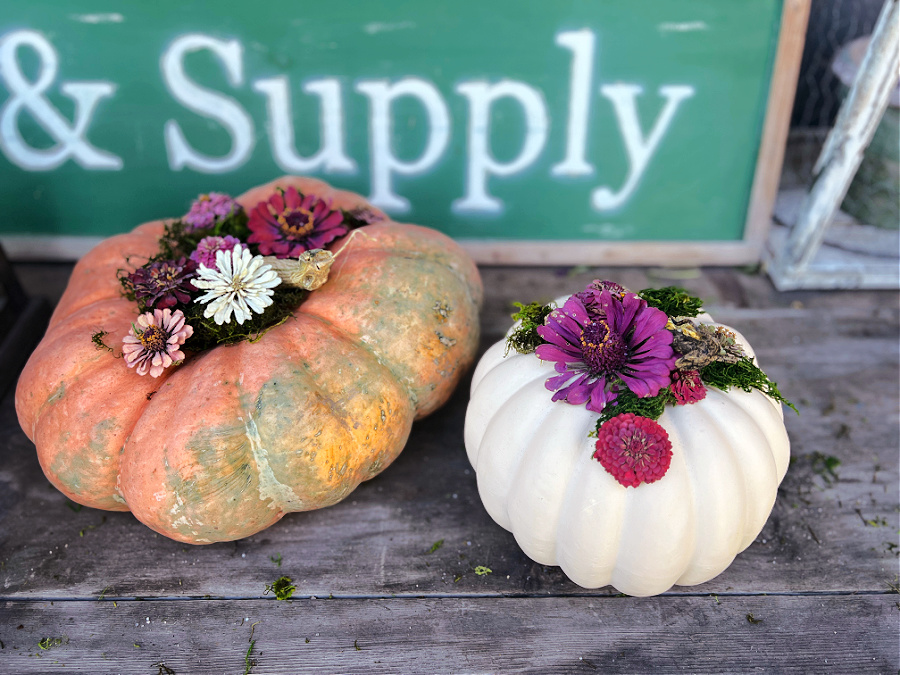
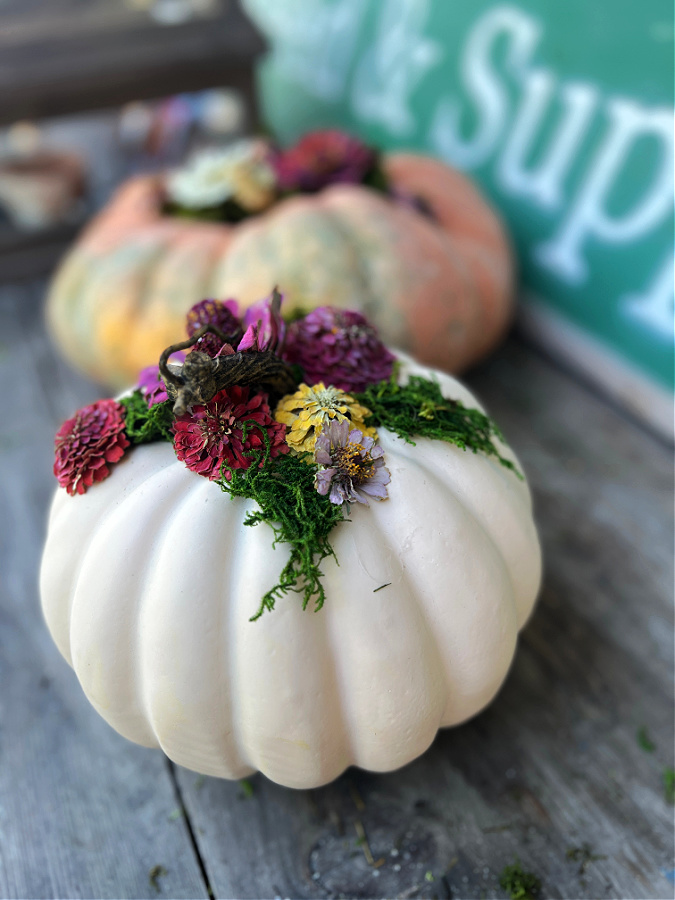
It’s officially that time of year again—pumpkin season! And if you’re like me, you’re looking for a fun, easy project that combines your love of flowers with a touch of fall decor. Whether you choose a faux or real pumpkin, let’s dress it up with those zinnia blooms you’ve dried (hello, silica gel magic!) and some soft moss for a cozy, natural look. This DIY project is super simple, won’t take much time, and will bring a lovely, garden-inspired vibe to your home. Let’s get started decorating pumpkins with dried flowers !
*As an Amazon Associate, I earn from qualifying purchases. This post contains other affiliate links too for your convenience. Click here to read my full disclosure policy.
A Simple Guide to Decorating Pumpkins with Dried Flowers
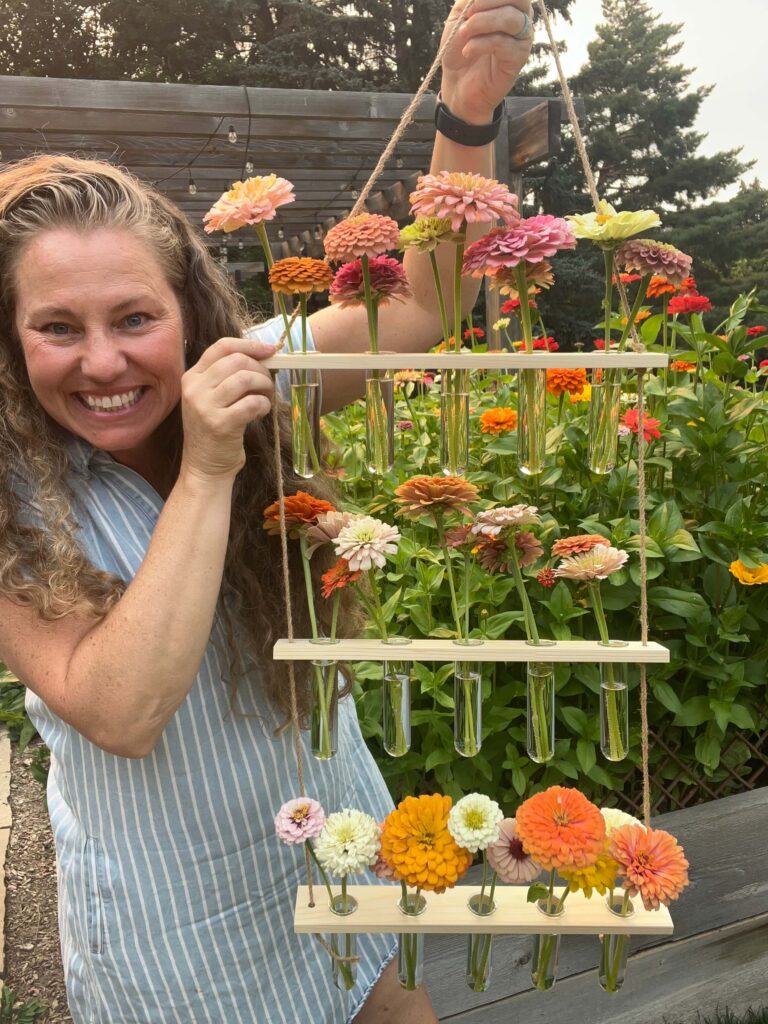
You know I love to keep things simple and I also love my zinnias. This DIY project does both! So after I used my silica gel kit to dry my zinnias and extend their life, my mind was buzzing with all the things I could use the flowers for. And here is what I came up with!
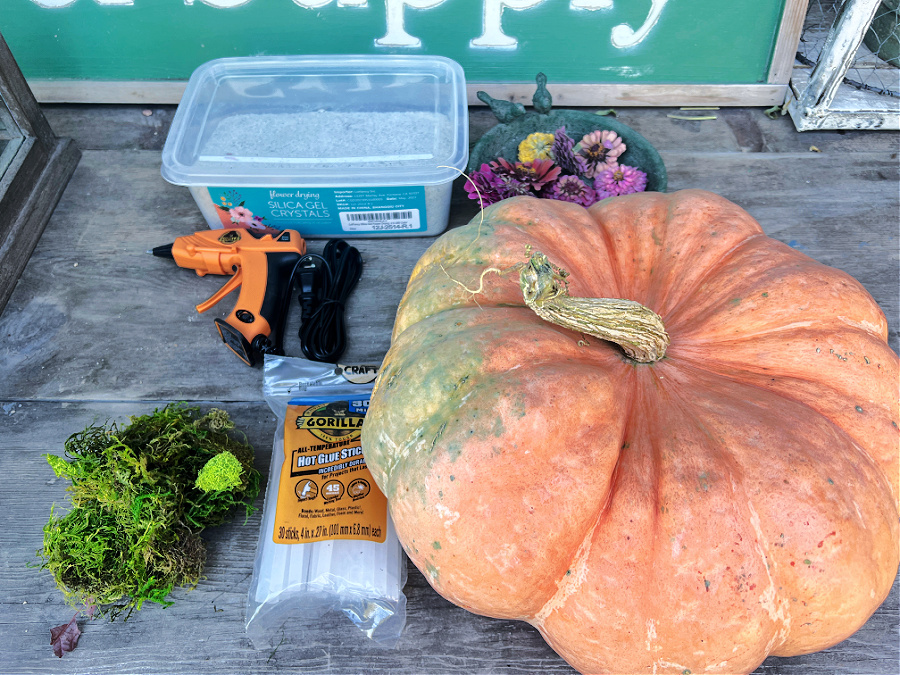
What You’ll Need:
- A faux or real pumpkin (your choice!)
- Dried flower blooms or paper flowers (or flowers dried in silica gel like I used here, for best results) I used zinnias!
- Silica gel kit
- moss or greenery
- Hot glue gun and glue sticks
- Optional: ribbon, twine, or additional dried flowers for extra flair
Step-by-Step Guide:
Step 1: Prep Your Pumpkin
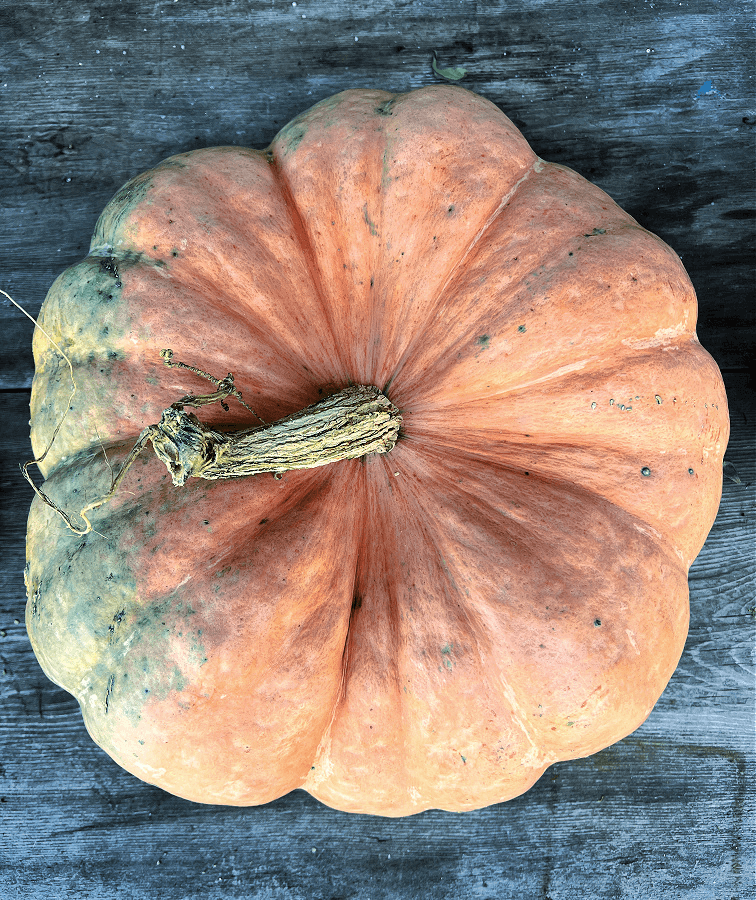
First things first, let’s get that pumpkin ready! If you’re working with a real pumpkin, give it a quick wipe to remove any dirt. If you’re using a faux pumpkin, you’re good to go!
I love using a white or bright-colored pumpkin for this project because it really makes those colorful zinnias pop.
Step 2: Add Moss
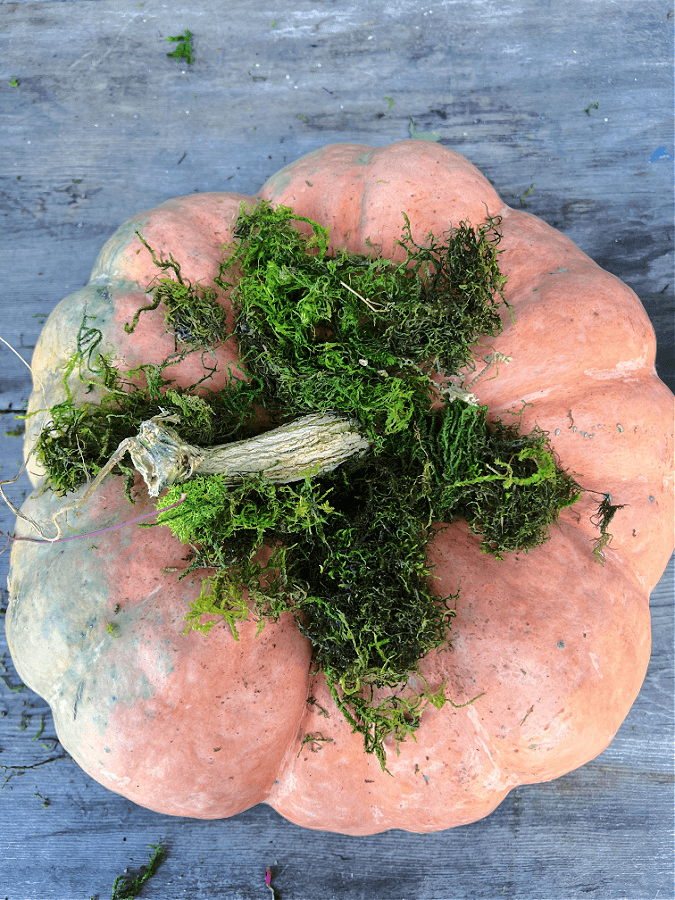
Ok first grab your moss! The moss adds that woodsy, whimsical touch, making the whole arrangement feel more organic. If you don’t have moss greenery from your yard will work too! Apply hot glue in small sections around the top of the pumpkin and gently press the moss into place. You can keep it around the top stem area or let it cascade down the sides of the pumpkin for a relaxed, effortless look.
TIP: If you don’t have moss opt for other greenery that you might have around your yard or home!
Step 3: Arrange Your Zinnias
Lay out your dried zinnias and play around with how you want to arrange them on your pumpkin. I like to group them in clusters or work around the stem area. Don’t stress about this part—it’s meant to be fun! If you have different sizes and colors, even better. Once you’re happy with the layout, it’s time to grab the glue.
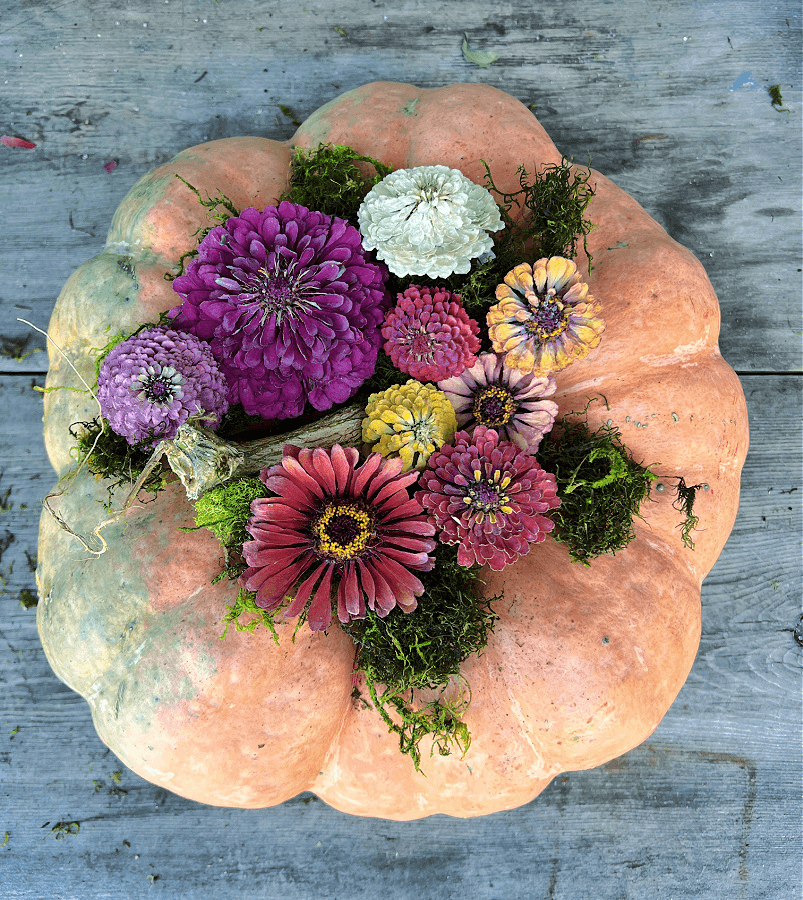
I dried mine using a silica gel kit and I adore how they held their color and shape!
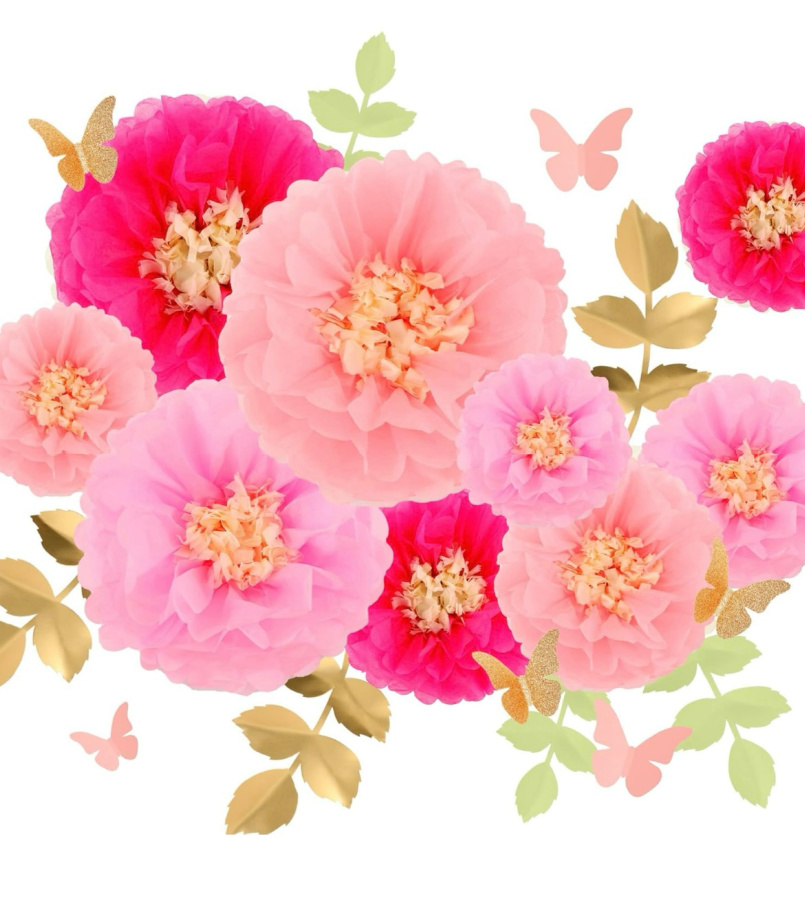
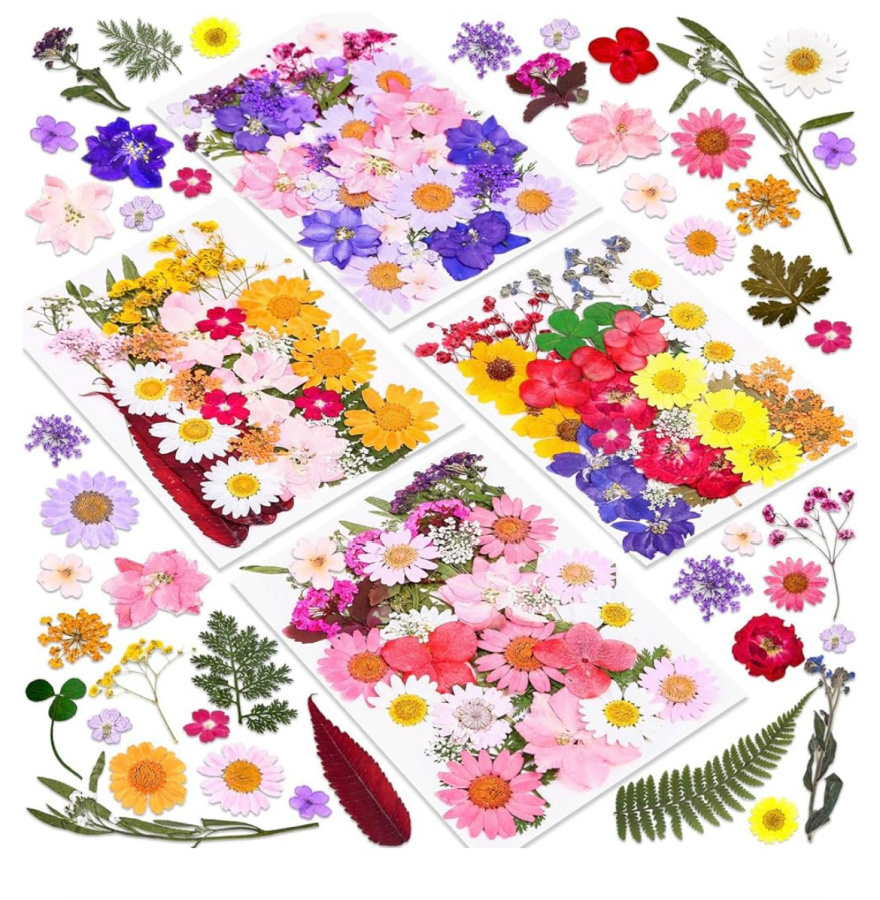
TIP: If you don’t have dried zinnias that you preserved you can always use live flowers or purchase dried ones like these or these!
Step 4: Hot Glue Zinnias
Now for the sticky part! Using your hot glue gun, apply a small amount of glue to the back of each dried zinnia bloom. Quickly place the flower onto the moss and pumpkin where you want it to go. Hold it there for a few seconds until the glue sets. If you want a more “natural” look, stagger your blooms rather than making them perfectly symmetrical.
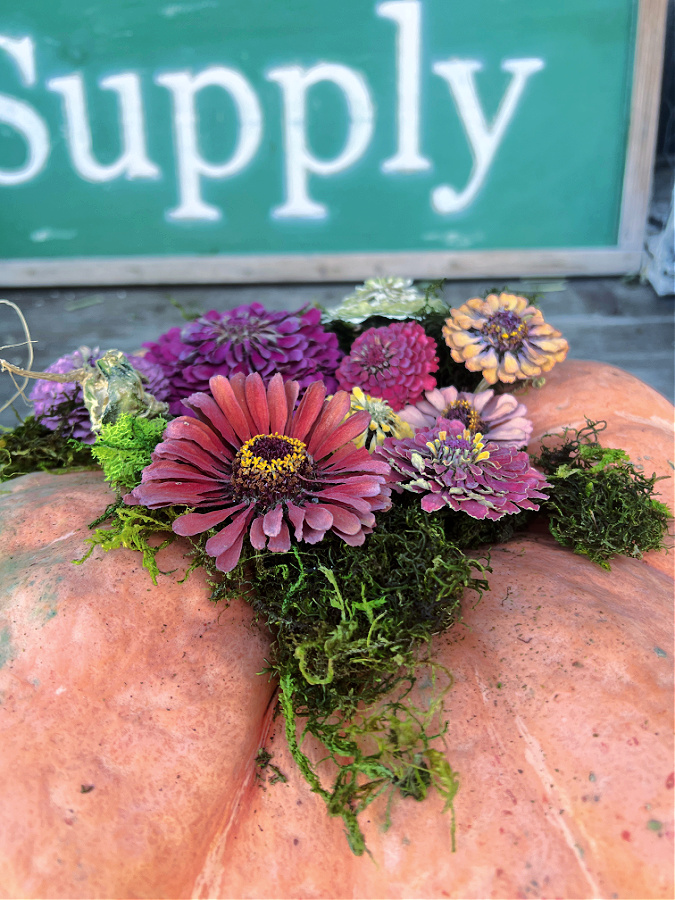
Step 5: Final Touches
If you want to take things up a notch, now’s your time to shine! Consider adding twine, a ribbon bow around the pumpkin’s stem, or even some dried baby’s breath for extra texture. Get creative—there’s no wrong way to do this!
Step 6: Display and Enjoy Your Decorated Pumpkins with Dried Flowers
Voila! Your pumpkin masterpiece is complete. Display it on your front porch, as a centerpiece for your table, or anywhere that needs a pop of fall charm. The best part? It’ll last the entire season, and if you used a faux pumpkin, you can pull it out again next year!
10 Ideas for Your Dried Flower Pumpkins
Here are some fun and creative ways to display or use your pumpkins decorated with dried zinnias and moss:
1. Table Centerpiece
Place your decorated pumpkin at the center of your dining or coffee table to create a beautiful, garden-inspired fall centerpiece. Pair it with some candles, a table runner, or other small fall decorations for a cozy and festive vibe.
2. Porch or Entryway Decor
Add a warm welcome to your front porch or entryway by placing your decorated pumpkin near the door. It’s a great way to greet guests with a splash of fall color and style. You could even group a few pumpkins together for a fuller, layered look.
3. Mantel Display
Set your dried flower pumpkin on your fireplace mantel alongside some autumn leaves, pinecones, and candles. It creates a lovely seasonal display that adds height, texture, and a pop of color to your living space.
4. Gift for a Host
Heading to a fall gathering or Friendsgiving? Bring your decorated pumpkin as a unique and thoughtful hostess gift! It’s a homemade, seasonal surprise that will brighten up their home and make them feel appreciated.
5. Thanksgiving Decor
Use your dried zinnia pumpkin as part of your Thanksgiving table decor. It can sit as a showstopper at the center of your table or be part of a larger tablescape with other fall elements like small gourds, wheat stalks, and candles.
6. Photo Prop
If you enjoy snapping seasonal photos, use your decorated pumpkin as a photo prop. It could be the perfect touch for a cozy fall photoshoot or Instagram-worthy pictures in your home.
7. Fall Shelf Styling
Decorate shelves or a bookcase with your zinnia-adorned pumpkin to give a pop of seasonal color. Combine it with framed fall prints, vases of dried flowers, and small decorative items to create a cute fall display.
8. Workplace Decor
Brighten up your workspace by placing your decorated pumpkin on your desk or office shelf. It’s an easy way to bring some autumn charm into your day-to-day environment and lift your mood while working.
9. Bedroom Accent
Place your dried zinnia pumpkin on your nightstand or dresser for a cozy bedroom accent. Add some fairy lights or small candles around it to create a relaxing, autumnal atmosphere.
10. Outdoor Gathering Decor
If you’re hosting an outdoor fall gathering, use your decorated pumpkin as part of your party decor. Place it on a picnic table or outdoor dining setup to set the autumn mood.
These ideas will help you get the most out of your dried flower pumpkins, keeping your home looking festive and stylish all season long!
Frequently Asked Questions
Q: How long do the dried zinnia blooms last?
A: Zinnia blooms dried in silica gel should keep their shape and color for months, if not years, as long as they’re stored out of direct sunlight and moisture. This makes them perfect for long-lasting decor projects like this one!
Q: Can I use fresh flowers instead of dried ones when decorating pumpkins?
A: Fresh flowers can be tricky because they won’t last as long and will eventually wilt. For this project, dried blooms are definitely the way to go if you want your creation to last all season.
Q: Can I still use the pumpkin for baking if I decorate it?
A: If you’re using a real pumpkin and want to use it for baking later, try not to puncture the skin with glue or scissors. Once your pumpkin has served its decorative purpose, it can still be roasted for soups, pies, or other fall treats!
Q: What type of moss should I use?
A: Any type of moss will work, but sheet moss or Spanish moss are my go-tos for this project. They’re easy to work with and add that perfect touch of texture.
Q: Do I need to seal the pumpkin to make it last longer?
A: If you’re using a real pumpkin and want to extend its life, you can spray it with a clear acrylic sealant before decorating. This helps slow down the natural rotting process.
A Simple Guide to Decorating Pumpkins with Dried Flowers
Happy crafting, my fellow lazy gardeners! If you give this pumpkin project a try, I’d love to see your creations. Tag me on Instagram @TheLazyGirlsGardenClub or email me a picture at: [email protected]
Looking for more? Check out these posts…
- How to Make a Dried Zinnia Wreath
- A simple and Organic Easy to Make Fall Centerpiece
- 18 Gorgeous Fall Floral Gift Tags (Free Printables Included)
I’d love to have you hang out with me some more! Feel free to follow along with me on any of the platforms linked below.
LTK | Facebook | Instagram | Pinterest | Amazon

Such an easy DIY, I love how it takes the pumpkins up a notch to festive decor!
Thanks Mom! I had so much fun!
I never would have thought to use dried flowers to decorate pumpkins—such a clever idea! It’s a nice change from the typical painted or carved pumpkins. I’m excited to try this out for a unique look on my porch!
Well yay! I’m so glad I shared it then! Have fun!