Coffee Butterscotch Scones
Fall Scone Recipe
Happy fall friends! Today I am sharing one of my favorite fall recipes with you all…coffee and butterscotch scones! This recipe is a combination of my grandmother’s scone recipe and a recipe that a neighbor gave me years ago. I have tweaked it to make it my own. Actually, if I’m being truthful, my mom and I tweaked it together. Make sure to scroll down for your free printable recipe too!
If you stopped by my Fall Home Tour last week you saw these delicious scones featured in my kitchen. And if you happened to miss it you can click HERE to check them out displayed in all their fall kitchen glory! 🙂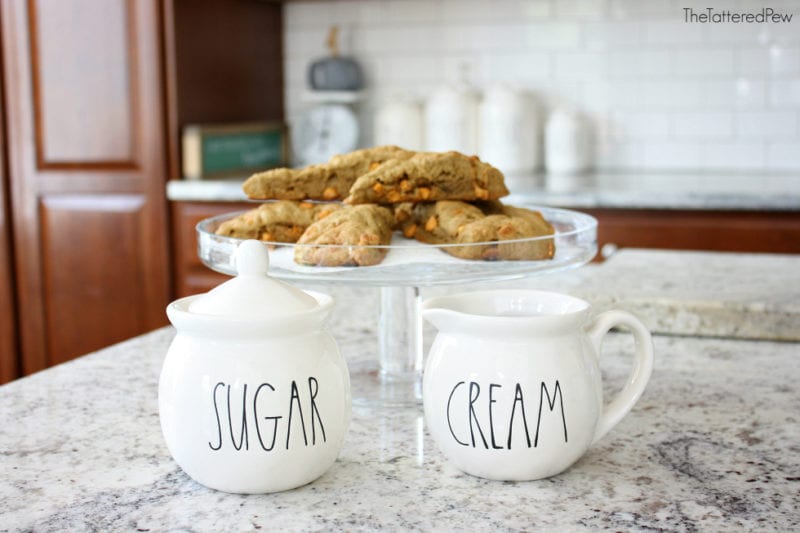
Step By Step For The Best Coffee Butterscotch Scones
Let me share just how we made these coffee butterscotch scones!
First, I heated up 3/4 cup of light cream in the microwave and added two instant single serve coffee packets to the warm milk. Once it was mixed in to the milk I set it in the refrigerator to cool. This is a very important step; you must make sure the cream infused coffee is completely cooled before you add it to the dry ingredients.
While the cream and coffee was cooling I mixed all of the dry ingredients together and cut in the butter until it looked like coarse crumbles. (A pastry blender is the best tool for this)
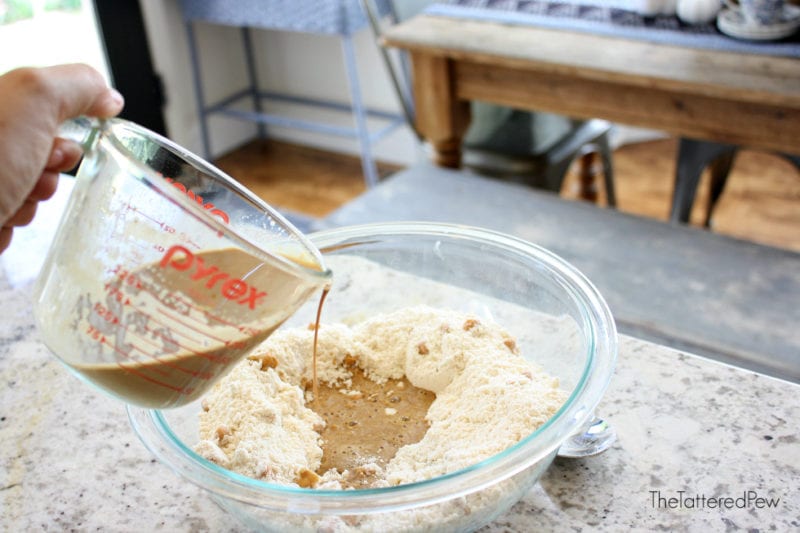
Once they were mixed and my cream infused with coffee was cool I added it to the dry ingredients and gently stirred it in.
Dough
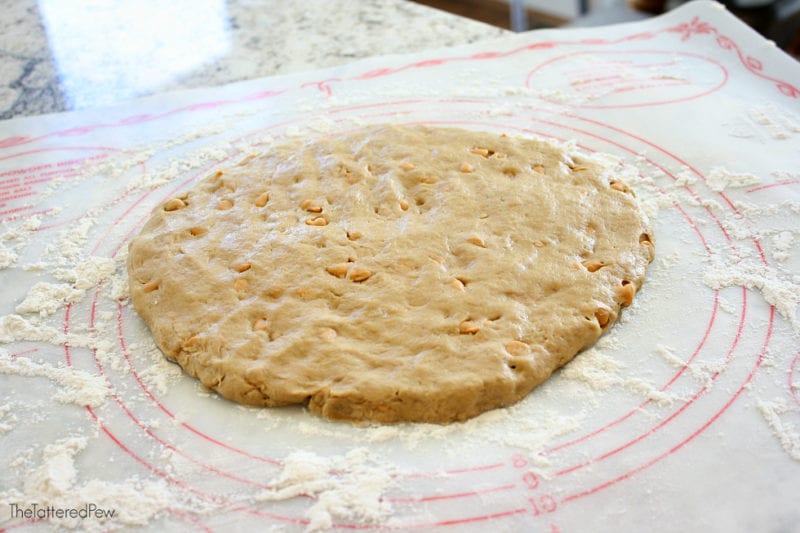
I kneaded it about 6 times to form the dough. Then I added flour to my mat and flour to my hands to help with the stickiness.
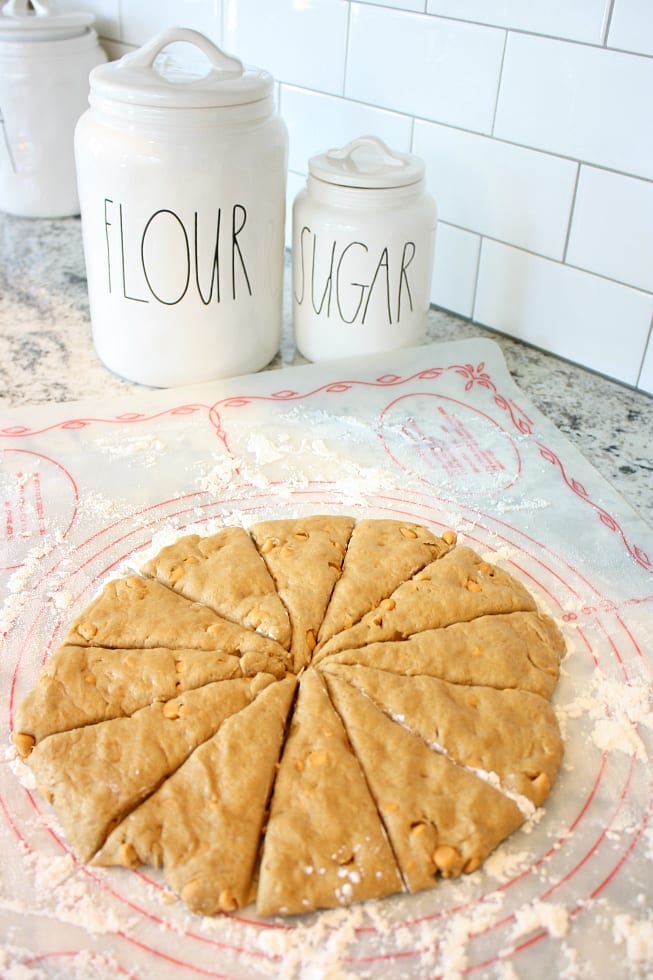
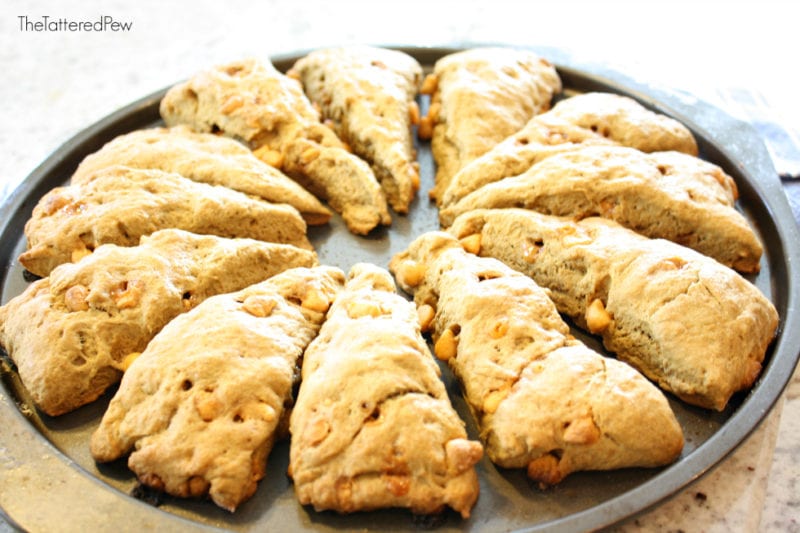
The recipe calls for breaking the dough into two balls which makes 16 small scones (8 scones from each ball of dough) but I decided to form one large one and cut it into 12 wedges. They were thicker and larger and thus required a longer baking time. (Sometimes I freeze the second ball or even cut the wedges and freeze them individually for when I crave a scone later for myself!)
Cutting the Dough
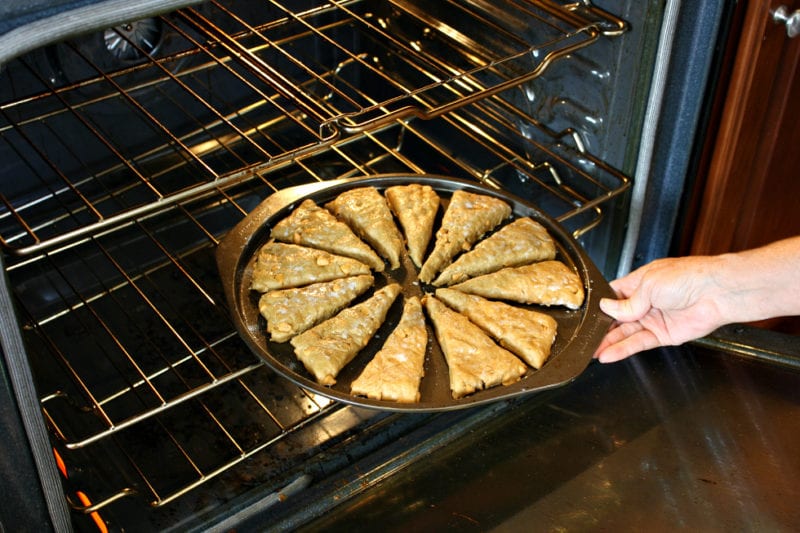
Once I cut the dough into wedges I transferred them to a round non stick baking sheet. One important tip is to make sure the scones are not touching each other or they won’t bake all the way through. I probably should have spaced them even further apart!
Finally, brush the tops with milk and decorative sugar right before baking. Bake for 12-15 minutes at 425 degrees.
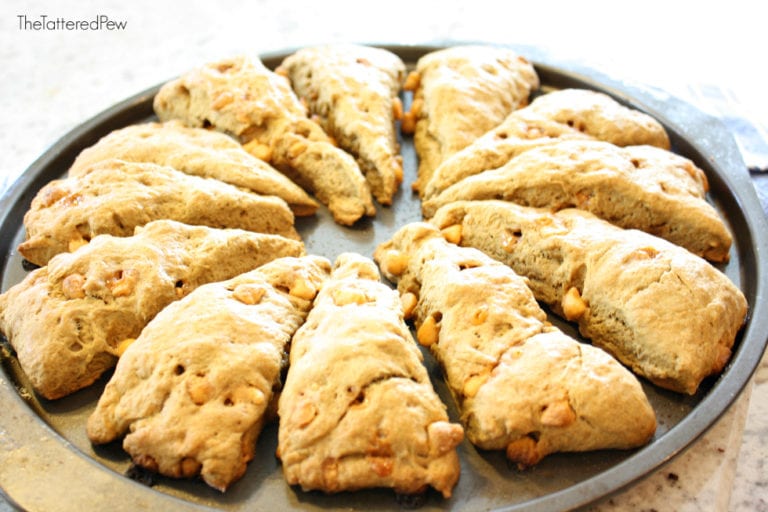
Take them from the oven and let them cool. That’s it!
Now you have some delicious scones to eat with either a warm cup of tea or coffee!
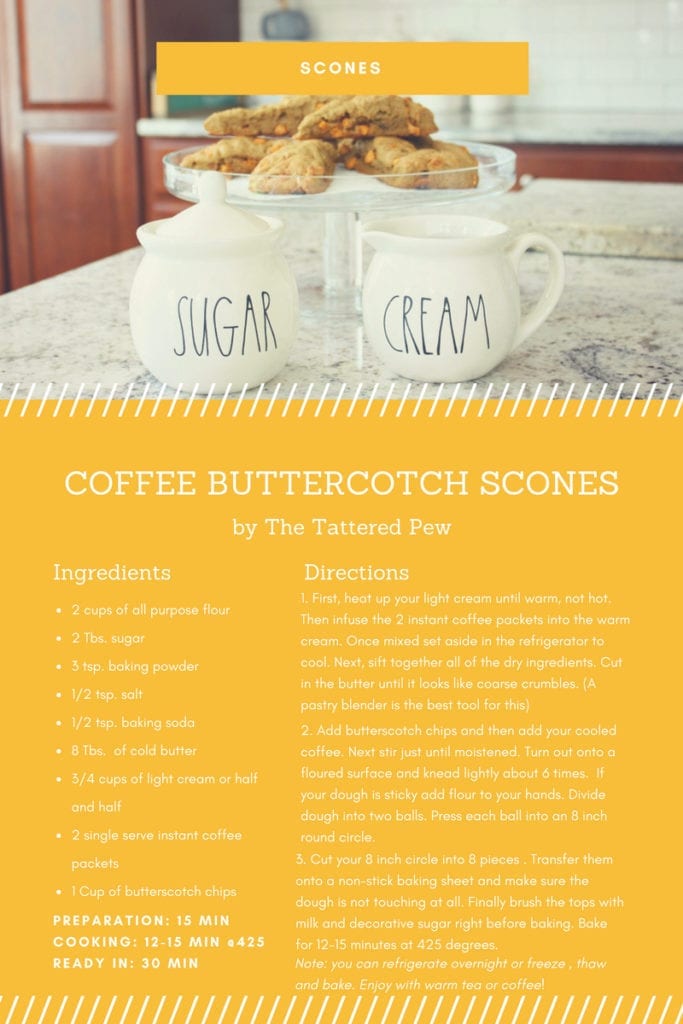
Print the Recipe For Coffee Butterscotch Scones
(click the image below or click HERE to print your own copy)
My hope is that you will enjoy these scones and this recipe as much and my family and I have! I hope you will give them a try and let me know what you think!
Cheers to scones, tea parties, fall and yummy treats!
xoxo,
Kelly
PS-Don’t forget to subscribe to my blog so you don’t miss out on free printables, fun DIYs, decor inspiration and new posts!




These scones look great Kelly 😋😋😋
Thank you Simona that means so much coming from you!
Just saved this recipe…I’ll be making these. How fun to do that with your mom. Making memories!
Thanks for the recipe,
Jodi
Thanks Jodi! We had a lot of fun together for sure. If you make them let me know what you think!
Love these scones!
Thanks for all of your help mom!
Those look amazing!! I love that mat you use for rolling the dough out! My mom has one too and I think I need to put that on my Christmas list! By the way, your house looks amazing!! I love everything you’ve done to decorate for Fall!!
Sarah you are so sweet! Thank you!You need to come over for some tea and scones soon!
Yum!! I’ll be trying these! 😍 Thanks Kelly!! Love the cream & sugar canisters- SO cute.
Thanks Laura! I know you love scones so you will definitely need to try these!
These are the perfect fall treat!!
Thanks Lindsay, they really are yummy!
Congrats Kelly!
You’ve been nominated for the Bloggers Recognition Award!
Check out my post, https://militarymamasfarmhouse.com/bloggers-recognition-award-2/
for details on accepting the award.
Gabby from Military Mama’s Farmhouse
Wow thank you Gabrielle!!