DIY Fall Centerpiece and My First YouTube Video
The title of this post says it all. I have taken a crazy leap and decided to start a YouTube channel and my first video features a DIY fall centerpiece. I joked in a post over on Instagram that I will be doing this newest form of social media in my “Free Time”. 🙂 Which as most of you know by now is very limited when you are a wife, mom of four, blogger and kindergarten teacher!
However, since I am super busy the plan is that I will slowly be adding DIY videos over on YouTube as well as embedding those videos here on the blog (like the one below). I am pretty excited about this new adventure and love that it’s just one more way for me to connect with you all! So, if you would like to subscribe or just check out my YouTube channel you can click HERE!
Lets Get To It!
On to the Fall centerpiece (which I currently have out on our front porch). I will share the steps here in this post as well as a video at the end.
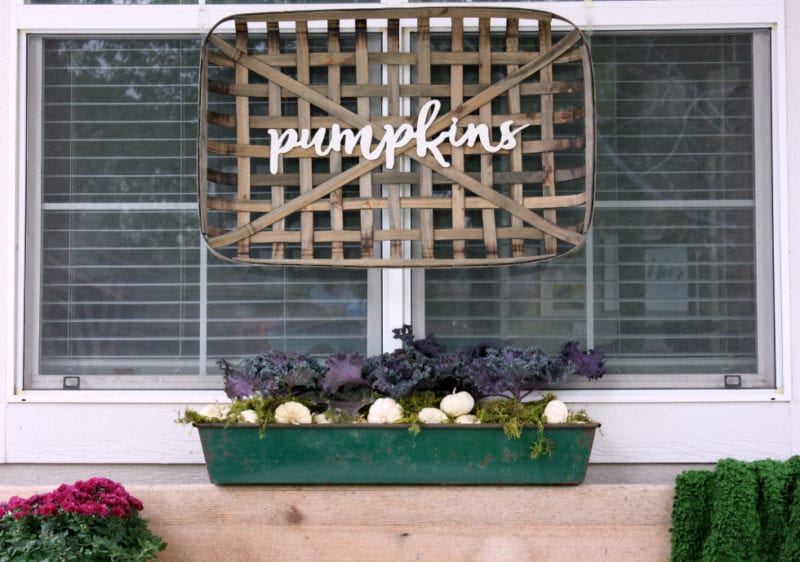
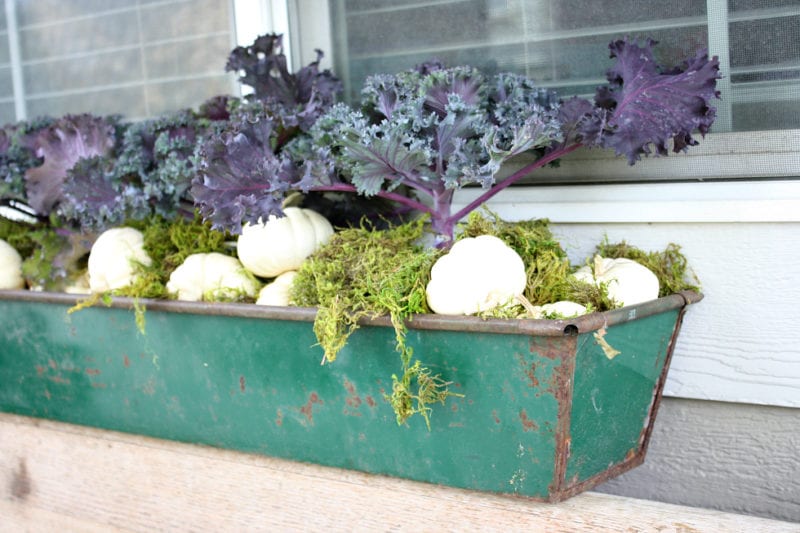
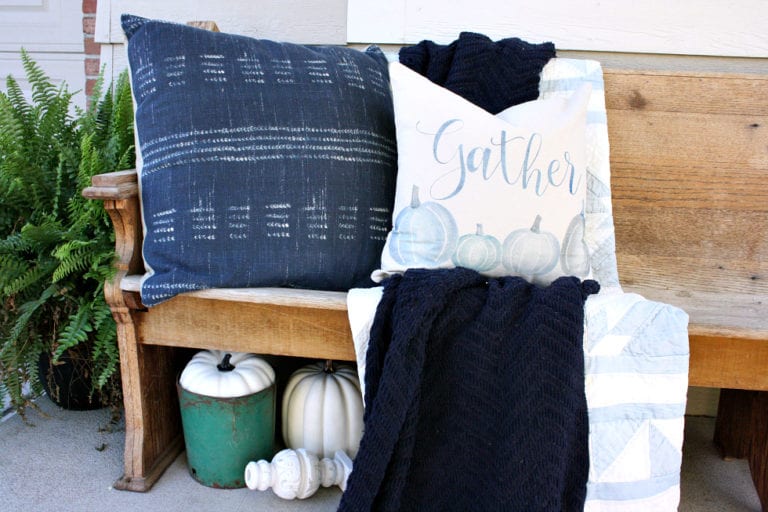
If you missed our Fall front porch last week you can click here to see how I dressed up our pew for Fall and displayed the fall centerpiece I am sharing today. Below is a close up!
Tutorial Time
This Fall centerpiece is super easy and can literally be made in any type of container. I used a long rectangular metal planter but I also thought of putting these materials in a dough bowl, other baskets or basically whatever you have on hand.
Materials You Need
*Container
*Kale (I found mine in the Home Depot garden department for $3)
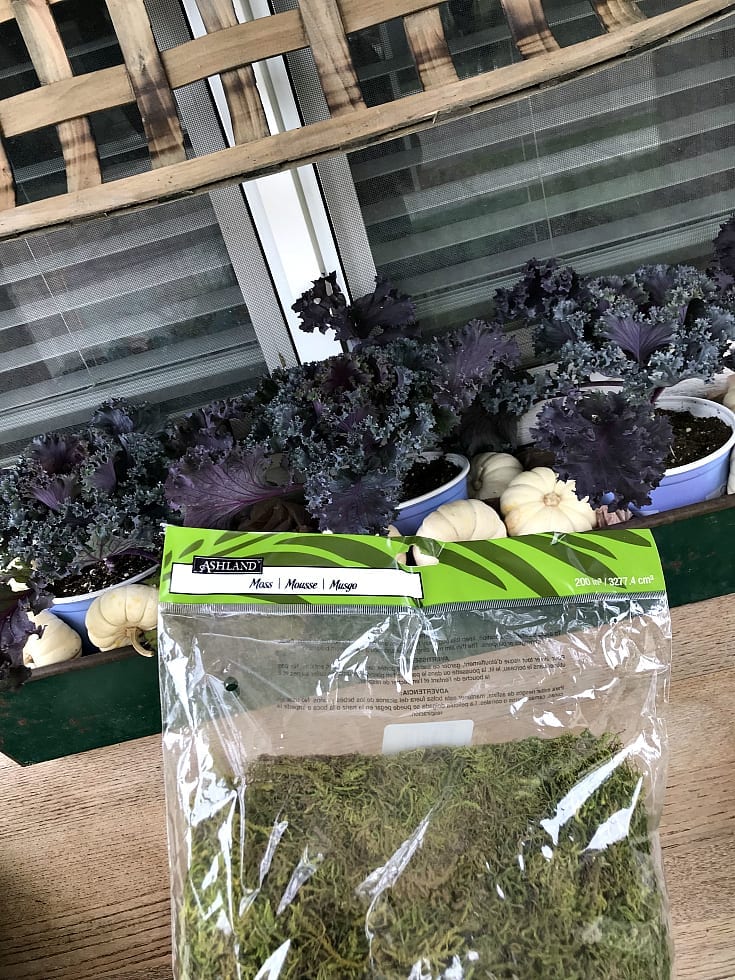
*Moss (I purchased mine at Michael’s for $6.99)
*12-14 Baby boo white pumpkins ($0.69 each at Trader Joe’s)
*Filling ( I used 20 brown plastic grocery bags)
The Steps
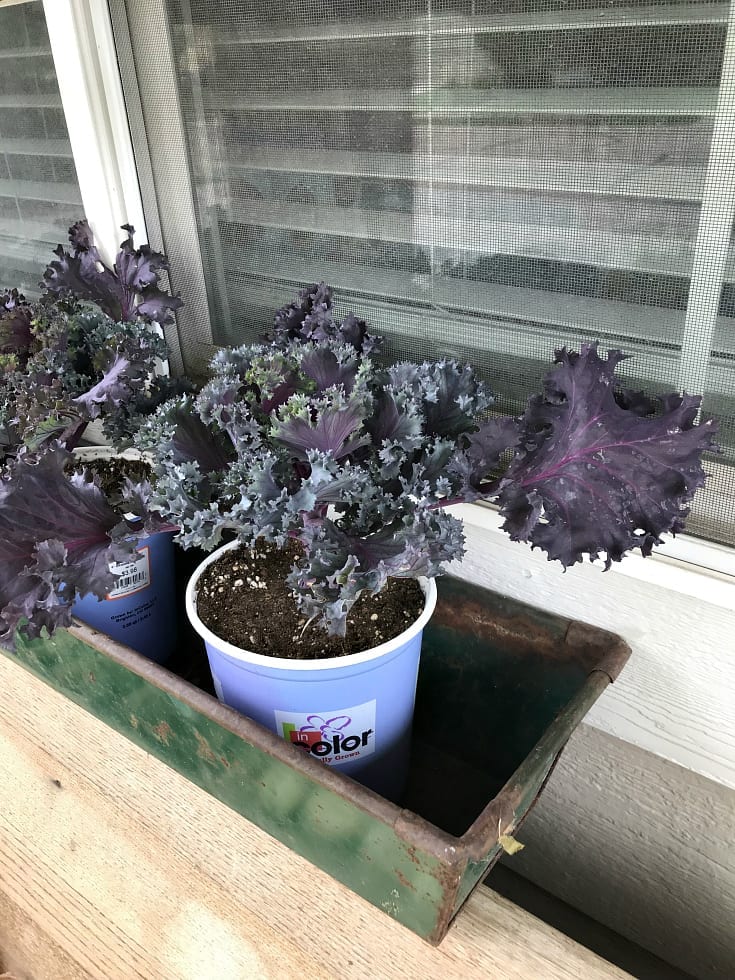
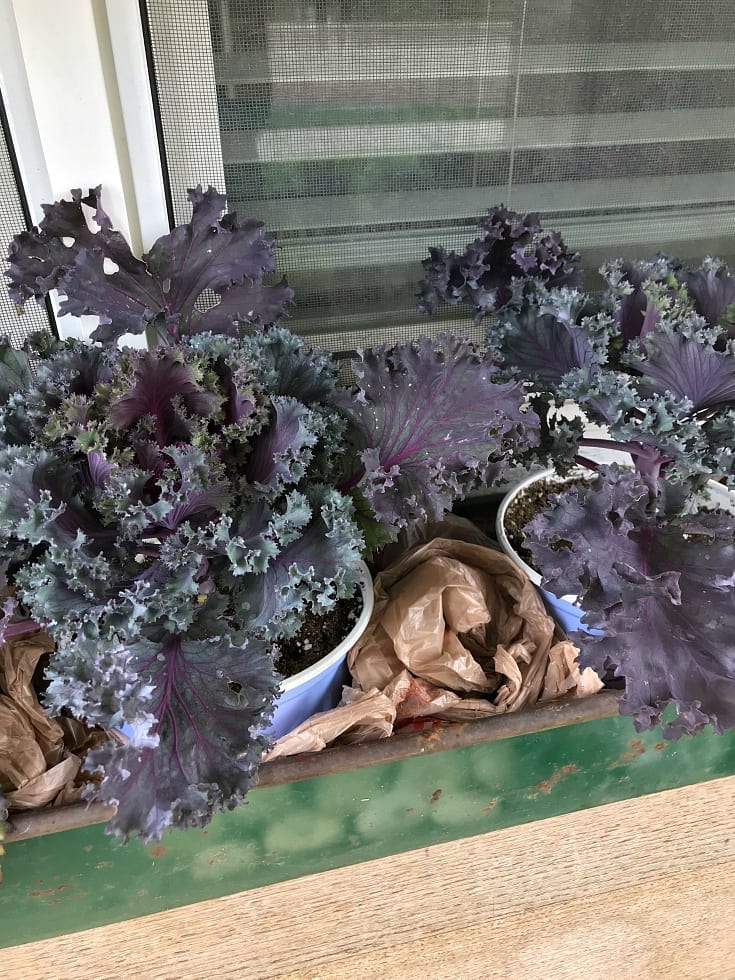
- Evenly spread out your kale in your container of choice. I left the kale in their original containers.
- Use plastic grocery bags to fill in the gaps around the kale plants. This will help support the pumpkins which you will add next.
3. Add the pumpkins ….if they fall below the kale add more plastic bags to support their weight.
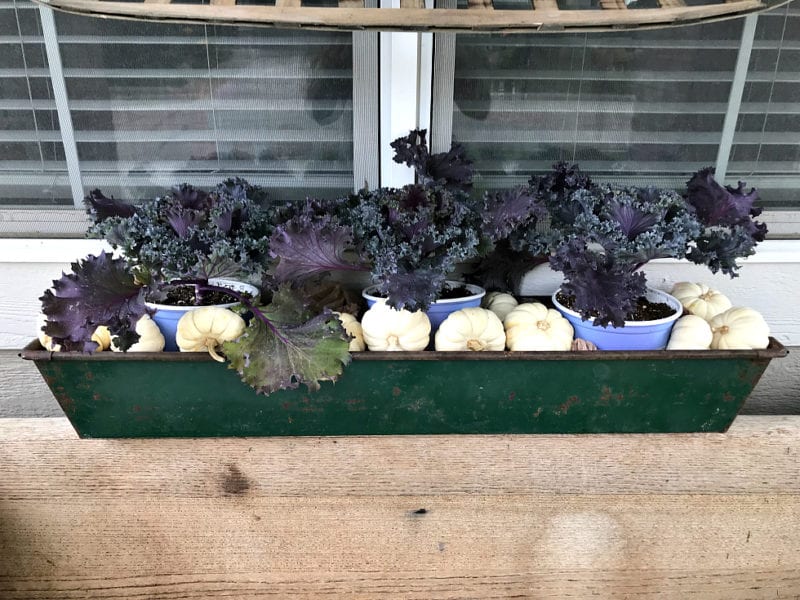
There you have it in four easy steps. A simple Fall centerpiece that can be used indoors or out! The best part is that it is relatively inexpensive as well! Pretty easy, huh?
The Video
Below you can click on my very first video showing you exactly how to make this awesome centerpiece (seen above) that I have been talking so much about! 😉
So, what do you think? I made this video on my I Phone 7 using the I Movie app and guess what…it was a lot of fun and not too hard! I mean if I can do it, you can too! If you are curious and have any questions let me know in the comments below!
Hopefully between my video and explanation of the process you are able to feel like you could make this yourself! My plan is to keep it outside until Thanksgiving and then I will bring it in and put it on our dining room table!
I hope you have a wonderful week and please let me know if you make one for yourself. Thank you for stopping by!
xoxo,



Great job on your first video, Kelly. It was quick and cute. I really enjoyed it!
Thank you so much!
What a gorgeous and achievable centerpiece!! The video makes it even easier to make yourself! Love this Kelly!
Thanks Bethany! That what I thought, quick and easy!
Love this Kelly! Your instructions were so simple and easy to follow. And I love that you started a YouTube channel, I will definitely be watching your videos when you get a little free time to make them!
Gabrielle that means a lot to me! Thank you so much!
This is such a great tutorial I may have to do this for Thanksgiving… and I love your blog!! 🤗
Thanks Deborah I had so much fun making it! I appreciate the blog love!
This is such a great tutorial I may have to do this for Thanksgiving… and I love your blog!!
Hi Kelly,
Your centerpiece is so cute. I used artificial plants and pumpkins in mine, but I love yours so much better. You’ve inspired me to go natural. Loved your first video.
Thanks Linda! I figured since it was starting outdoors live plants were ok! The kale seems to be lasting forever! I would love to see yours!
Kelly this is amazing!!! What a gorgeous and inexpensive way to create something simply stunning! Subscribed so I don’t miss a thing you post 🙂
Jacyln,
You are so kind! thank you for subscribing!
Kelly!!!! I love your video!!! I really want to start doing this too, I have a lot of videos saved up and stored on my phone but have never edited them or posted any…I need to take the plunge! I’m not sure what video editor to use since I have a Samsung, but I seriously love how you made yours!! Great job girlfriend!
Merichelle,
thank you…you should just do it! Post one and then go from there. I’m sure there are similar apps for Samsung I found a lot of great resources on Pinterest. Good luck and thank you for your encouragement!
Great job on your first video! How exciting! Love this easy centerpiece and can’t wait to add it to my deck!
Thank you so much Holly!