DIY Nativity Centerpiece
This DIY nativity centerpiece can be put together in less than 10 minutes! It’s the perfect decoration for your Christ centered Christmas traditions and Advent.
Hello friends and welcome! It’s a special day today because it’s my 41st birthday and I am joining my friends for a Celebrating Advent blog hop hosted by Amber of Follow The Yellow Brick Home. If you are popping over from Stacy of Bricks N’ Blooms, welcome! I loved her Advent wreath tutorial.
I thought I was done posting Christmas blogs but I couldn’t help but share this simple and sacred tutorial with you all today!
DIY Nativity Centerpiece
As we get closer and closer to Christmas, and as we prepare to celebrate our dear Savior’s birth, I love finding new ways to display nativities in our home. I am constantly looking for ways to make Advent meaningful for our family.
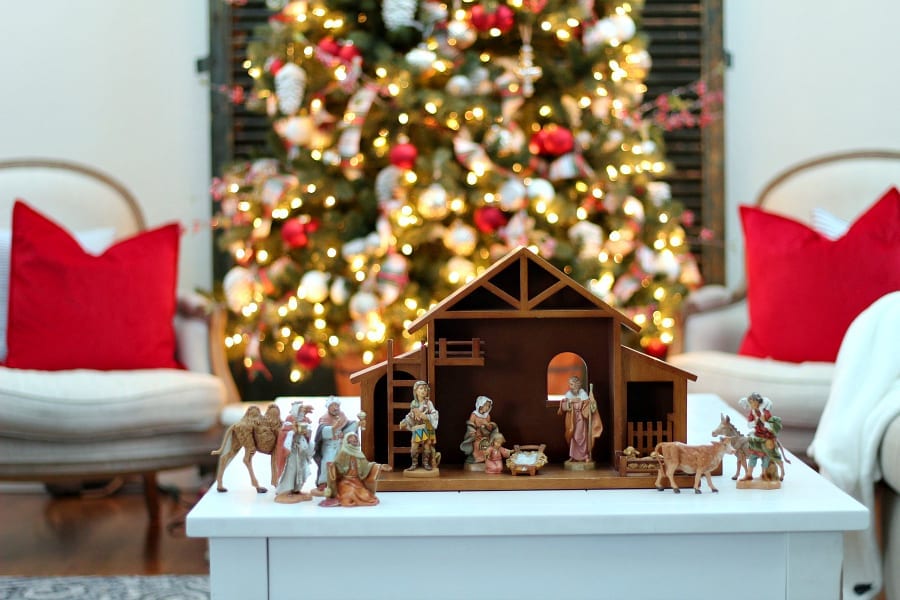
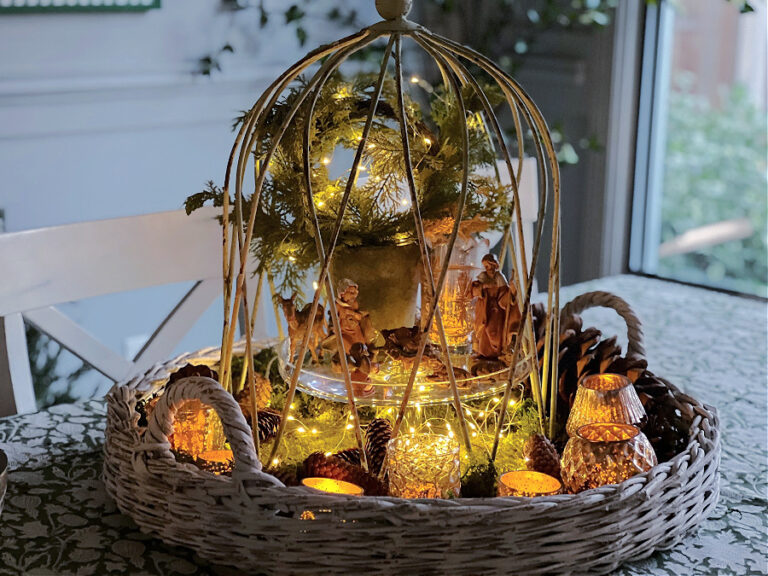
Every Christmas one of the very first things I put out as I am decorating our home for Christmas is our Fontanini Nativity set. It’s a tradition that has been passed down in my family and one I hope to pass down to my own children. You can see it displayed front and center in our entry in this year’s Christmas Home Tour!
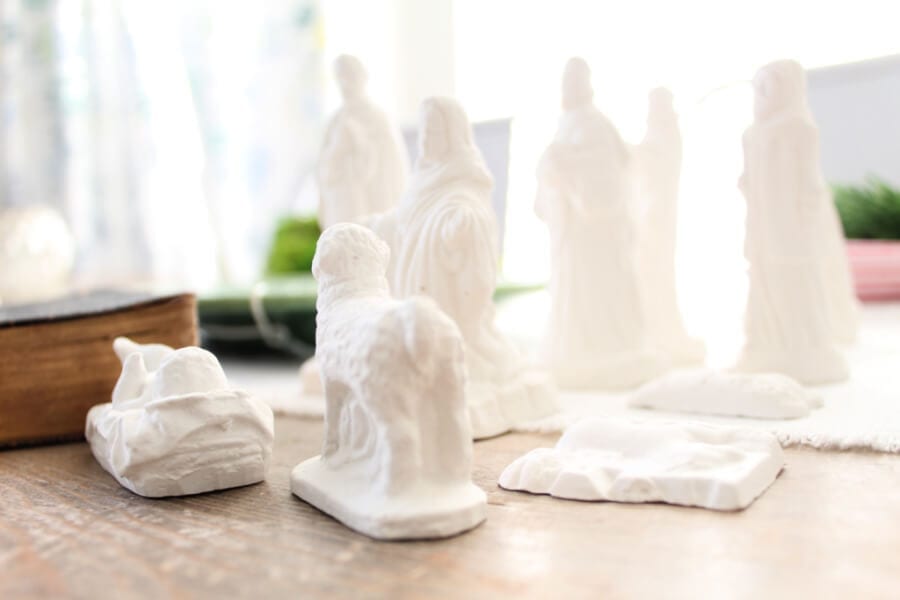
While out recently shopping at a local flea market with my mom we came across a white vintage chalk nativity set that was 50% off! I couldn’t help but snatch it up. The $10 price tag was too good to pass up.
Plus, it was stunning!
After getting it home I immediately knew how I would display it! Over on Instagram I had recently seen Deb of Seeking Lavender Lane and Featherglass both display nativities beautifully!
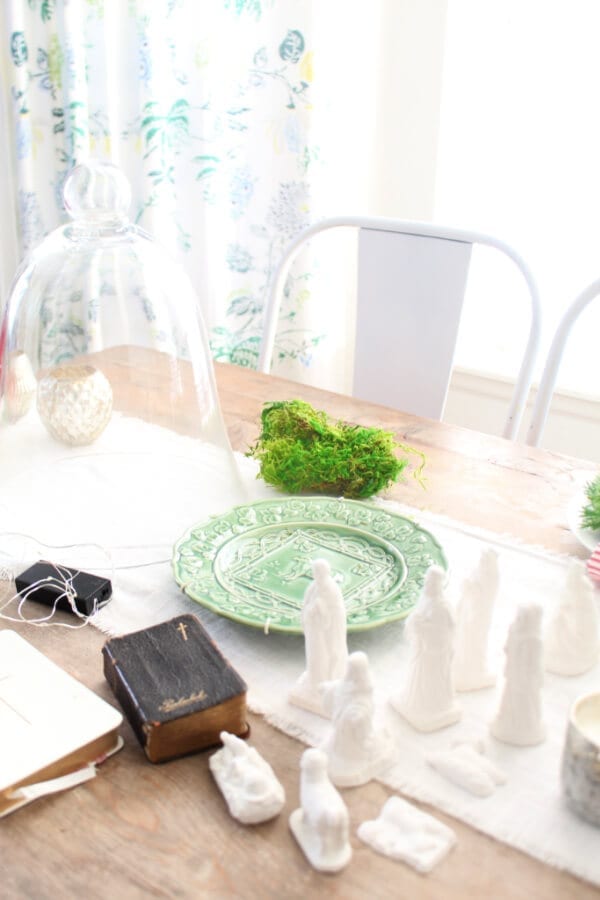
So, I gathered my supplies, got to work and had it done in less than 10 minutes. The best part about this DIY was that I already had everything.
Supplies Needed For a DIY Nativity Centerpiece
- Nativity set of your choice
- moss
- cloche or glass enclosure of some sort
- battery operated fairy lights
- plate
- small Bible (optional)
- hot glue gun
Creating The Centerpiece
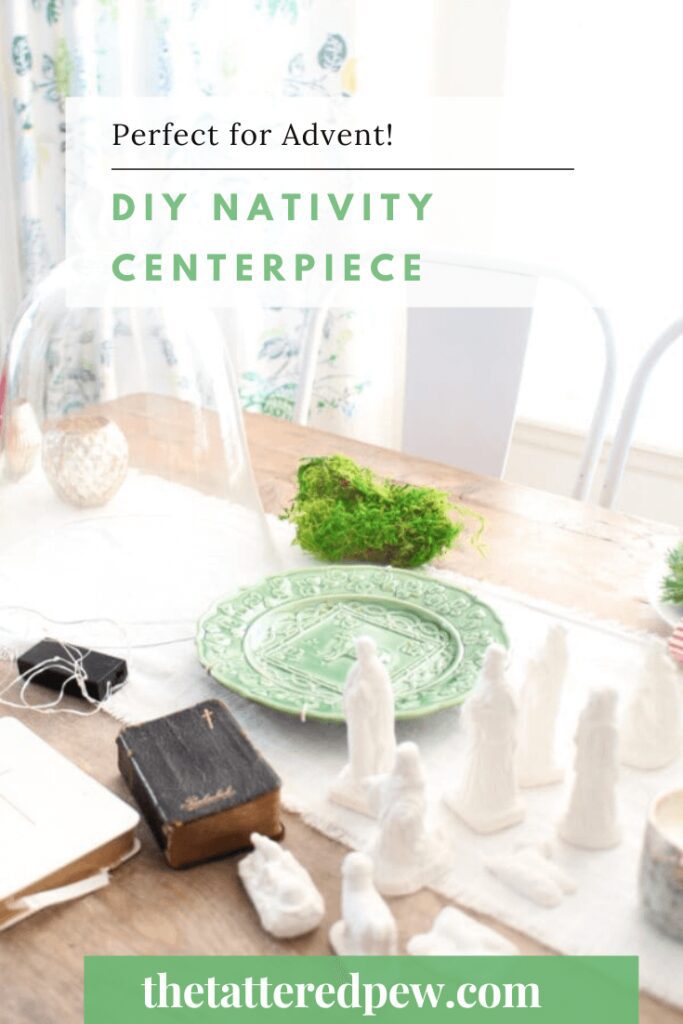
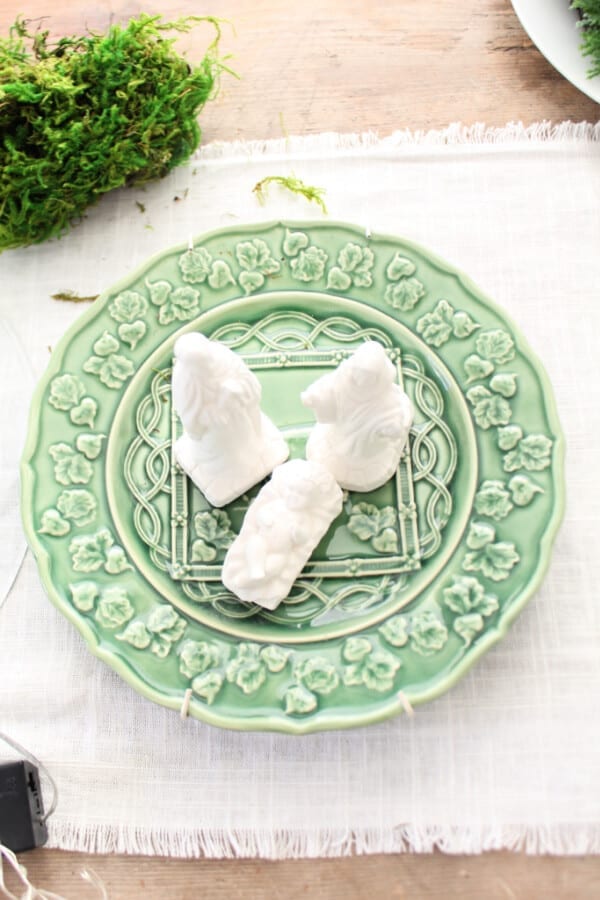
First, I went down to my storage room and searched for my large cloche. (If you don’t have a large cloche a large glass jar, canister or vase could work too!) Then I looked for a plate that would fit under the cloche. Luckily I found a green one that fit perfectly!
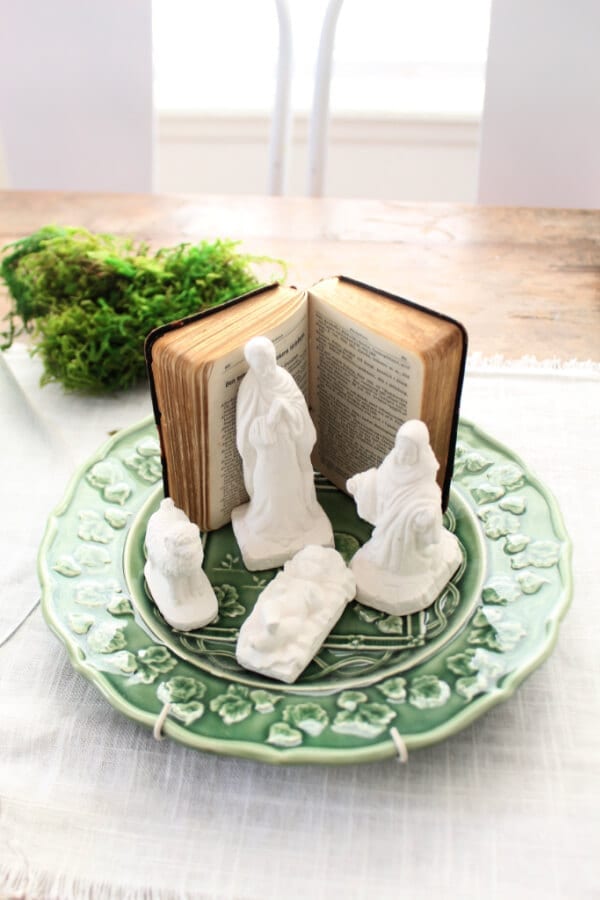
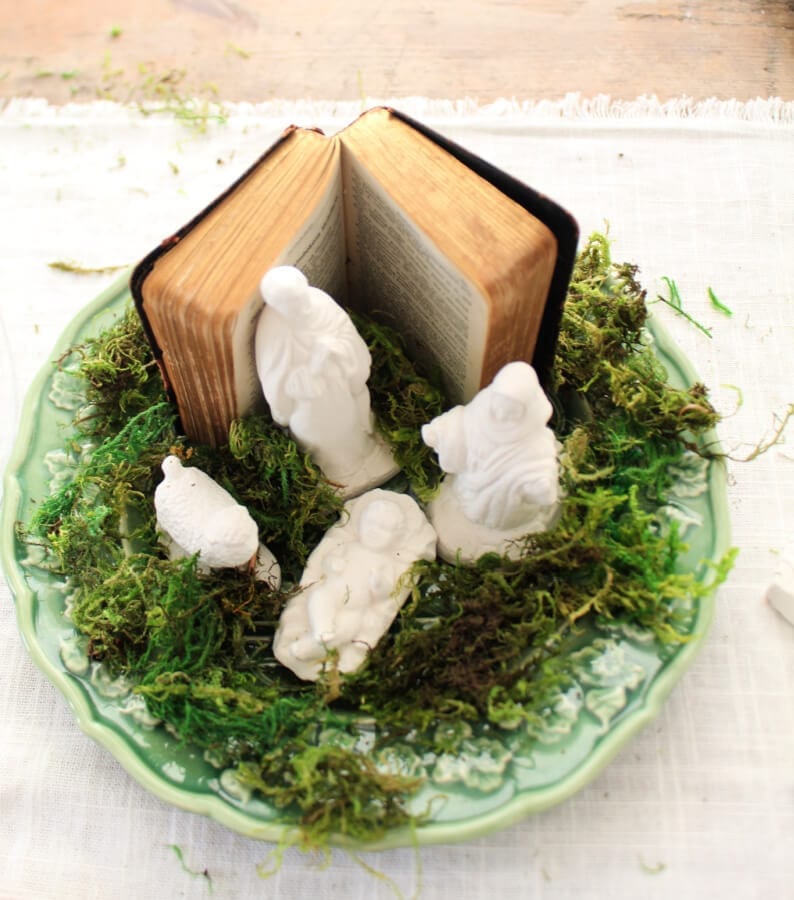
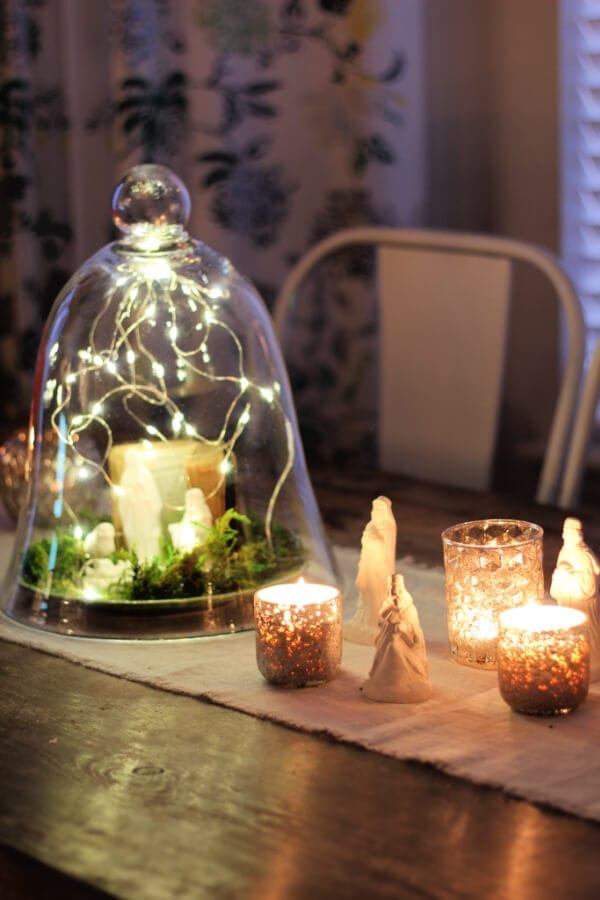
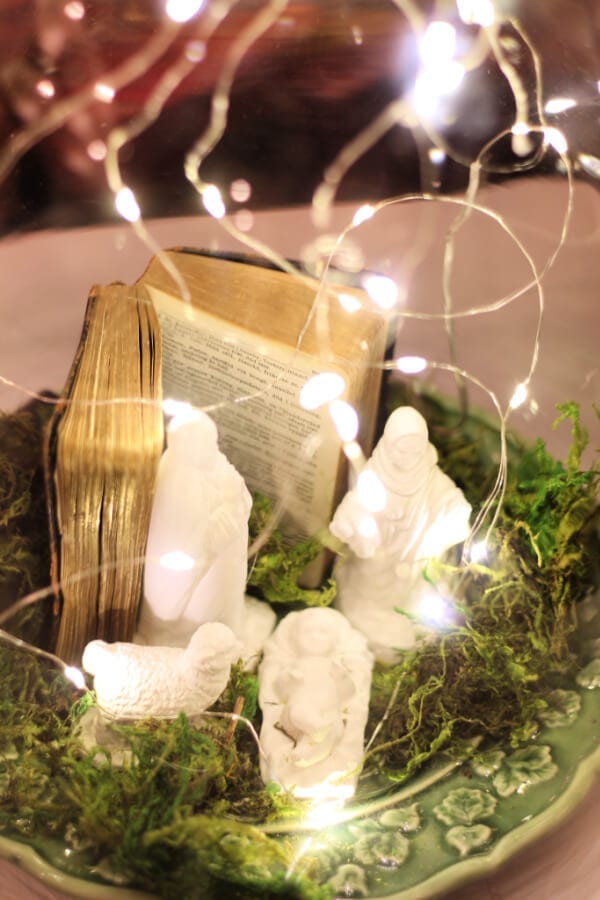
Next, I did a dry run with the nativity figurines. Only Mary, Joseph, baby Jesus and a lamb would fit under my cloche so I chose to place the three kings outside of the cloche nestled in the candles. Almost like they are on their way to see Jesus!
Next came the mini Bible, propped open, and a smattering of moss. I simply tucked the moss in and around the figurines as needed. My handy vac came in very handy because the moss was messy!
Adding The Fairy Lights To The Centerpiece
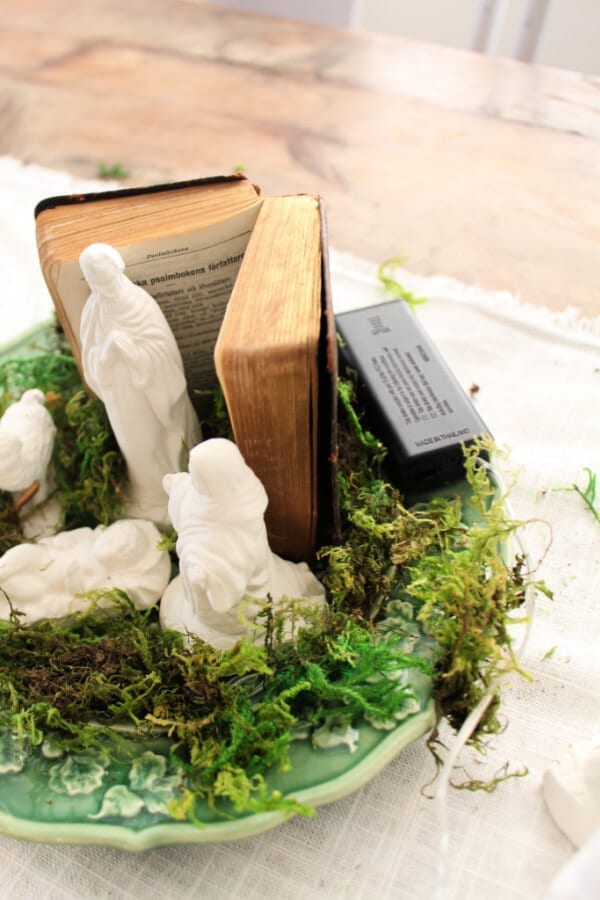
The final step was adding the battery operated fairy lights to this centerpiece. The moss did the trick of covering the ugly black battery case used to turn the lights on.
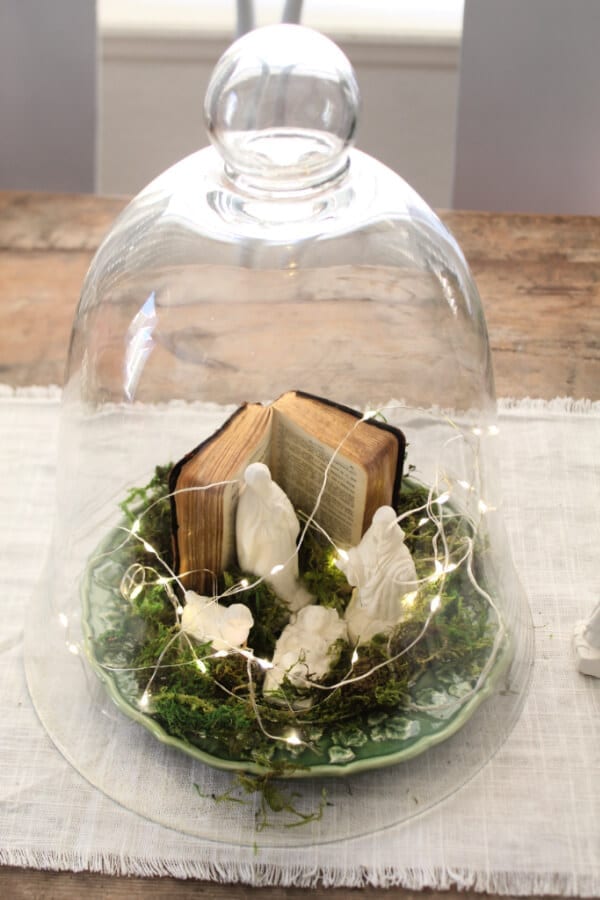
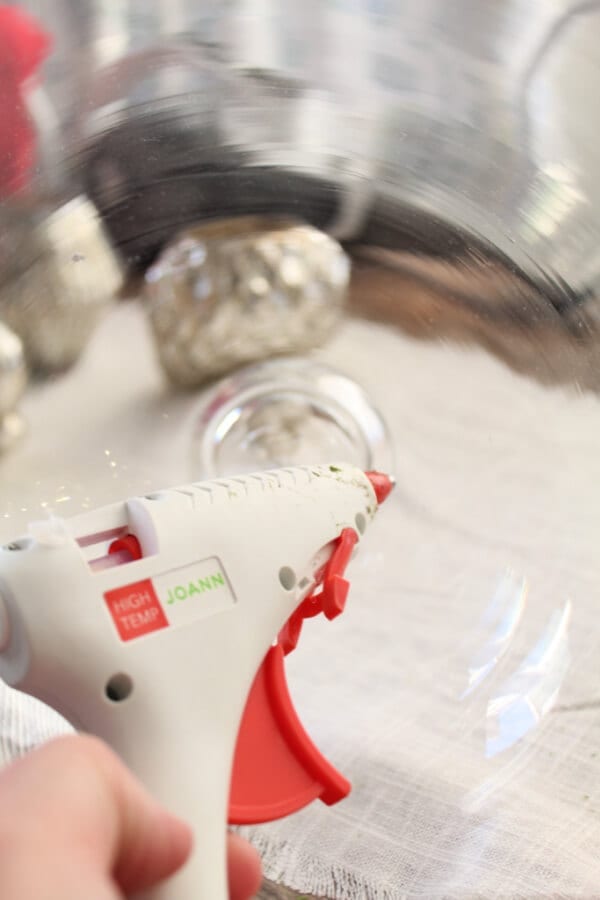
At first the lights fell around the bottom of nativity which disappointed me. I was hoping for them to fill the cloche as if they were floating. Since they wouldn’t stay up on their own I decided to put a small amount of hot glue at the top of the cloche on the inside. Then I pressed the fairy light strand into the hot glue.
TIP: Hot glue will peel off the glass easily so the lights will not be stuck permanently to the top of the cloche.
A Lovely and Sacred Centerpiece
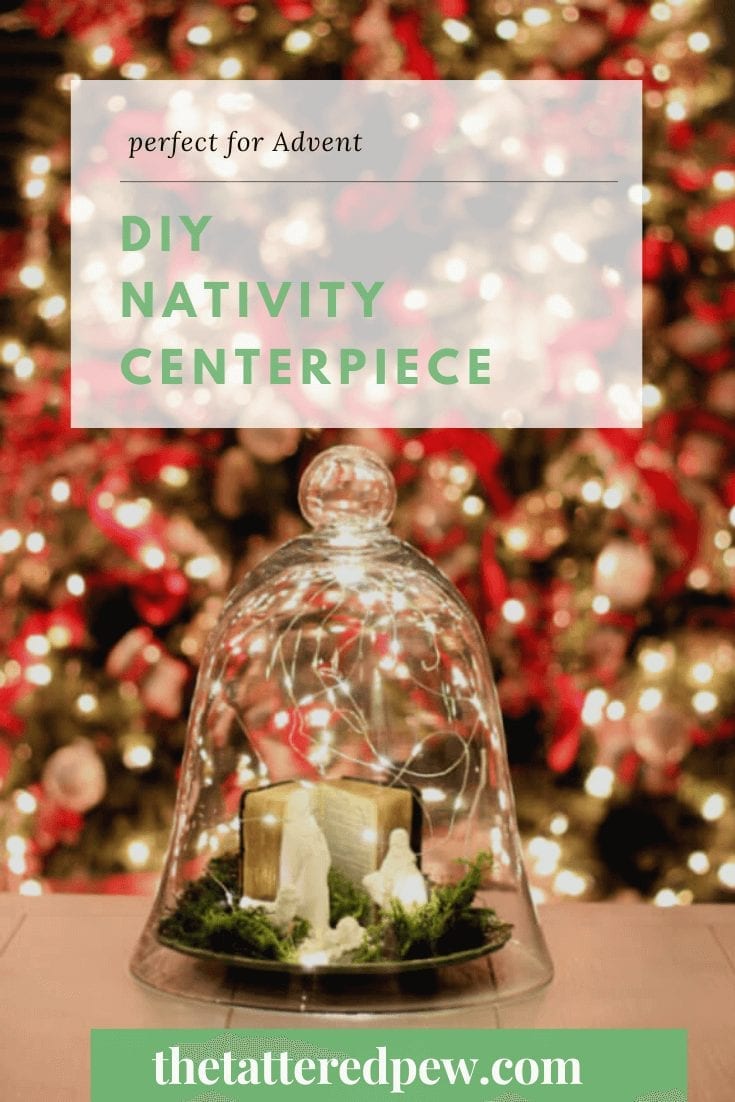
To finish it off I turned on the lights and placed the cloche over the plate and it was instantly beautiful! Especially when the sun went down. A lovely nod to how the lighting may have looked the night of our dear Savior’s birth!
Don’t the three kings look like they are on the way to meet baby Jesus? If Only I had hung a star from our chandelier! Speaking of stars did you catch the Christmas star last night? It was glorious!
After listening to the king, they went on their way. And behold, the star that they had seen when it rose went before them until it came to rest over the place where the child was. When they saw the star, they rejoiced exceedingly with great joy. And going into the house they saw the child with Mary his mother, and they fell down and worshiped him. Then, opening their treasures, they offered him gifts, gold and frankincense and myrrh.”
Mathew 2 : 9-11
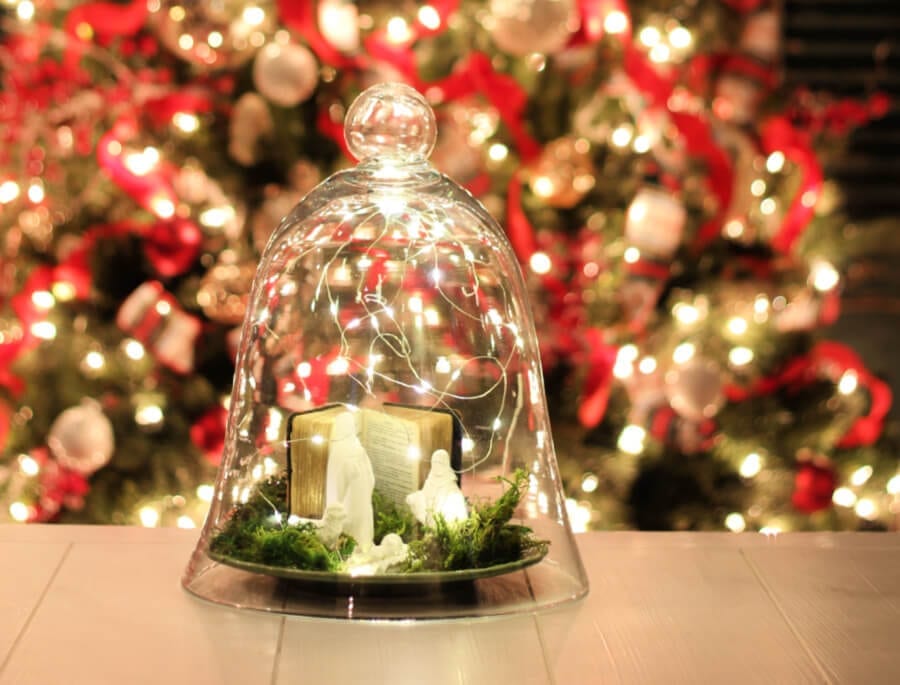
I couldn’t resist moving it over in front of the tree for some more pictures. I feel like this simple DIY could be used in so many places other than just a centerpiece on a table. It would be beautiful next to a bed, in a niche, or even on your kitchen counter!
DIY Nativity Centerpiece
I am so excited to enjoy this DIY Nativity Centerpiece this Christmas and for many more to come. Don’t be surprised if I start collecting nativities now….maybe I could feature a different nativity in each cubby of my printers cabinet next year? Wow I have so many ideas going through my head! I just love Christmas and I love keeping it centered on Jesus!
Thank you for stopping by today and now make sure to pop on over to the next stop Emily of Le Cultivateur to see how she celebrates Advent! Merry Christmas my friends…I pray the Lord blesses you and keeps you!
XOXO,
Kelly
For to us a child is born, to us a son is given; and the government shall be upon his shoulder, and his name shall be called Wonderful Counselor, Mighty God, Everlasting Father, Prince of Peace.”
Isaiah 9:6
Did you like this PIN? Save it for later!


Love both of your Nativity scenes. What a fabulous find on the chalk set and I love that you displayed it under a cloche. Beautiful
Thank you Marty! I was so excited to find it and display it! Merry Christmas!
Kelly i love your DIY nativity! It looks awesome! I hope you have a Merry Christmas! xoxoxo
Thank you Stacy!!! Merry Christmas!
What a glorious find! I adore both Nativities. Merry Christmas and Happy New Year!
Thank you Laura and Merry Christmas to you too!
What a beautiful way to display a nativity set, I love it Kelly and Happy Birthday to you, dear friend.
Thank you so much Alicia! I appreciate those birthday wishes my friend!
Gorgeous way to display a nativity scene! You just provided me with inspiration for gifts for my loved ones for next year! Happy birthday and Merry Christmas!
Oh that makes me so happy! Thank you so much and Merry Christmas to you and yours!
Beautiful nativity Kelly! I love how you displayed it under a cloche which makes a wonderful focal point for the whole family to enjoy! Happy Christmas to you and your family!
Thank you Michelle, happy Christmas to you and yours as well!
I love this beautiful display! The wise men seem perfect outside the cloche on their way to the manger, while the holy family is highlighted inside the cloche. I love the little Bible and the chalkware set was a great find!
I also love your family heirloom nativity too! Beautiful photos and inpsiration.
HAPPY BIRTHDAY! I hope you have a fun day!
Have a very Merry Christmas too!
Thank you Amber! I couldn’t believe how it all came together so beautifully! Thank you for the birthday wishes and Merry Christmas to you and your family too!
What a fantastic find! I love how you separated the figurines and added the small Bible. So pretty and I love your thoughtful sentimental heart. I don’t think my kids will ever want any of my stuff. And now, we didn’t see the star. I could kick myself. We talked about it many times and totally forgot! Ugh. Hope your family has the merriest of Christmases. Happy Birthday too!
Love how you used the nativity pieces inside a cloche. It’s even more special that you’ve used the small Bible. The lights add an extra bit of “awe” and adoration. Have a Happy and Blessed Christmas and New Year!
What a beautiful way to display your nativity! I love using my glass cloche. Great tip on the lights…I didn’t know that! Merry Christmas!!
This nativity display is simply lovely. I love an easy diy so I will definitely copy this!
Kelly,
I love this creative idea. Adding the Bible is my favorite part. Thanks so much for sharing your talents with us.
Rachel you are so sweet! Thank you friend for always encouraging me and lifting me up!
I love it! Thanks for sharing. Happy Belated Birthday, Merry Christmas, and Happy New Year!
Thank you Marilyn! Happy New Year to you as well. 🙂