Easy No Sew Drop Cloth Bed Skirt
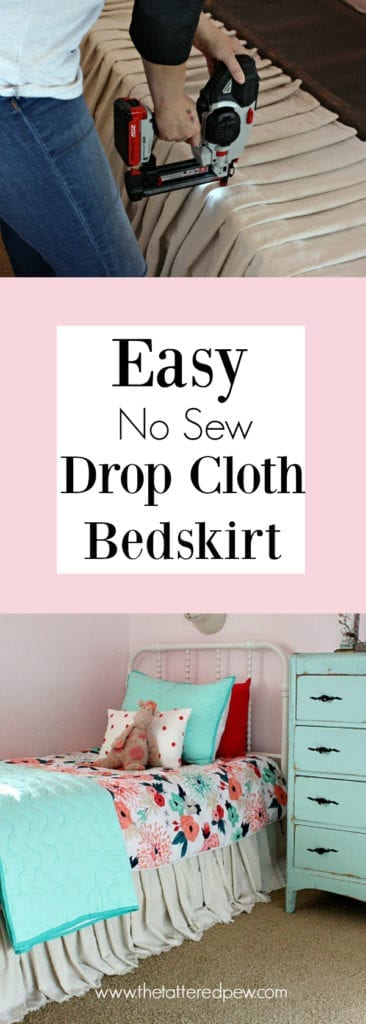
Hello friends! This past weekend I shared my girls’ bedroom makeover here on the blog and had quite a few of you inquire about the bed skirts that I made. So I figured I would give you a little tutorial in case you wanted to try them out for yourself! These are easy no sew drop cloth bed skirts that I know you will love!
(This post contains affiliate links. You can read my full disclosure here.)
Easy No Sew Drop Cloth Bed Skirt
I am all about keeping things simple, cheap and easy. However, with cheap you have to be careful that it doesn’t cross over to the tacky side. You know what I mean? So when I started seeing all of these cool DIY projects using drop cloths I figured I would give it a shot.
The Project
My girls share a room and we recently transitioned them from bunk-beds to individual beds (you can see the makeover here). So I decided to look around for a cute bed skirt that would work with their bedding from Target and their beds from Walmart. Not only were they outrageous in price (no thank you) but they were hard to find! So I was stuck…until I found a blog post from Beginning in the Middle.
So after reading that there was a “no sew” inexpensive option with a beautiful end result, I started brainstorming some ideas with my insanely talented little sister. She had recently received a nail gun for her birthday (I know, isn’t she so cool?) so we talked about the possibility of using a drop cloth, gathering it to my liking and nailing it to the box spring. Guess what…it worked and I am in LOVE!!! Read below for all the details and a few fun pictures!
Materials You Will Need
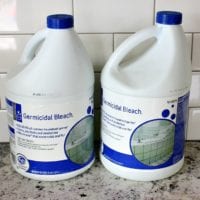
1-2 Bottles of bleach at $4 each
Nail gun (borrowed from my sis)
Tape measure
Scissors
The Steps
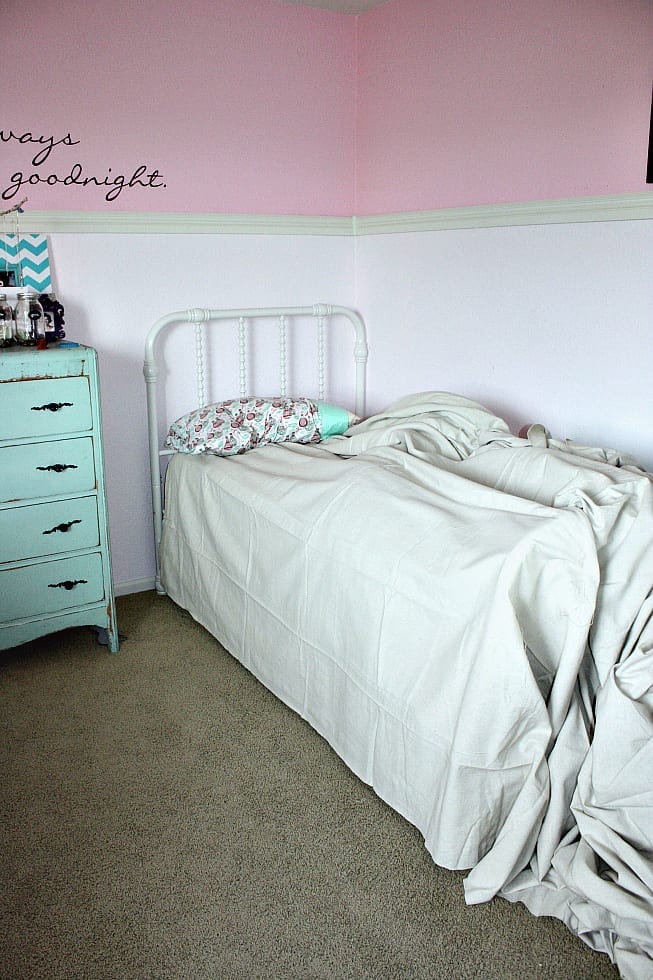
After buying the drop cloth and bleach you will need to measure out the length and width of the bed. I wasn’t very precise (as you can see in the picture below) with how I measured, I just held it up to the length of the twin box spring. From here I stretched out the cloth to the end of the box spring and then doubled the length (folded it back over) since I knew I would be gathering it to give it a pleat. It is always better to have extra fabric! Also, before I cut it I made sure that it would be long enough in length because I wanted the skirt to pool on the floor. You can always vary the length according to your personal preference. That’s what I love about a good DIY!
After I cut my pieces for the length and width of the skirt, I used the bleach shown above to make the canvas drop cloth whiter. If you ask my four year old she will tell you my favorite color lately is white. I know weird, right? But seriously it is the truth! I love how clean and fresh white looks on everything, our newly painted walls have inspired me! Don’t worry I still adore the color blue as well!
Some Help
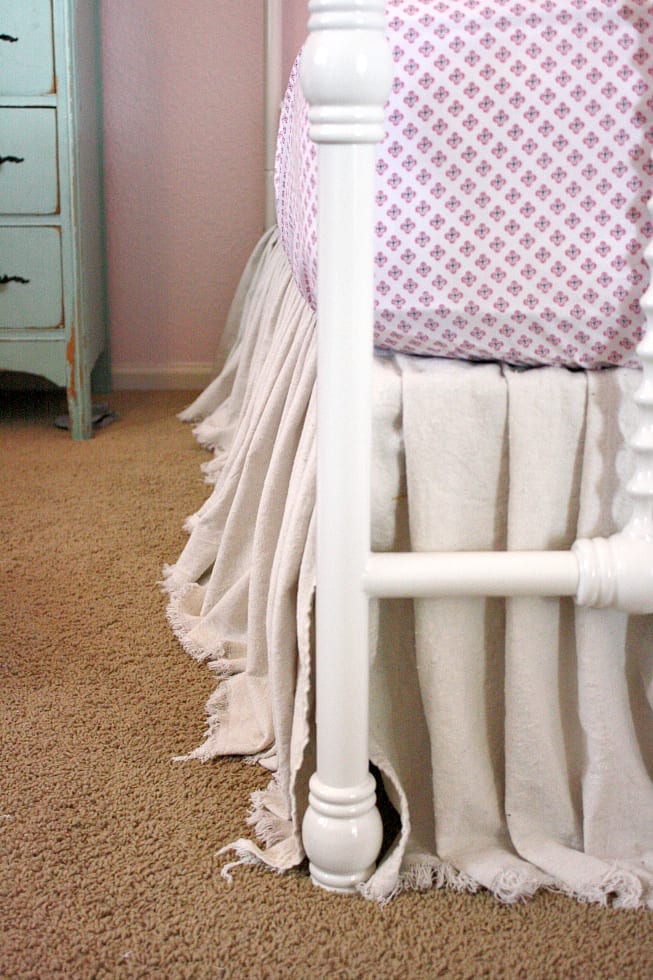
Anyways, I found a great post about how to bleach a drop cloth over at the Tidbits blog and I followed it. Except that I ended up bleaching my drop cloth two separate times (hence the two bottles above) because I wanted it whiter. I also left mine in the bleach almost all day ! I suggest leaving your windows open and leaving the house all together because it can get pretty smelly. Once I was done soaking them in the bleach, I ran the drop cloths through a normal wash cycle 2 times just to be safe. Next, I put them in the dryer. Once I took them out they were extremely soft yet had frayed edges. This was because I had cut the cloth apart before bleaching and washing the fabric. You can see the frayed edges in the picture below.
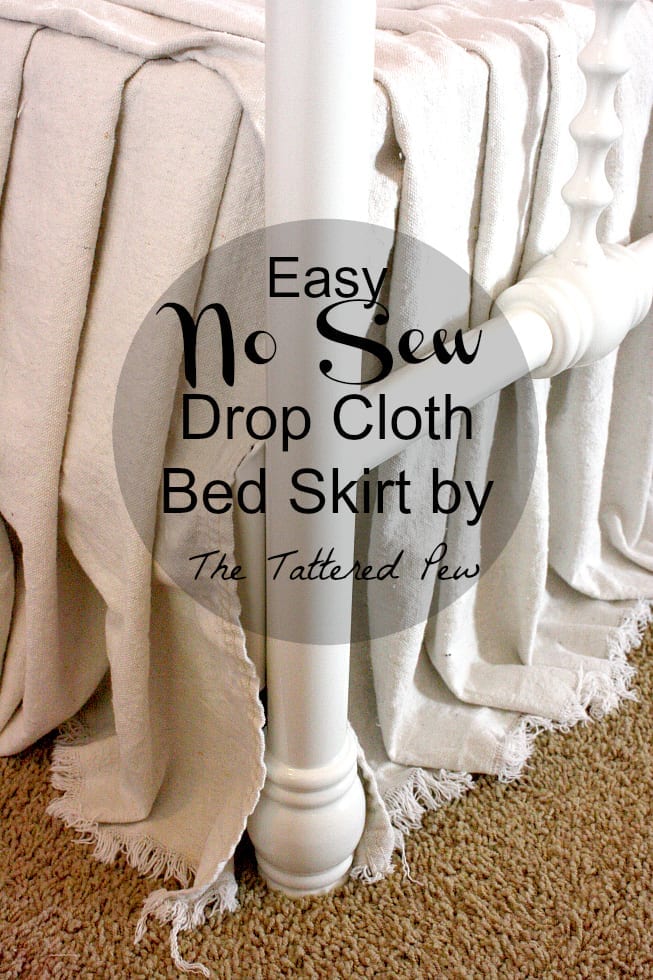
I love how the frayed edge gives the bed skirt a vintage feel. However, I know this is my personal preference and possibly not yours. To avoid this look you can always bleach the drop cloth before you cut it or you could use the edges of the cloth that are already hemmed for the bottom of the bed skirt.
Pleating the Skirt
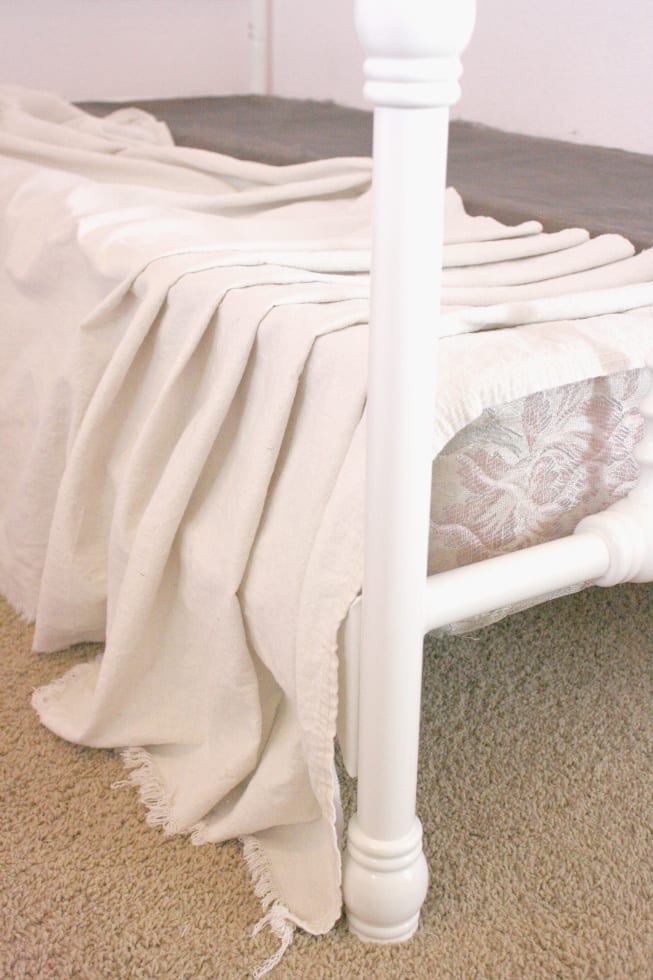
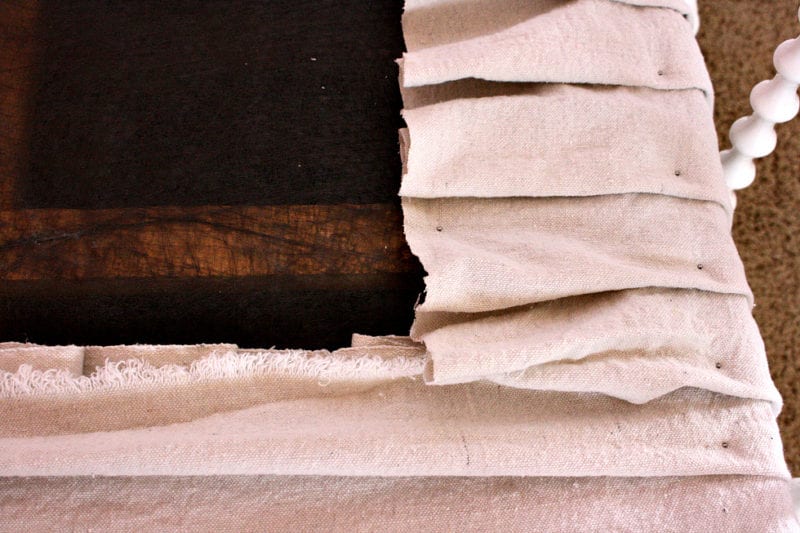
Once I had the pieces laid out on the box spring I was able to start folding over little bits of fabric to form a pleat to my liking. You can see how I started the pleating and folding in the picture above. I did this before using the nail gun which ended up being good for two reasons. 1. I was able to visually see if my pleats were even and if they looked good before I actually nailed them on to the box spring. 2. I discovered that I had to turn the box spring completely over to expose the wood structure so that I would have something to nail the canvas drop cloth to. (See the picture above)
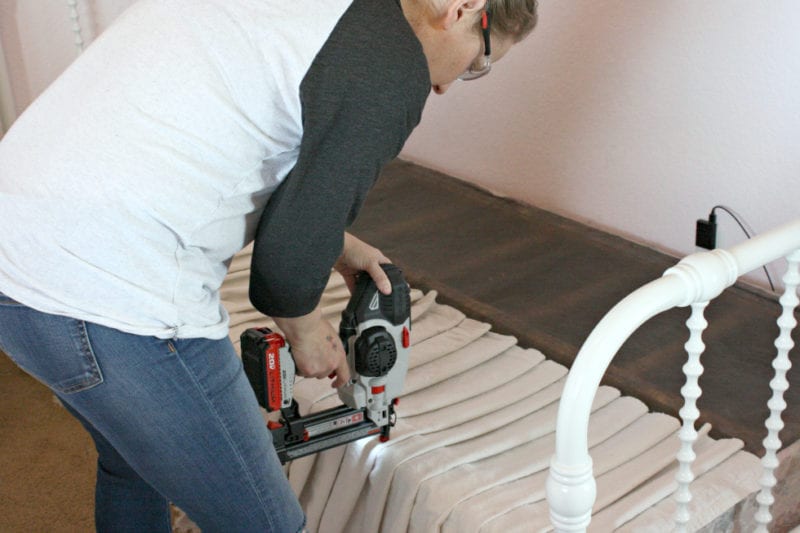
Once I had the pleats the way I liked them I began using the nail gun. It was a lot of fun! I felt so powerful and it was so easy! So thankful my sister let me borrow it because once I had the pleats done and started nailing the drop cloth down, I was finished very quickly! (I might be adding a nail gun to my wish list now!) I made sure that I nailed on top of the folded pleat so as to secure the drop cloth to the wooden frame while holding the pleat in at the same time. This worked perfectly.
Drop Cloth Fabric
Once the length of the skirt was done I moved on to the skirt portion that would be covering the foot of the bed. In the picture above you can see how I folded under the ends on the adjoining piece and nailed it to the corner to secure the two pieces. Then I once again completed my pleating first and then finished with nailing the pleats down. I ended up needing two pieces for this bottom part but luckily I had extra fabric. You would never be able to tell that these are two separate pieces because I just used the pleat and fold to cover the seam and nailed the two pieces together. I also should mention that because both beds are against the wall I only made the bed skirt for the sides of the bed that show.
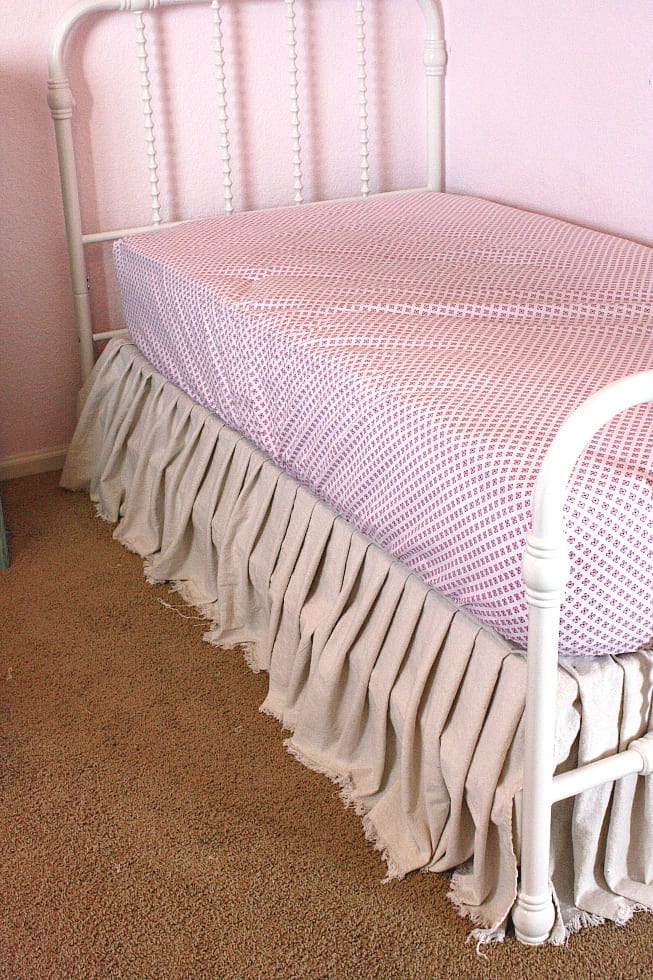
Easy DIY Drop Cloth Bed Skirt
And that’s it… seriously once of the easiest DIY projects I have completed in a long time. I was able to make two bed skirts in just one day (if you don’t count the day it took me to bleach the drop cloth. )
Completed Bed Skirts
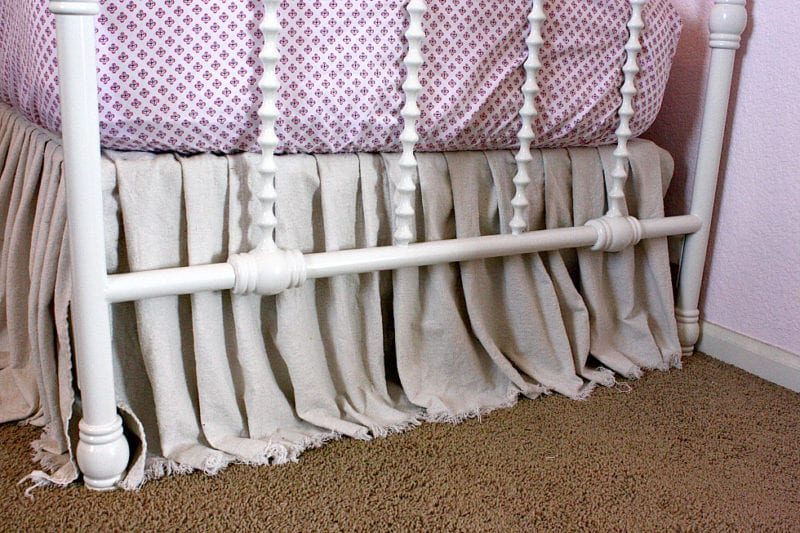
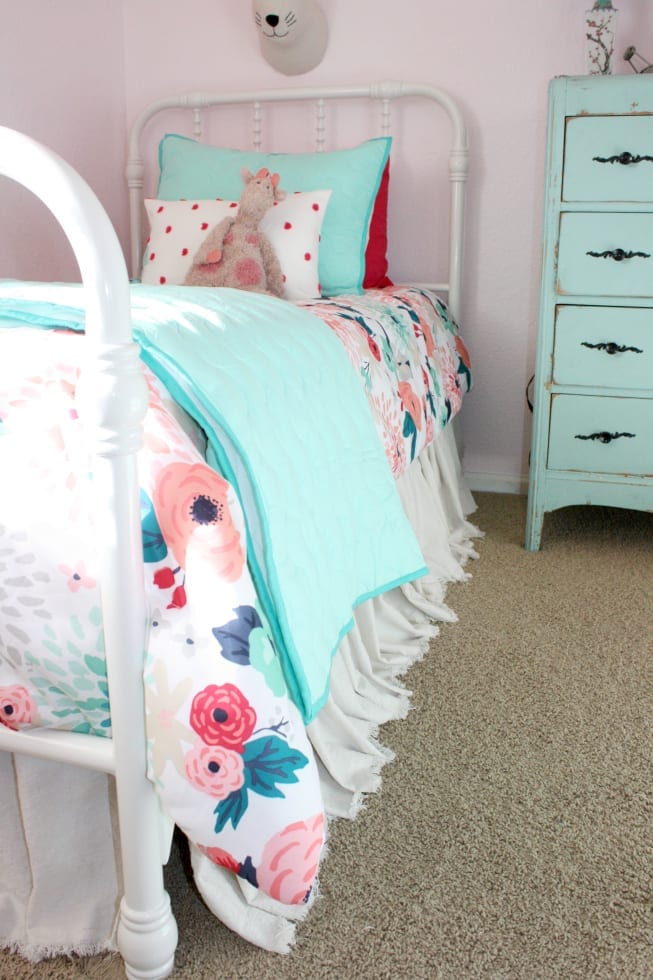
Here are some pictures of the finished product! You can see a few frayed edges and long strings but I was able to trim those right off ! I love the overall look and it really was a very simple DIY project. I’m thinking I might need to make one for our bed next!
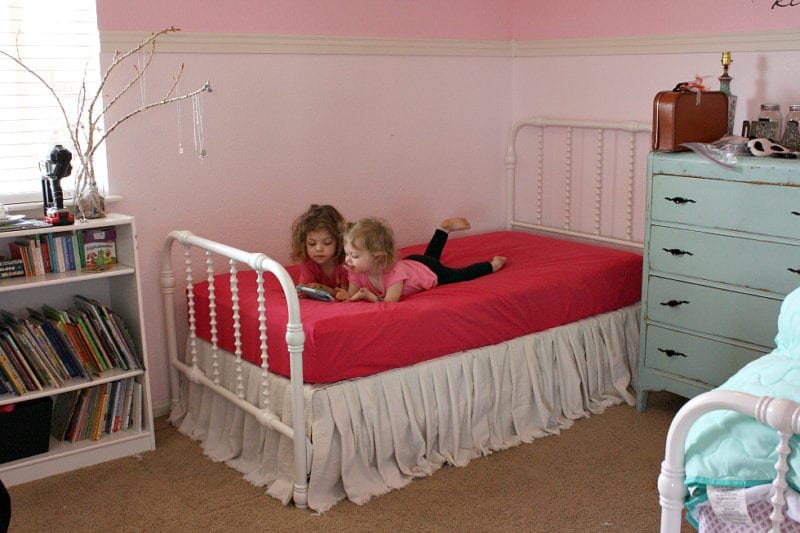
I hope you found this tutorial helpful and that it inspired you! If I can do it than you can do it too! Please let me know if you have any questions and as always thank you for following along and reading my posts! I am so very thankful for you!
You might also like…
- No Sew Drop Cloth Curtains with Colorful Tassel Trim
- Easy No Sew Drop Cloth Napkins
- No-Sew Recovered Bench with Skirt
xoxo,
Kelly


Love, love, love! Looks like something you’d buy at Restoration Hardware for hundreds of dollars!
Jennifer you are my new best friend! Thank you!
It looks amazing and has the added bonus of sister time! A win-win in my book! 😁
This is beautiful!!!! I want one for my daughter’s room!!!!!
Thanks Natalie! Let’s do it! I am always looking for another excuse to use a nail gun!
Yes for sure! Thanks sis…love you lots!
Love this❤great job!
Thank you so much Rachelle!
Such a great tutorial!! Love the end result💗💗💗💗
Thank you Lacie that means so much to me!
They turned out so beautifully Kelly!! You would never know they were a DIY!!
Jordan you are so kind! I had so much fun making these and the end result was incredible! Win win!
What a great idea, love how they turned out!
Thank you! They might be my favorite part of the room!
Wow! LOVE the way yours came out, esp. w/the frayed edges! Thank you so much for sharing.
Thank you so much! Your post was such an inspiration to me!
Kelly! This is genius! I LOVE this idea and may have to steal it!
I’m so glad you linked up for I DIYed that – I hope you come back to share again!
Thank you Jen! It was so fun to make. I will be back for sure!
This is amazing! It looks like a pricey bedskirt!! Might just have to copy this one for my own room!
Thank you Melissa! I might be doing the same for my bedroom too! Have fun!
I love this idea, it gives a really nice finish to the look of the bed.
Thank you! The girls love it!
Do you remember the name of the beds? This is just what I’m looking for! Do you like them?
Yes Michelle, the direct link to the beds is in my post about The Shared Girls’ Bedroom Makeover. Or you can try copying this link into your browser! Good luck!https://www.walmart.com/ip/DHP-Jenny-Lind-Twin-Size-Metal-Bed-White/
Yes we love them!
Hi Michelle! Yes we love them! You can find the direct link in my post titled Shared Girls’ Bedroom Makeover or you can try this link by pasting it into your browser. Good luck! https://www.walmart.com/DHP-Jenny-Lind-Twin-Size-Metal-Bed-White/
Hi Michelle! Yes we love them! You can find the direct link in my post titled Shared Girls’ Bedroom Makeover or you can try this link by pasting it into your browser. Good luck! https://www.walmart.com/DHP-Jenny-Lind-Twin-Size-Metal-Bed-White/
Saw this on the first Friday Friends Parade LP! It turned out so cute and looks easy. Pinned. 😉
Thank you so much! I appreciate THE PIN!
Oh my, Kelly. This is just adorable! I’ve been looking for a vintage French linen style bed skirt idea for our master bedroom. The bed is extra high so I need a DIY option. Absolutely LOVE this! A definite pin for my board. Thanks for sharing!
Darlene you are so kind! I hope this DIY will be just what you need! thanks for stopping by today!
I am so glad I clicked on the for the first friday friends roundup! What a fabulous idea to nail the bed skirt to the boxspring! No more slipping and sliding!
Thank you for stopping by Kallee! It was my only option and it has proven to be a good one!
I love using drop cloths as curtains but hadn’t thought about a bed skirt! Love this tutoria, thank you!
~Deborah
Hi Deborah! I so appreciate you and your comment! I want to try curtains next!
I just love this. It’s adorable. But, how do you clean them?
Do you think upholstery pins would work? Easier to remove and wash.
Thank you Carol! SO far I have yet to clean them. Hoping I don’t have to! Upholstery pins would definitely work!