How to Easily Stencil an Accent Wall
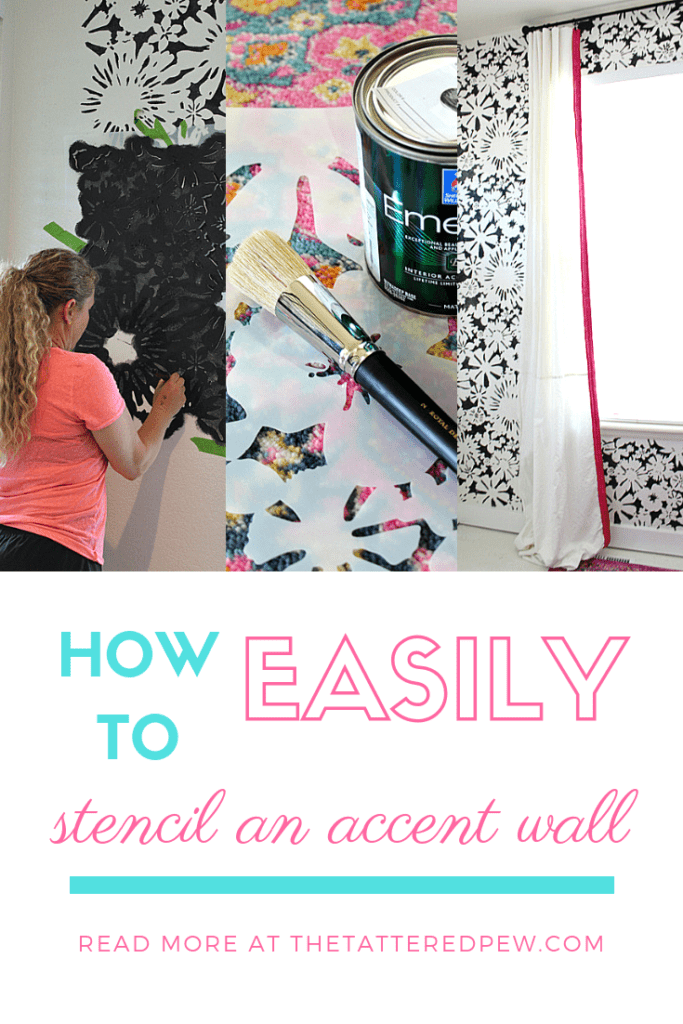
This post is sponsored by Royal Design Studio Stencils. All photos and opinions are my own.
How to Easily Stencil an Accent Wall
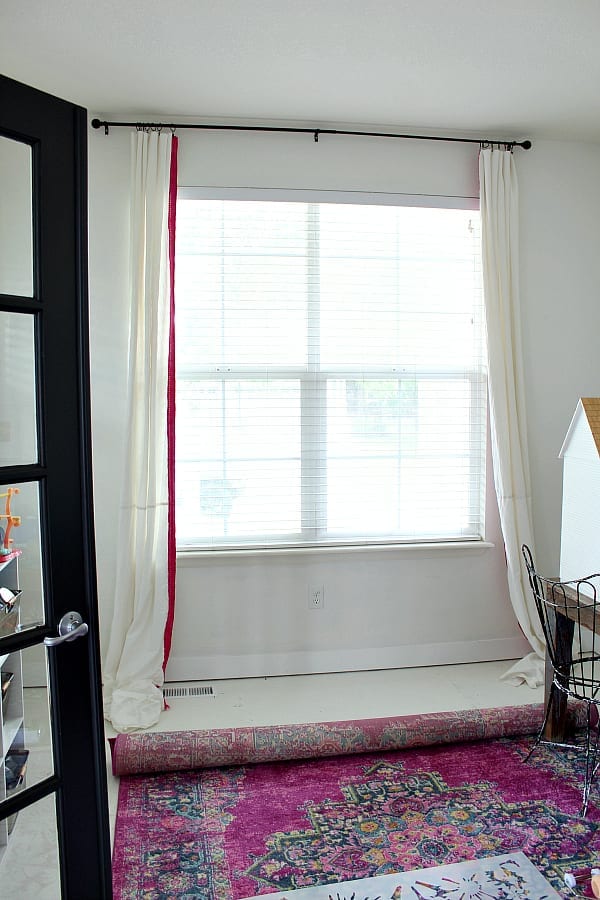
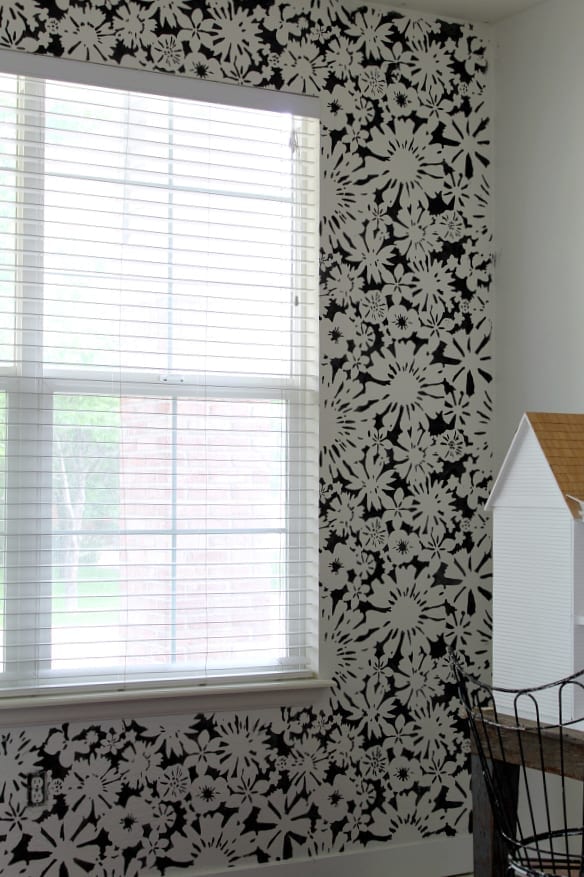
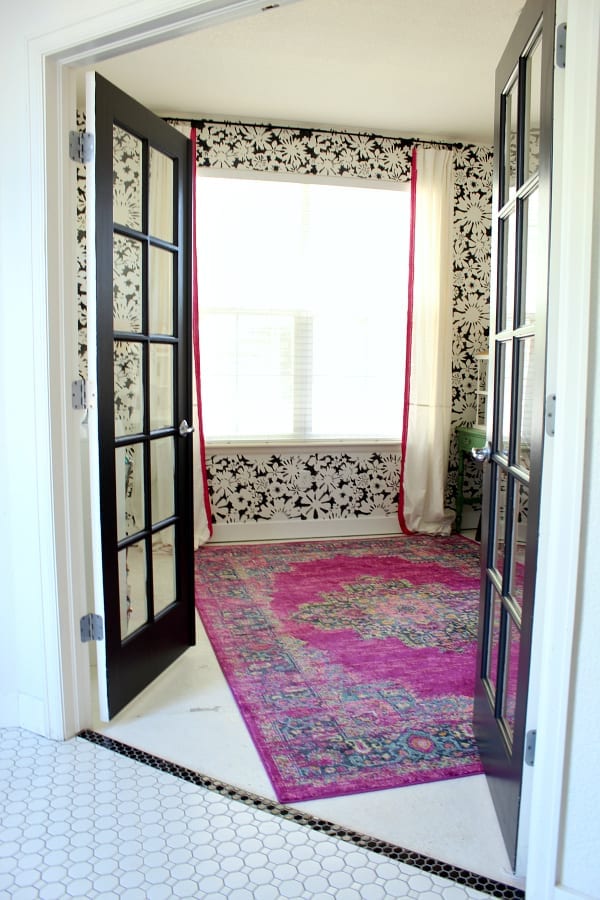
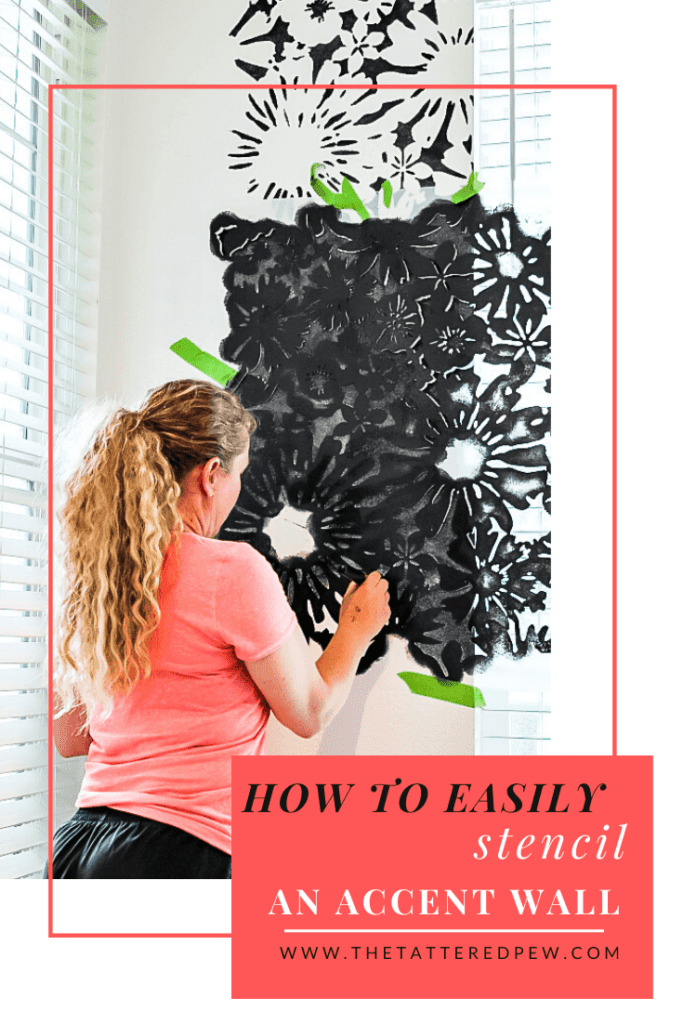
Like I said above this was an easy project. I have to give major props to Royal Design Studio Stencils for having awesome and easy to follow tutorial videos on their site. The hardest part might have been deciding on what stencil to use and what color paint to pick. I ended up choosing the large Floral Fireworks Allover Wall Stencil from Royal Design Studio Stencils. For the paint I used Tricorn Black (matte) from Sherwin Williams which is the same color I have on my interior doors and the doors that lead to the playroom. I couldn’t be happier with both choices! Below is a picture of what the playroom looked like before I stenciled it. You may notice my no-sew drop cloth curtains I just shared!
The Supplies
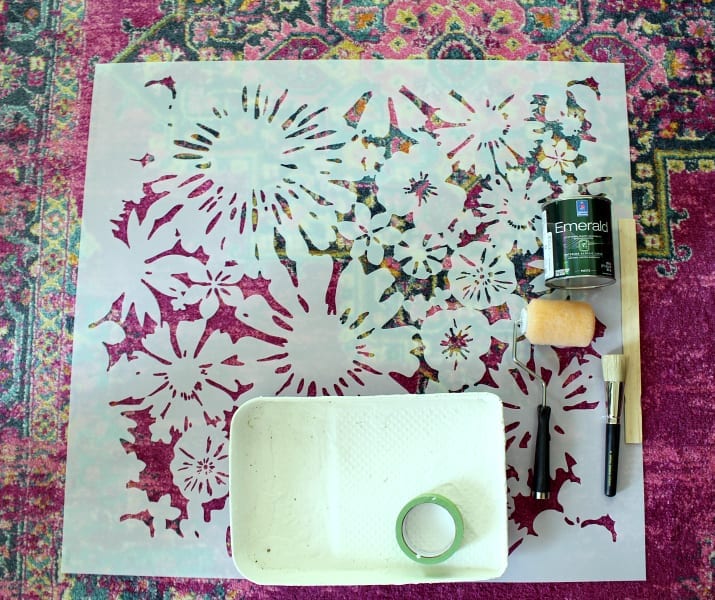
Here is a list of the items you sill need to stencil your walls.
- painters tape
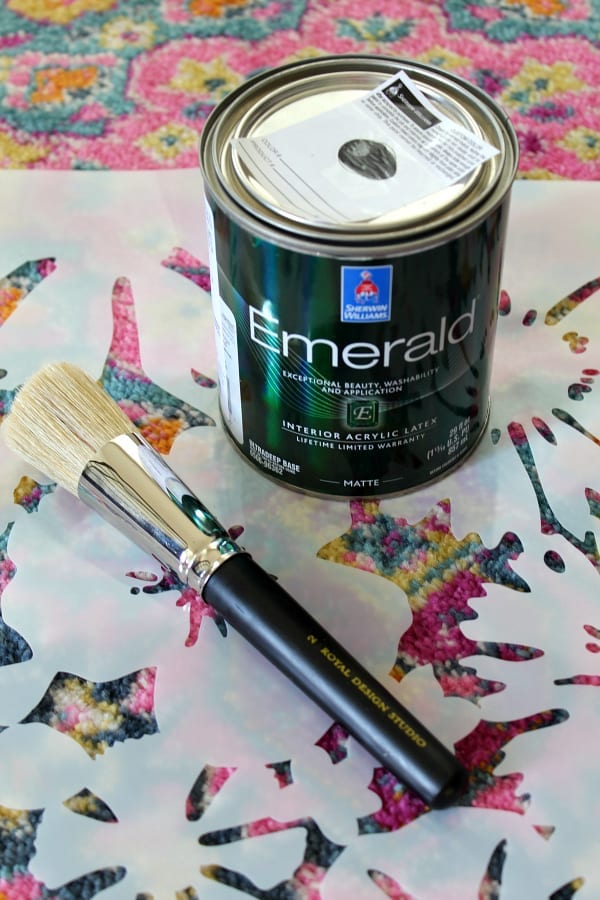
- Stencil (I used the large Floral Fireworks Allover Wall stencil)
- ladder
- level
- paint of your choice
- brush or small roller ( I used the 2″ stenciling brush from Royal Design Studios)
- paper towels
- Here is an affiliate link for my cute pink rug in case you love it as much as I do!
Getting Started
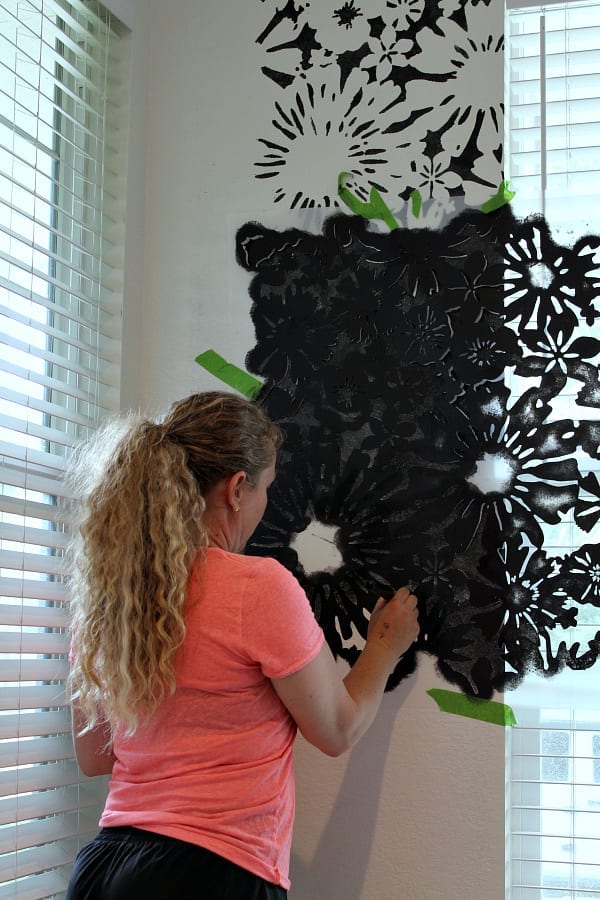
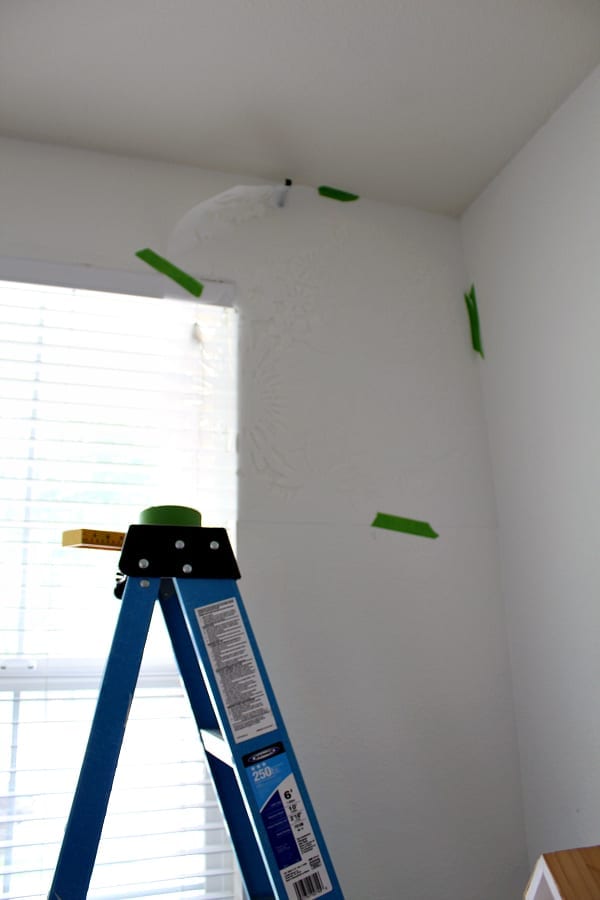
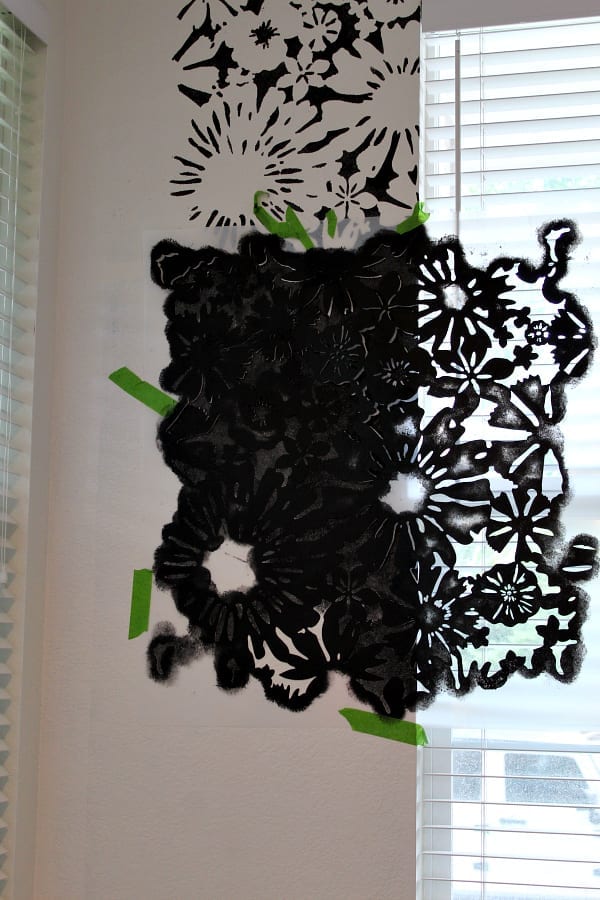
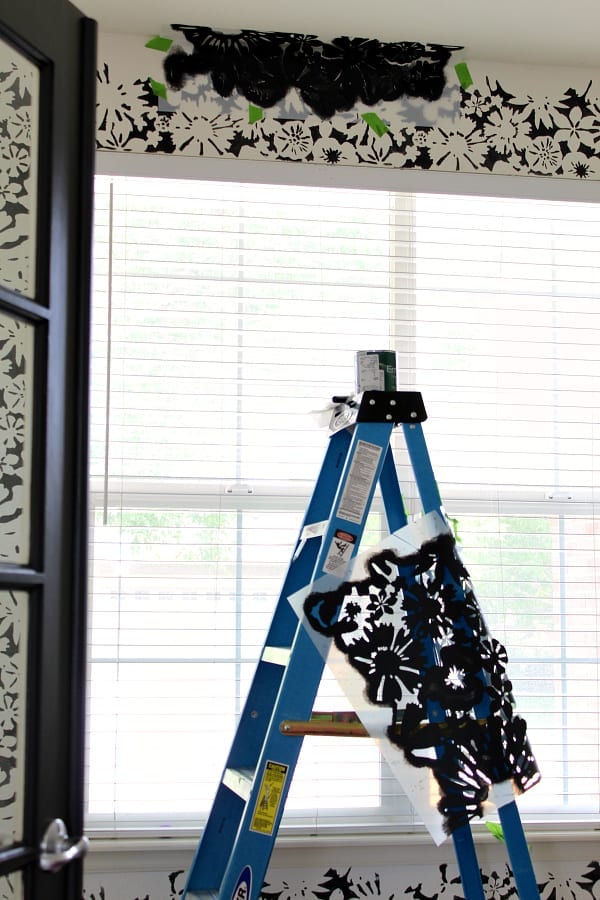
Once you decide on the wall or area you want to stencil then you need to decide if you plan to start stenciling in the middle of your wall or on one side. I chose to start on the right side of my playroom wall mostly because I had a huge window and wanted to have the majority of the stencil show on either side of my window. Next, I used a level to make sure the stencil was straight and then used painters tape to hold it up. After it was taped I grabbed my paint and set it on the top of my ladder.
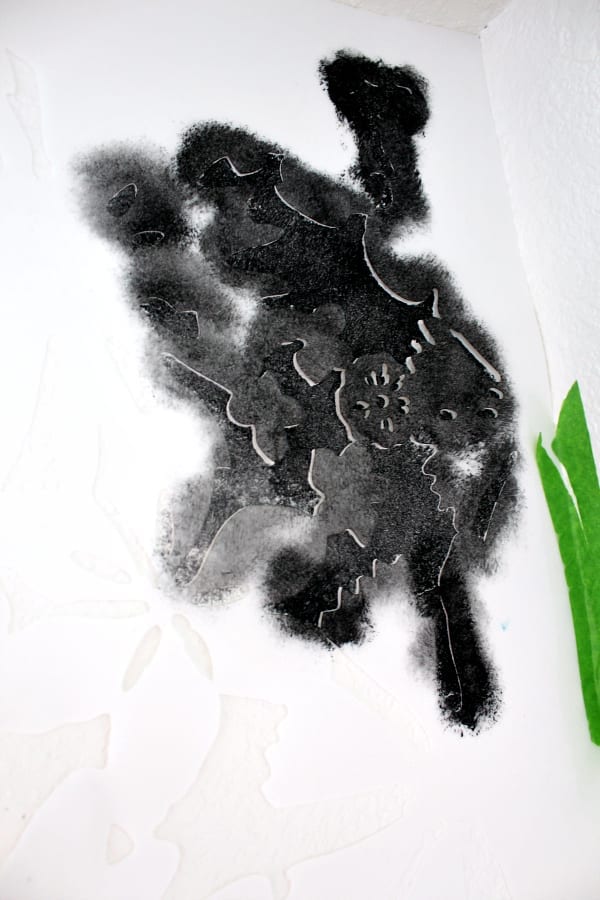
First, I started with the stencil brush and loved it. I liked how I could control the amount of paint on it and I also liked how I could go light with the paint in some areas of the stencil and heavier in others. Basically I had more control! I instantly LOVED stenciling because I am not the type of gal who is looking for perfection. If this is your personality stenciling might not be your jam. What I mean is there is not going to be a consistent application and if you choose the brush. Also, sometimes it bleeds through the stencil just a little bit. Maybe that differs with the roller? That was OK because 1: I only wanted to do one coat of paint, and 2: I love the ombre look. There were a few spots I did have to go back over with paint on areas that looked “too light”. Also, I had just a few spots to touch up. But once I stepped back it all blended together and I could barely find any areas that needed to be fixed.
Continuing The Stencil
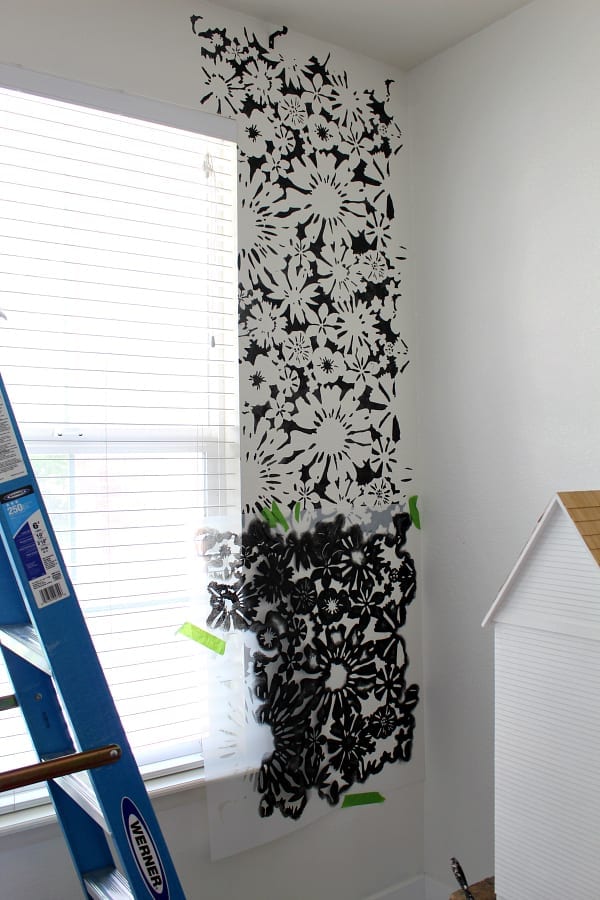
I loved how this Royal Design Studio Stencil had marks that helped me line up my stencil each time I completed one square. This made it easy to line up the pattern and continue. I just kept moving the stencil, re-taping and painting each area. Top to bottom and then side to side. I took a few breaks but overall was able to finish this whole wall in one day!
When it came to the corners I had to bend the stencil and tape off sections so as not to get the paint on the other walls or my baseboards.The only tricky part for me was figuring out the ceiling. I ended up having to cut the stencil. But this was at the end and the rest of the wall was completed.
Tips and Trick for Stenciling an Accent Wall
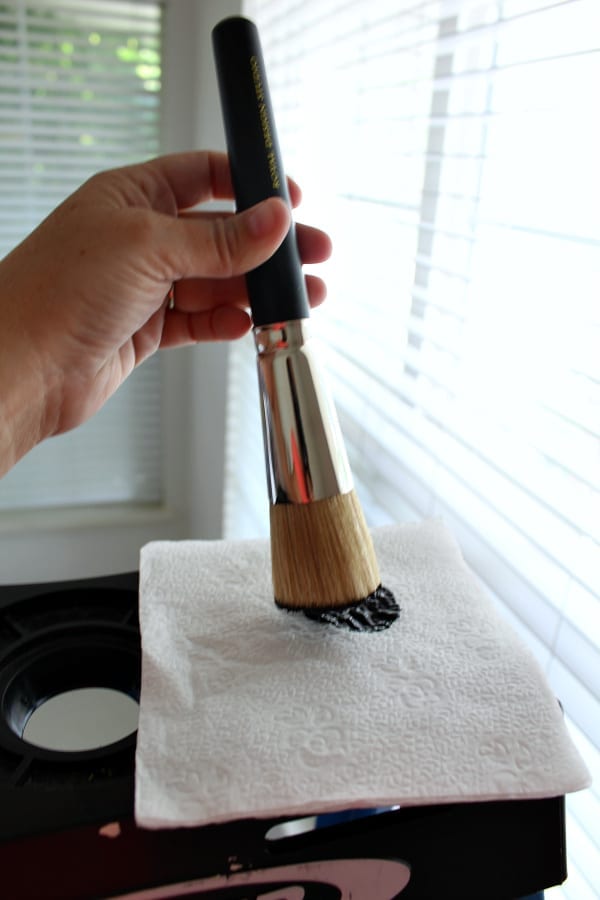
Less is more when it comes to the paint on your brush. I used a paper towel to off load a majority of the paint. This helped so that not too much paint seeped through the stencil.
Another great tip is don’t be afraid to use your painters tape to tape off areas like your baseboards as well as to hold up your stencil! Also, your hands will be covered in paint so maybe wear gloves for easier clean up.
Better than Wallpaper
I have to say that I really wanted to try wallpaper on the wall in our playroom. When I found out that wallpaper would not work with the texture we have on our walls I was very disappointed. Luckily, I did a bit of research and discovered that using a stencil would help me achieve the exact same look as wallpaper! It totally does and I love the way it turned out! A few people have even asked me what kind of wallpaper it is! I would say that is success. Plus, if I ever tire of it I can just paint over it…which I have heard is a lot easier than taking down wallpaper! 😉
How to Easily Stencil an Accent Wall- The After
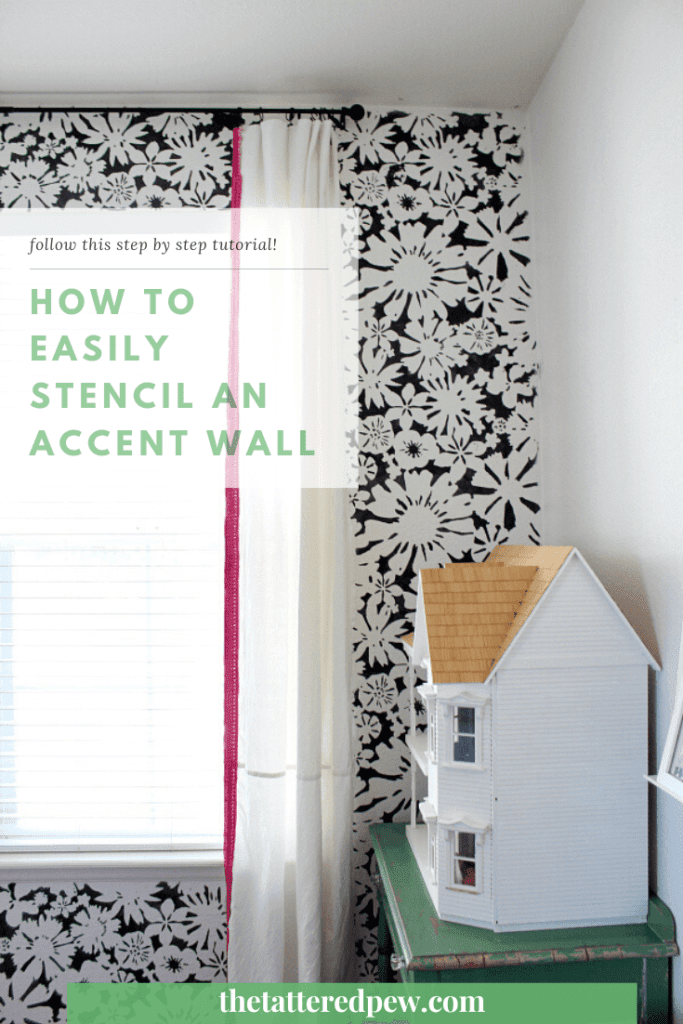
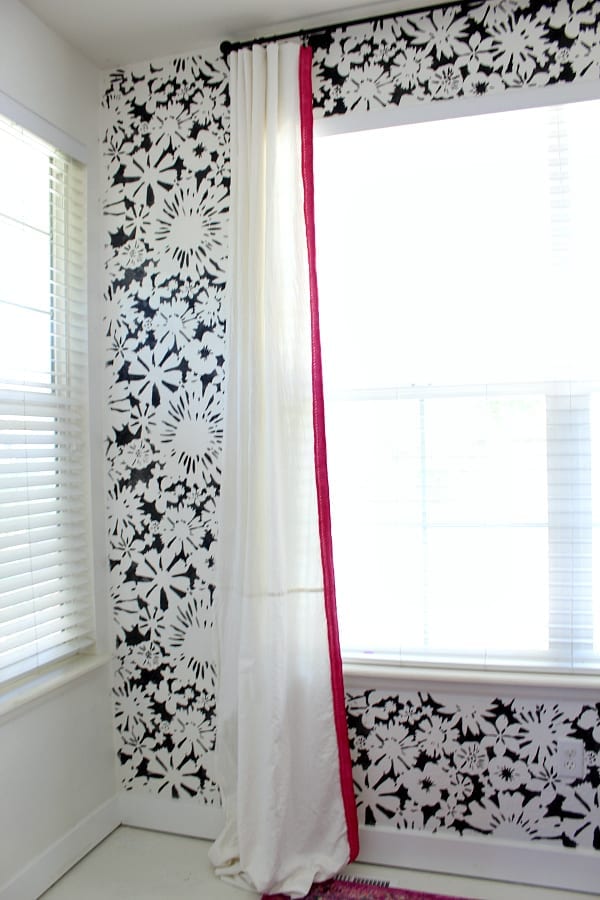
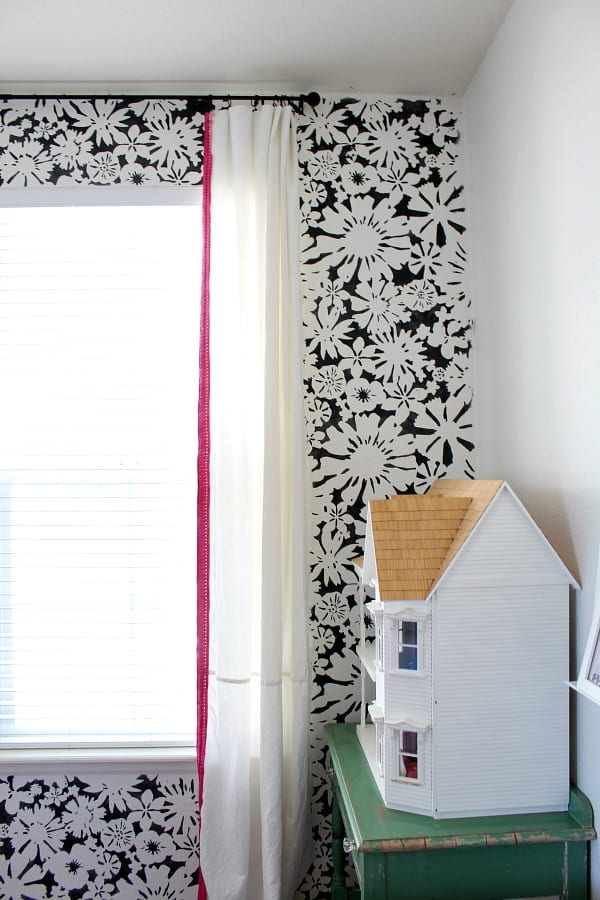
Here is what our stenciled accent wall in our playroom looks like now! I love it so much and only wish I had tried stenciling sooner. What do you think? Have you tried stenciling?
Come see the no-sew curtains I added to the wall as well as the playroom all decorated for Christmas!
xoxo,
Kelly
If you liked this post, PIN it for later!


It looks great! I did the same thing in my dining room a few years ago. Our home is very old and nothing is square or level so wallpaper would emphasize the wonkiness. With the stencil I was able to manipulate the pattern to disguise the imperfections. The cost of a stencil vs. rolls of wallpaper was a very motivating reality.
Thank you! I bet it looks so good. That’s why I love stencils…inexpensive and forgiving!
Oh I have been thinking of stenciling our bedroom for a long time! Now I’m going to take the plunge! I love it Kelly 💗💗
Tracey you should do it! It’s a lot of fun and makes such an impact! Thank you for stopping by!
It looks so lovely! My kitchen has the knock down texture on the walls. How would that stencil? I would really like to try this method.
Thank you Debbie! My walls have the same texture as well and I think that the stencils hides it very well. I say go for it!
I love the way this turned out! Has me thinking of where I can stencil. I tried several times to pin this off my phone but it didn’t work, will try on an iPad.
Thank you! I love it t oo. I’m sure we can find an area for you to stencil! I will look into the pinning issue. Thanks for the heads up!
Love it! I bought the Royal Stencil rattan basketweave stencil to try to mimick a serena lily wallpaper that was $250 per roll. Ouch! I’m actually doing it over 20 yr old wallpaper that won’t budge and would take forever to get down and likely wall board damage. I read that as long as I use shellac based primer over the old wallpaper it should be fine. Wish me luck!
Thank you! Oh that sounds like a great budget move. I just love their stencils and I bet it will work great over wallpaper. You are so smart! Good luck!