The Secret Tip for Drying Hydrangeas
Want your hydrangeas to last longer? Why not try drying them to use in your decor! Learn the secret tip for drying your hydrangeas! Follow my step by step directions and you will enjoy your hydrangeas long after they are done blooming!
The Secret Tip for Drying Hydrangeas
It’s no secret that I love hydrangeas; specifically Annabelle hydrangeas. I adore their beautiful and large white blooms.
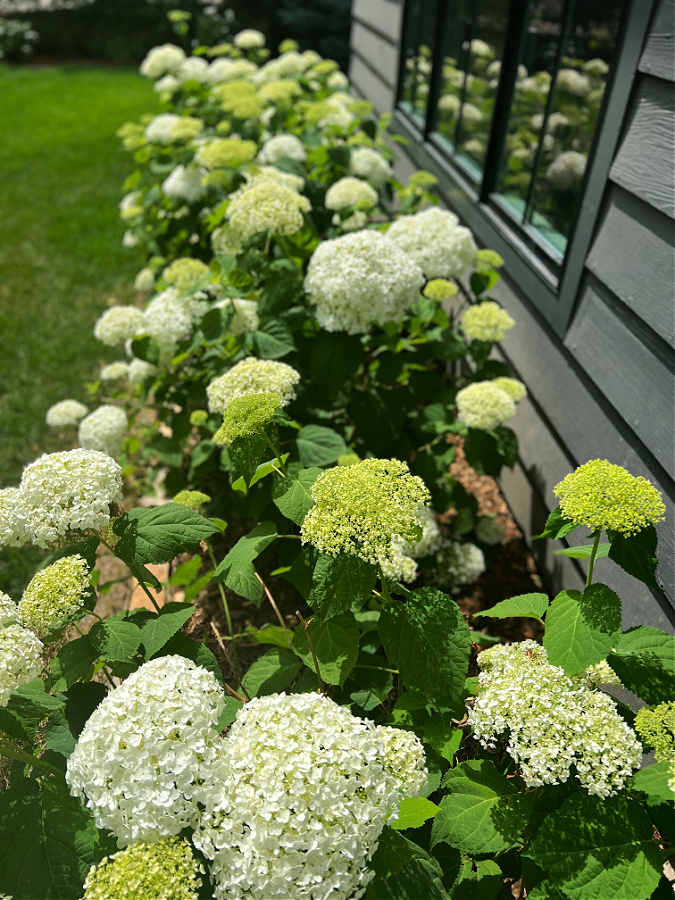
I also enjoy how they go from green to white, to green again out in my garden. They do amazing here in Colorado and I always look forward to them every summer! This year I even added two new Limelight Hydrangea trees and two limelight bushes.
With my love of hydrangeas I would be silly not to share with you all how much I love decorating with them, along with my secret tip to drying them perfectly!
If you love flowers, beautiful decorating and staying on a budget when doing so, then you will fall in love with dried flowers like I have!
Tips For Drying Hydrangeas
My love of flowers and gardening comes from my grandmother and my mother and I have learned so much from these amazing women in my life. One such tip is how to dry hydrangeas so you can use them long after their season in the garden is over.
Last fall they were gorgeous in my kitchen and then in our dining room!
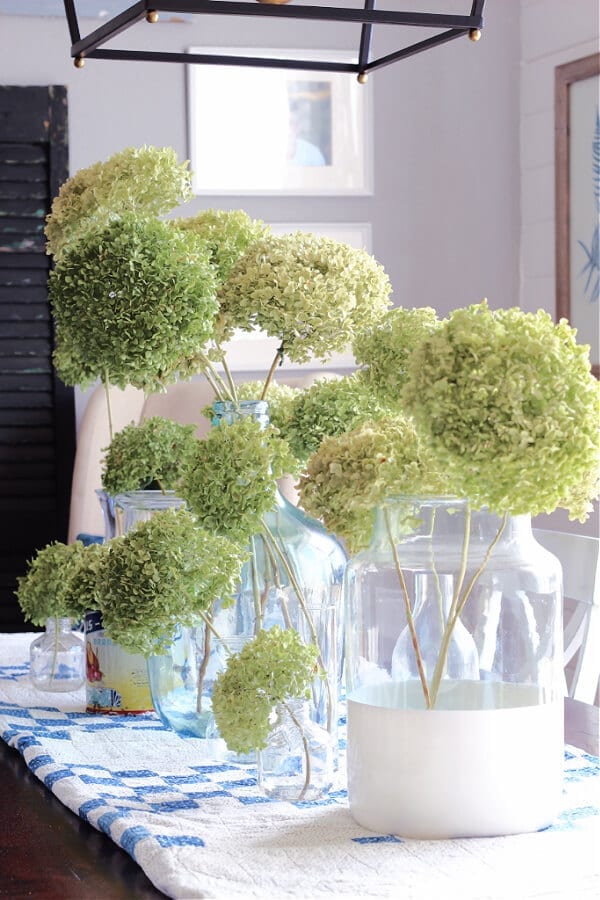
Are you curious about the secret?
Drying hydrangeas is not hard at all. It’s actually quite simple. First, you want to make sure you cut the hydrangeas when they are full and ready.
This is the most important tip!
But you might be asking, how do I know if they are ready?
How To Know When to Cut Your Hydrangeas
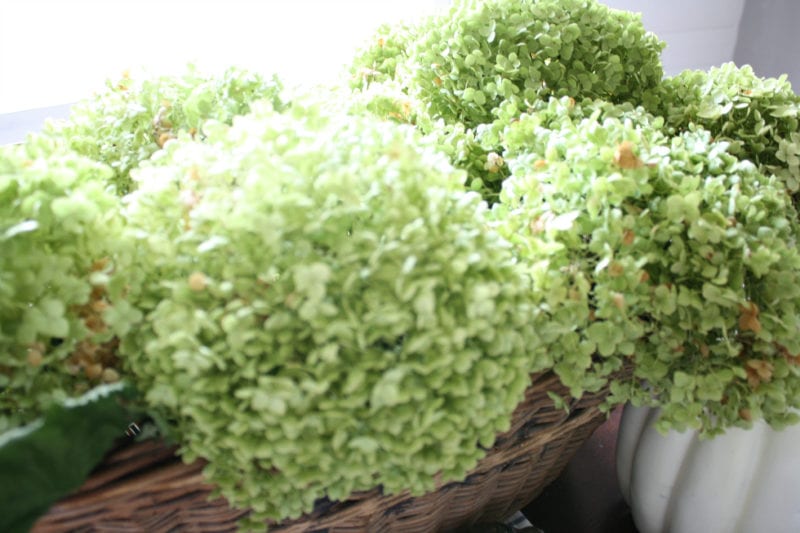
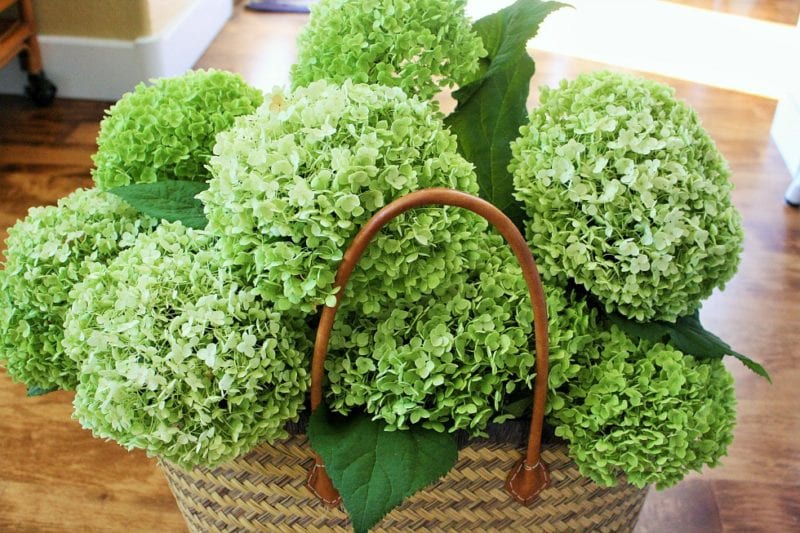
This is the critical part. If you cut them too soon they will still be holding too much water and shrivel up rather than dry beautifully. The prime time to cut, specifically Annabelle hydrangeas which are shown in my pictures, is when they turn from white to bright green.
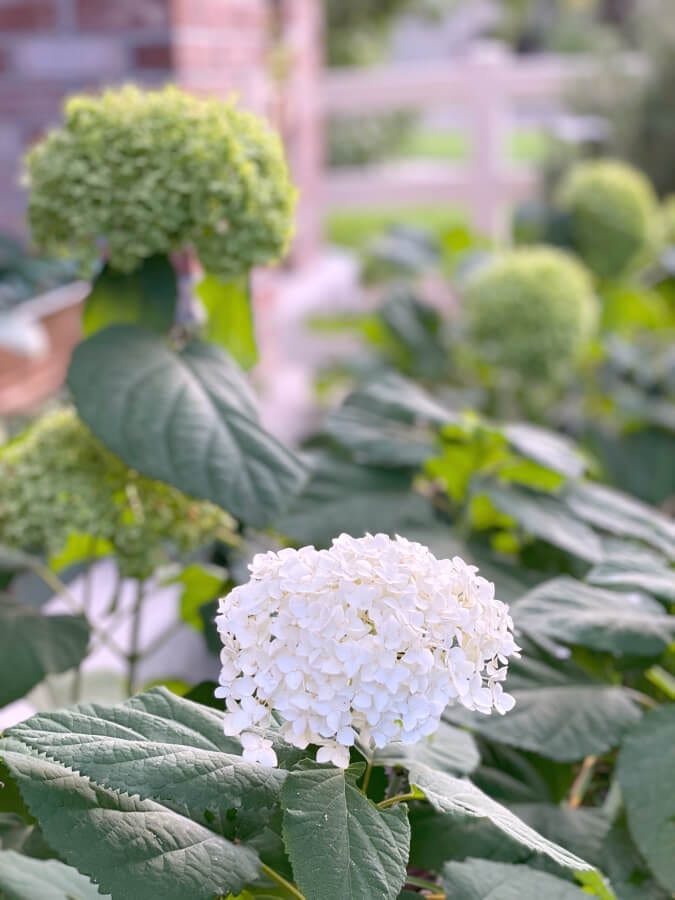
Did you catch that important tip for drying hydrangeas?
They must be green!!
Don’t be fooled by these beautiful flowers because when they first bloom they are green. It’s the green after the white that you need to pay attention to. This means they are at the end of their season and depending on where you live, this happens in late August -October.
My number one rule is if they are white, it is too early!
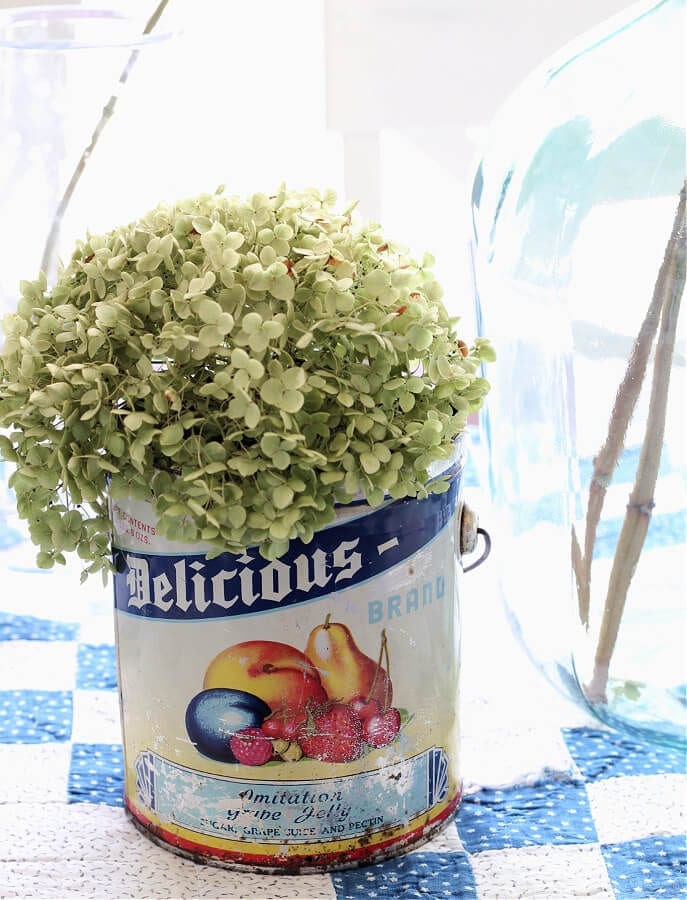
Once you have cut them make sure to strip all leaves from the stems and also leave the stems long for easy handling and arranging. It is best to keep them out of direct sunlight while they are drying.
You have two options for drying them:
1. You can place them in vases with about 4 inches of water and then let the water naturally evaporate. (This method seems to allow the bright green color of the petals to last longer.)
2. You can also just leave them out of water and they will naturally dry themselves without any work from you!
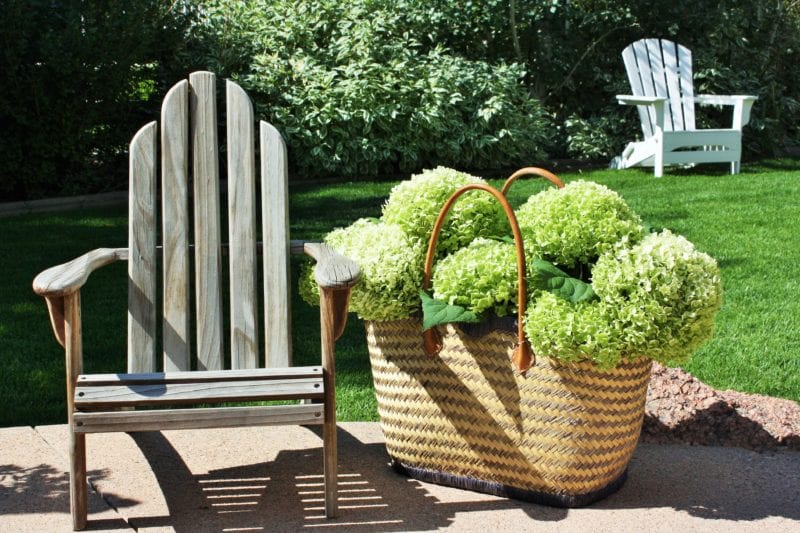
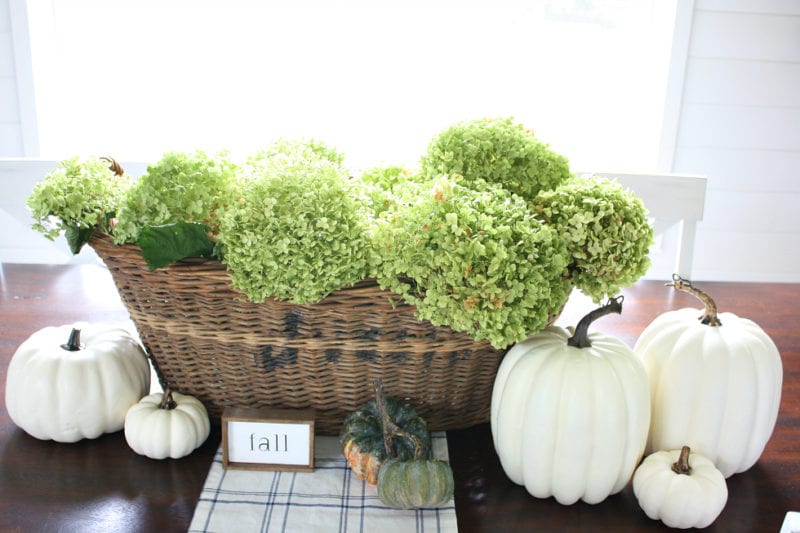
Mine are currently drying in this gorgeous large French basket.
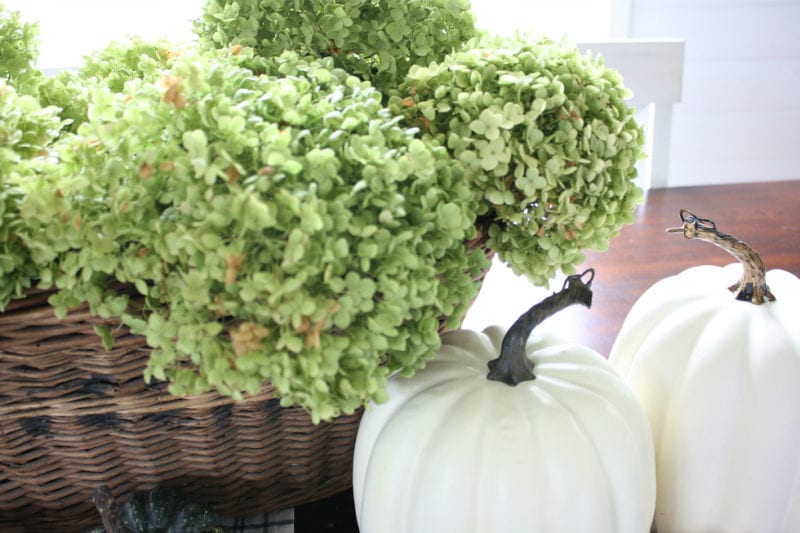
Also, feel free to snip the little brown petals off if you like!
That’s it! Simple drying tips, right?!
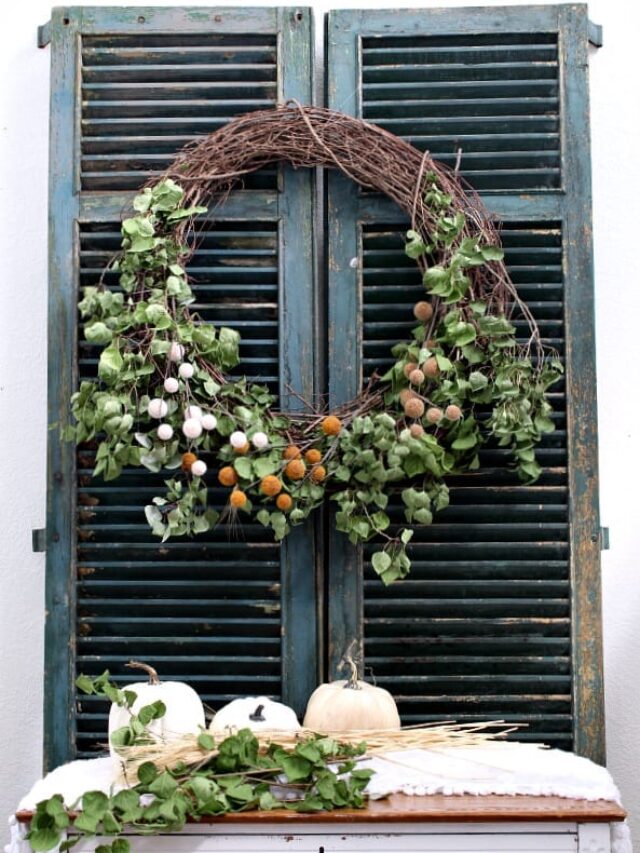
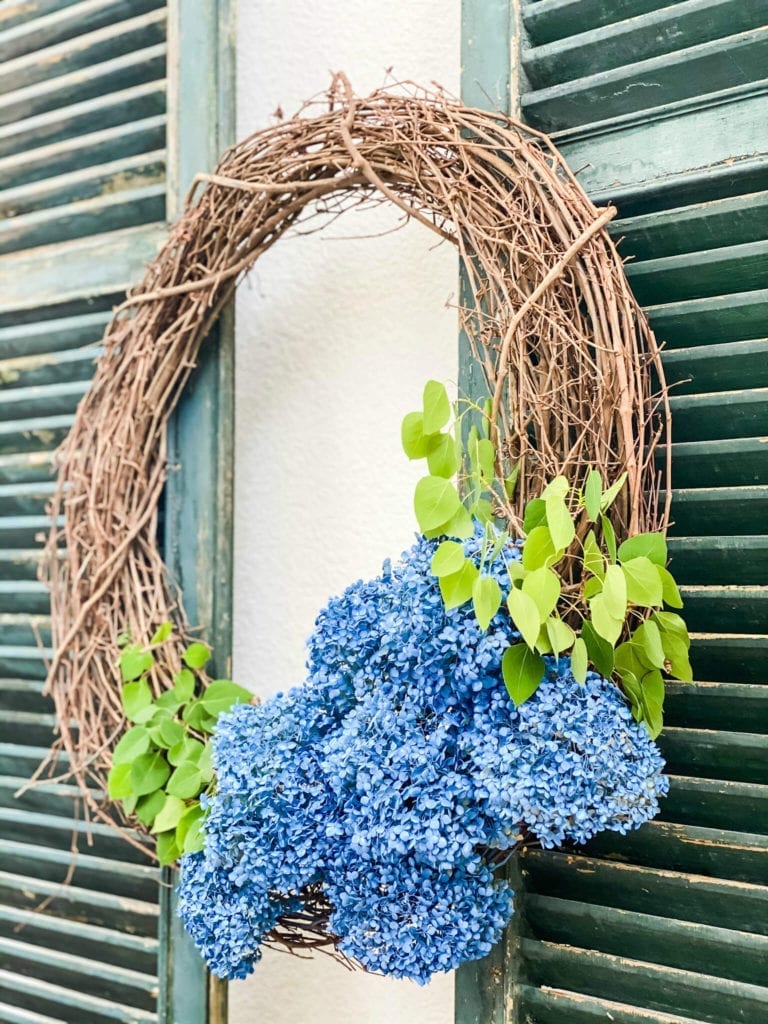
Now they are ready to use around your home for any season you see fit. I love them in the spring and the fall as they are a very budget friendly way to decorate. You can visit here to see how I used them in my summer wreath!
Dried Hydrangeas: Budget Friendly Decor
This is just one of the many reasons why I love these flowers. Their ability to dry on their own and serve as decor throughout the different seasons, long after their blooming season is over, is hard to beat! Plus you can’t beat the price!
Does This Work For Colored Hydrangeas?
Yes, this same tip works for colored hydrangeas but with a few differences. For blue, pink or purple hydrangeas you don’t want them to dry out on their bush or wait for them to lose their color. Instead check them midway through their bloom time and see if they have a slight papery feel. If so then this is the time to cut them and start the drying process. You want them to have some color….it may be slightly faded but that is okay! Then just follow the same steps I shared above and you will have beautiful dried colors!
How Long Do Dried Hydrangeas Last?
You may be wondering how long your dried hydrangeas will last. Just for reference I have had the same bunch I dried for about two years. They are still doing great! The only difference is that their bright green color has faded a bit.
This doesn’t bother me at all, in fact I love the muted color especially in the Fall. I do suggest that you keep them out of direct sunlight as this will help decrease their fade time!
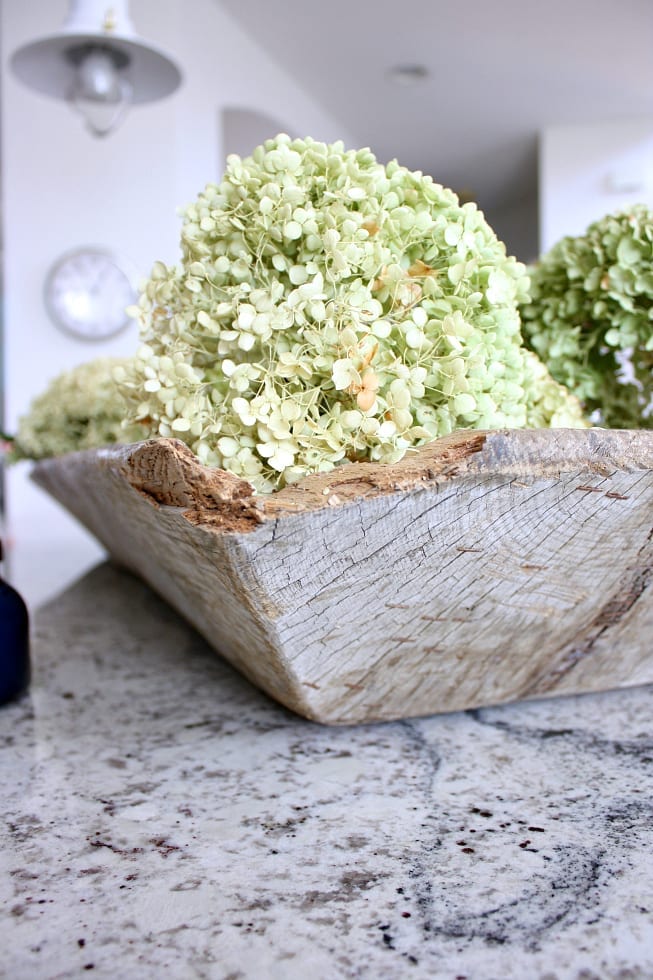
The Secret Tip for Drying Hydrangeas
Do you use dried flowers in your decor?
I hope you found this secret tip for drying hydrangeas helpful! If you have any other tips and tricks to share with me or questions please leave them in the comments below!
Also, if you want to see how else I have been using dried hydrangeas in my decor, you can visit me over on Instagram or Pinterest where I share pictures more often!
Other Hydrangea Posts You May Like
Tips and Tricks for Long Lasting Cut Hydrangeas
How to Create a Low Hydrangea Centerpiece
The Best Tips for Limelight Hydrangea Trees
Have a lovely week my friends and make sure to check out the Thrifty Style Team links below!
XOXO,
Kelly
Thrifty Style Team
It’s the first Friday of the month and that means it’s time for another Thrifty Style Team post. Each month my blogging friends and I gather together to share our thrifty posts all in one spot. Julie from Redhead Can Decorate is our host and I have to say I look forward to all of these posts each month. Make sure to visit the other thrifty posts linked at the end of mine for fabulous budget friendly inspiration and decorating ideas!
Thrifty Style Team
p>Redhead Can Decorate –A Look Back at Redhead Can Decorates Best Affordable DIY Projects
Our Crafty Mom –Wooden Candle Holders with a Faux Concrete Finish
I Should Be Mopping the Floor –Unique Containers for Flower Arrangements
The How to Home –How to Make a Pom Pom Pillow
DIY Beautify –Thrifty Vintage Art for Your Walls
2 Bees in a Pod –French Country Lamp Makeover
Postcards From the Ridge –How to Paint a Glass Vase to Look Like Stoneware
The Tattered Pew –The Secret Tip to Drying Hydrangeas
Cottage on Bunker Hill –How to Make Autumn Leaf Clay Trinket Dishes
Amy Sadler Designs –Wheat and Floral Decor for Fall Decorating
Songbird –DIY Hanging Glass Bottles for Tiny Flower Bouquets
My Family Thyme –Make an Easy and Inexpensive Fall Wreath
Southern Yankee DIY – DIY Faux Concrete Planter
Did you like this post? PIN it for later!





What great tips!! I’ll be trying this out!
Thanks Lindsay I’m so glad you found the tips helpful!
I love them Kelly, and I have dried them as too, even those that do not hold their color well, can add that beautiful texture to my fall arrangements. Can’t beat them.. Plus the added benefit.. of.. you already grow them.. they are free! Thanks for the tips.
Brenda
Yes Brenda even without their original color they are beautiful! Free is always good…thanks for stopping by!
Kelly
I love this! I still have some that you gave me last year and they are looking great.
Thanks mom! You were my inspiration!
They’re so gorgeous Kelly!! What a great post! Thanks for all the tips!!
You are so welcome Laara! Thanks for stopping by!
I spray my hydrange with a cheap aerosol hair spray after they are dried. First hold the flower up and away from your face and spray into the inside of the blossom then using a swirling motion, spray around the petals completely getting them fairly wet. Set into a vase to dry while you continue with the other flowers. I have some hydrangeas that have been beautifully preserved for 4 years using this method.
Oh wow what an amazing method! I will have to give it a try! Thank you!
I will have to try some of these tips with my blue and purple hydrangeas! Thank you for sharing!
Yes and will you let me know how it works? I need some colored hydrangeas in my life!
Hi Kelly
I love hydrangeas and I dry about 30 of my Limelights are a clip. I love them so much.
The only thing I do differently is hang mine upside-down in my basement. It seems to work for me every time.
This year I need a new batch. Waiting for the right time is true. The first time I didn’t so a lesson was learned.
I don’t have any gardners in my family like you. You’re lucky.
Cindy
Hi Cindy! I really would love to try my hand with some limelights! They are gorgeous! I will a lso have to try your hanging tip. Hope you are well, friend!
Kelly
Great tips! I have a few already drying on my dining room table. My bushes are still full and it’s getting late in the season, so definitely ready to harvest some blooms!
I would love for you to share at TFT this week if you get a chance 🙂
I love when the bushes are full this late in the season! I will stop by your blog and share. Thank you for thinking of me.
That’s good to know about waiting. I think I cut mine too early last time and it’s why they didn’t turn out as well. I ended up buying them instead. I’m going to try again next year as mine are already well past their prime right now.
Kelly,
Love your tips. I think hydrangeas are so versatile and add so much to home decor. I have some that I dried 5 years ago and although they are more beige in color, I don’t mind. I do have to be careful because they are so brittle.
Congratulations, you are being featured at Thursday Favorite Things. I hope you stop by. https://www.eclecticredbarn.com/2020/08/thursday-favorite-things_27.html
Hugs,
Bev
Hi Bev!
Thanks for letting me know! I wills top by for sure. I have fragile and brown ones too…and I have spray painted them and this helped them last longer! And added color! I love the power of paint!
Only a smiling visitor here to share the love (:, btw outstanding style and design.
Welcome, and thank you for your kind words!
Kelly – we are kindred spirits, with our love for hydrangeas! Thanks for sharing your great tips for drying. My plants are currently re-blooming, so we’ll see how the drying goes.
Gorgeous pics. I’m a sucker for hydrangeas as well.
Such a good post, I wish I could read it due to shingles in the eye I can’t
Oh gosh so sorry about your shingles! I pray it heals fast. I have had it too and it’s no fun. Hang in there!
Great tips Kelly! We used to have 3 huge hydrangea bushes when we lived in Oregon and I always hung them upside down in the garage to dry… but your tip sounds easier! Looking forward to growing them again someday!
Kelly, I am do happy you did this post because we have 3 huge hydrangea bushes in front if our house and they are pink. I would love to clip them before we leave (lol) so I can cry in a couple months (lol). All kidding aside… thank you for including the pink ones!!
Yes I am so glad it was timely. Once you dry those you can save them for year…the perfect memory of your home. Best of luck as you all move!
Love anything hydrangea!! The blue ones are much more common here than the whites…but I just love how yours dry out!!
Same! I wish I could grow those here but they just don’t like it here for some reason.
Do you soak in water to get any bugs or insects out first? I have dried pink and blue and they turn out great! I usually set them in the garage first but they can get insects from there too…
I don’t usually soak them but I do shake them!
Kelly, your hydrangeas are truly STUNNING! And I’m loving these tips…I have two hydrangeas in my back garden and am now so excited to dry the blooms for the fall. Thanks so much for sharing! xoxo, kristi
Thank you…it’s fun when it’s such a simple tip too!
I have literally been hesitant (dare I say afraid) to dry hydrangeas because I was sure I would screw it up but you really make it sound so simple. I still have a window of time to cut and dry some this year and I can’t wait. Thank you for making what I always assumed was some mysterious trick I didn’t know to something so simple.
Do it! So simple… and you will enjoy them for so long!
Your limelight hydrangeas are so beautiful and I love how they look when dried. Pinned!
Kelly, we both share a love of hydrangeas and your Annabelle hydrangeas are gorgeous! You always style them so beautifully too! Here in New England, we have many blue and purple hydrangeas that are so pretty at the end of the season. I love your helpful tips. Pinned!
Thank you Lynne! I wish I could grow the colorful ones here. Maybe we could trade!