Shutters Painted In Bergere By Miss Mustard Seed’s Milk Paint
These large vintage shutters, painted in Bergere, by Miss Mustard Seed’s milk paint were a quick, thrifty and beautifully functional makeover. With just one coat of milk paint they were quickly transformed and now can be displayed not one, but two ways.
This post is in partnership with Miss Mustard Seed’s Milk Paint. As always, concepts and all content are my own. This post may contain affiliate links. For full disclosure click HERE.
Thrifty Style Team
This milk paint project is just in time for this month’s edition of the Thrifty Style Team hosted by Julie over at Redhead Can Decorate! The Thrifty Style Team is a group of very talented bloggers who get together once a month to bring you DIY projects and decor inspiration that won’t break the bank!

And this month I am sharing my newly painted Bergere milk painted shutters. You won’t believe how easy this makeover was and the special little secret about them!
Shutters Painted In Bergere By Miss Mustard Seed’s Milk Paint
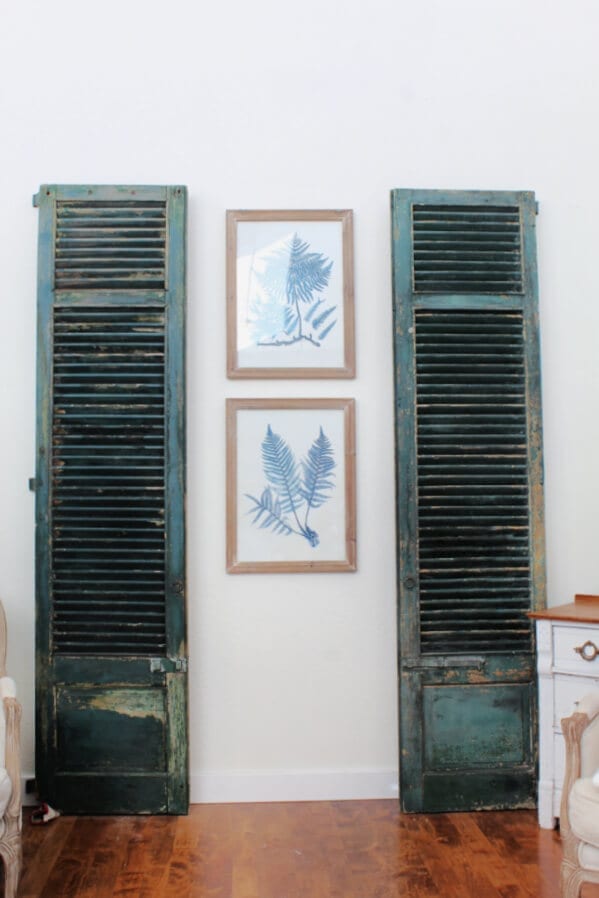
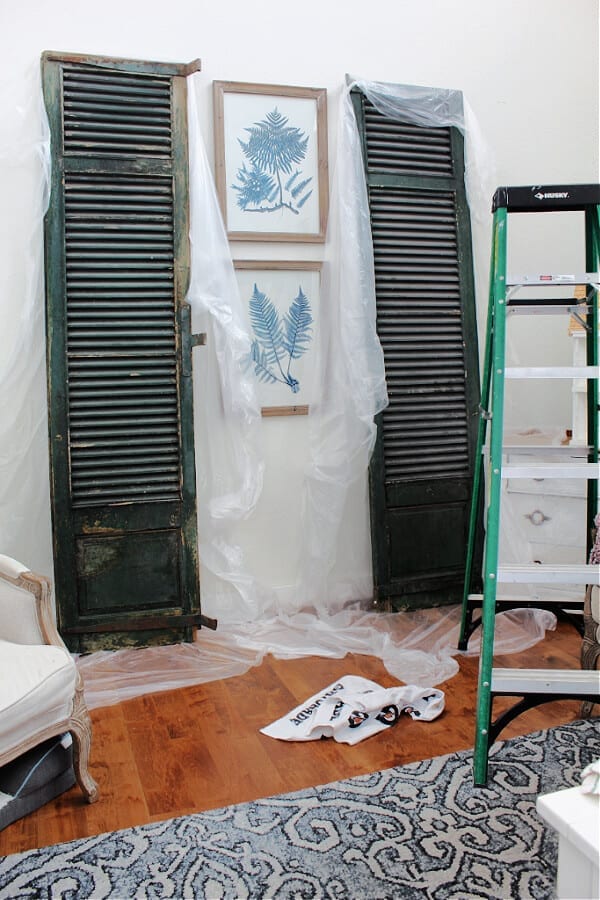
Lately I have had the itch to paint something. Whenever this happens I start looking around my home for something to paint…and nothing is safe. This time my target was a pair of vintage green shutters that I have had for a few years now. I first spotted them in my friend Brooke’s shop (Brooklyn Finds and Design) and knew they would be perfect for the huge wall in our family room.
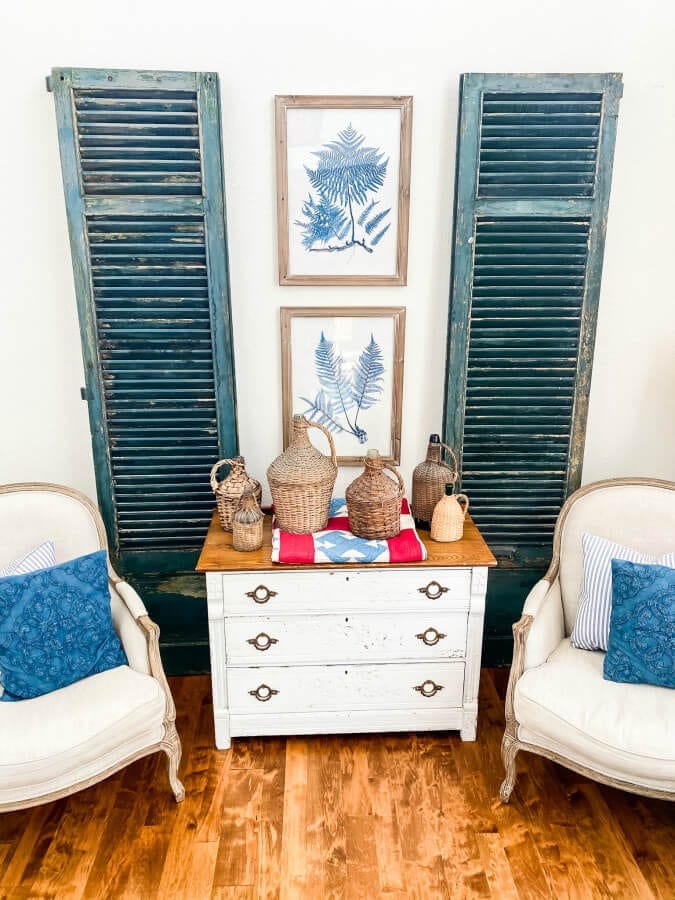
They also look amazing flanking our Christmas tree each year! I love how beautiful the green paint looks with our green tree. I knew I wasn’t ready to give up that gorgeous green just yet. But thanks to my brilliant mom I had a plan that allowed me to keep some of the fabulous green while still giving them a makeover!

Milk Paint By Miss Mustard Seed
First, let me back up a bit and start by saying that my favorite paint for furniture projects is Miss Mustard Seed’s milk paint. I fell in love with this paint several years ago (before my blog) when my mom and sister used it on an old buffet turned changing table. I loved the chippy vintage look and the soft feel and the fact that it was so easy to work with. You literally cannot mess it up!
(You can use my code : 10OFFTP for 10% off all Miss Mustard Seed Milk Paint products)
So, I searched for the perfect piece to paint myself and now I have my favorite Boxwood green dresser! Here she is before the milk paint worked its magic.
She is the reason I fell in love with this paint.

Is Milk Paint Better Than Chalk Paint?
Once I decided that these gorgeous green shutters needed a bit of a makeover it was a no brainer for me to choose Miss Mustard Seed’s milk paint.
A lot of people ask if milk paint is better than chalk paint and the answer is, it depends on what you are painting and it depends on the finish you are looking for.
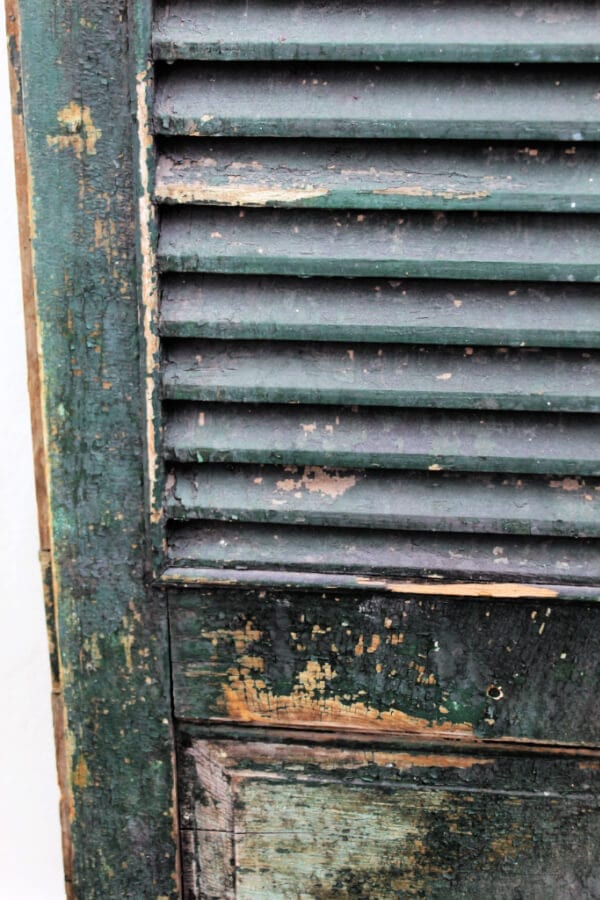
With chalk paint you get one heavy smooth finish which is not what I was looking for with this particular project. Instead I was looking to create a fun vintage and distressed look (think chippy paint and imperfect finishes). And these types of finishes are what milk paint is known for! But the cool thing about milk paint is it you can create a more smooth consistent finish with it as well by simply using a bonding agent.
Making The Shutters Double Sided
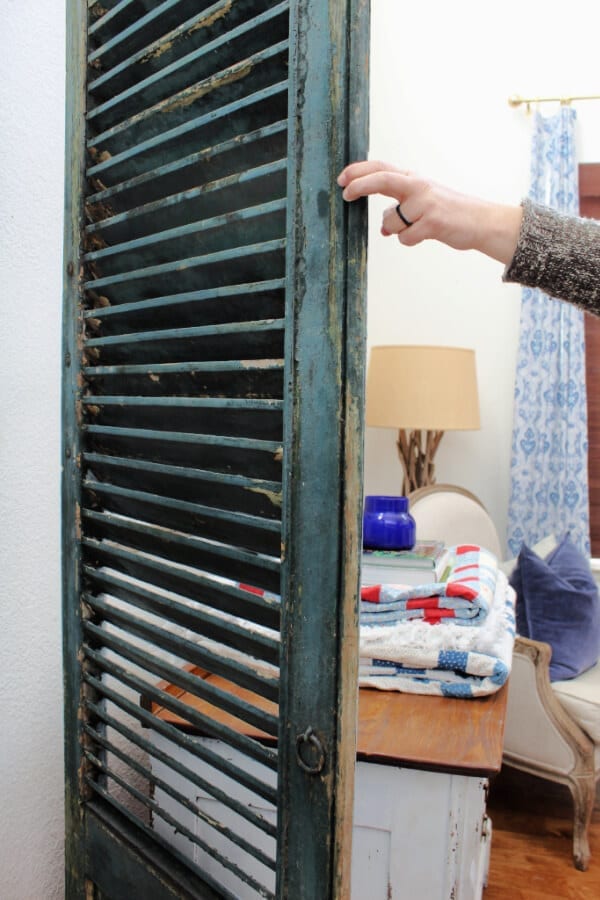
Since I love the look and color of these rustic and beat up old green shutters I knew that they were the perfect candidate for milk paint and I decided to use the old “paint just one side” trick. I owe my mom the credit for this idea because she did the same thing with a pair of shutters she has in her dining room. It’s basically like having the best of both worlds and you can turn them around whenever you need a change of color!
Choosing The Color
Once I decided that painting just one side of the shutters was the way to go I just had the color to pick out. Miss Mustard Seed’s milk paint line has so many beautiful colors and honestly it was hard for me to narrow down! Luckily their paint is super affordable and each bag retails for about $24 leaving me comfortable with taking a risk on a new color.
(You can use my code : 10OFFTP for 10% off all Miss Mustard Seed Milk Paint products)
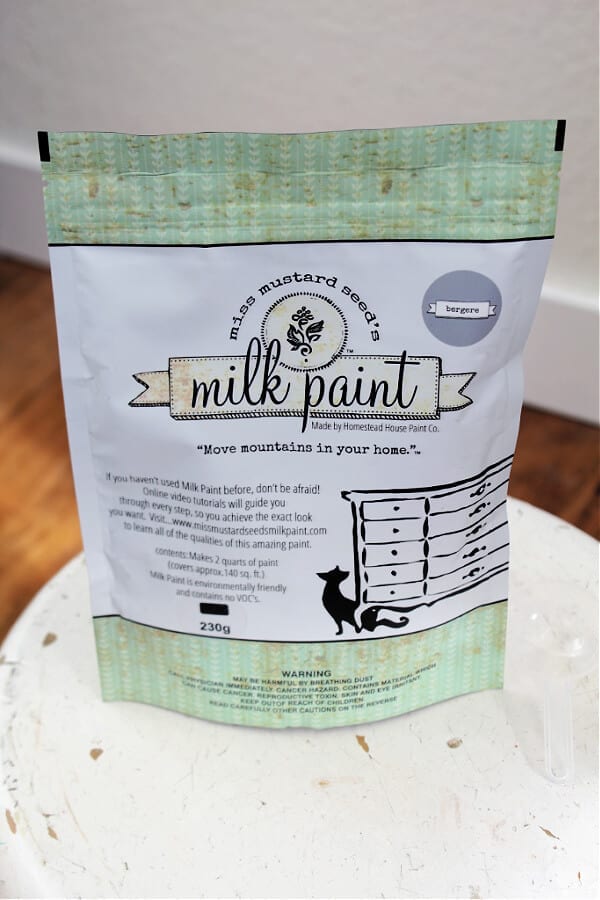
I have a lot of blue in my home and knew I wanted something in the blue family. Over on Pinterest I had seen a ton of pictures of their Bergere color from the European collection and thought it might be that perfect combo of blue and gray, and boy was I right!
After mixing up the paint and seeing the color I was immediately in love!
- Milk paint comes in powder form which makes it easy to mix up just the right amount while also making it just as easy to store. All of the directions are on the back of the paint bag and are very simple to follow.
Painting The Shutters Bergere By Miss Mustard Seed’s Milk Paint
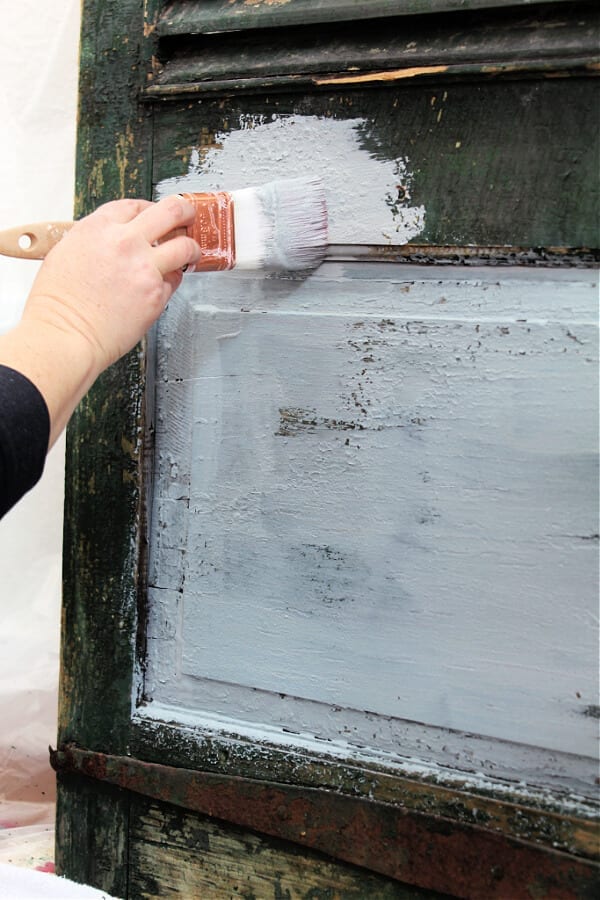
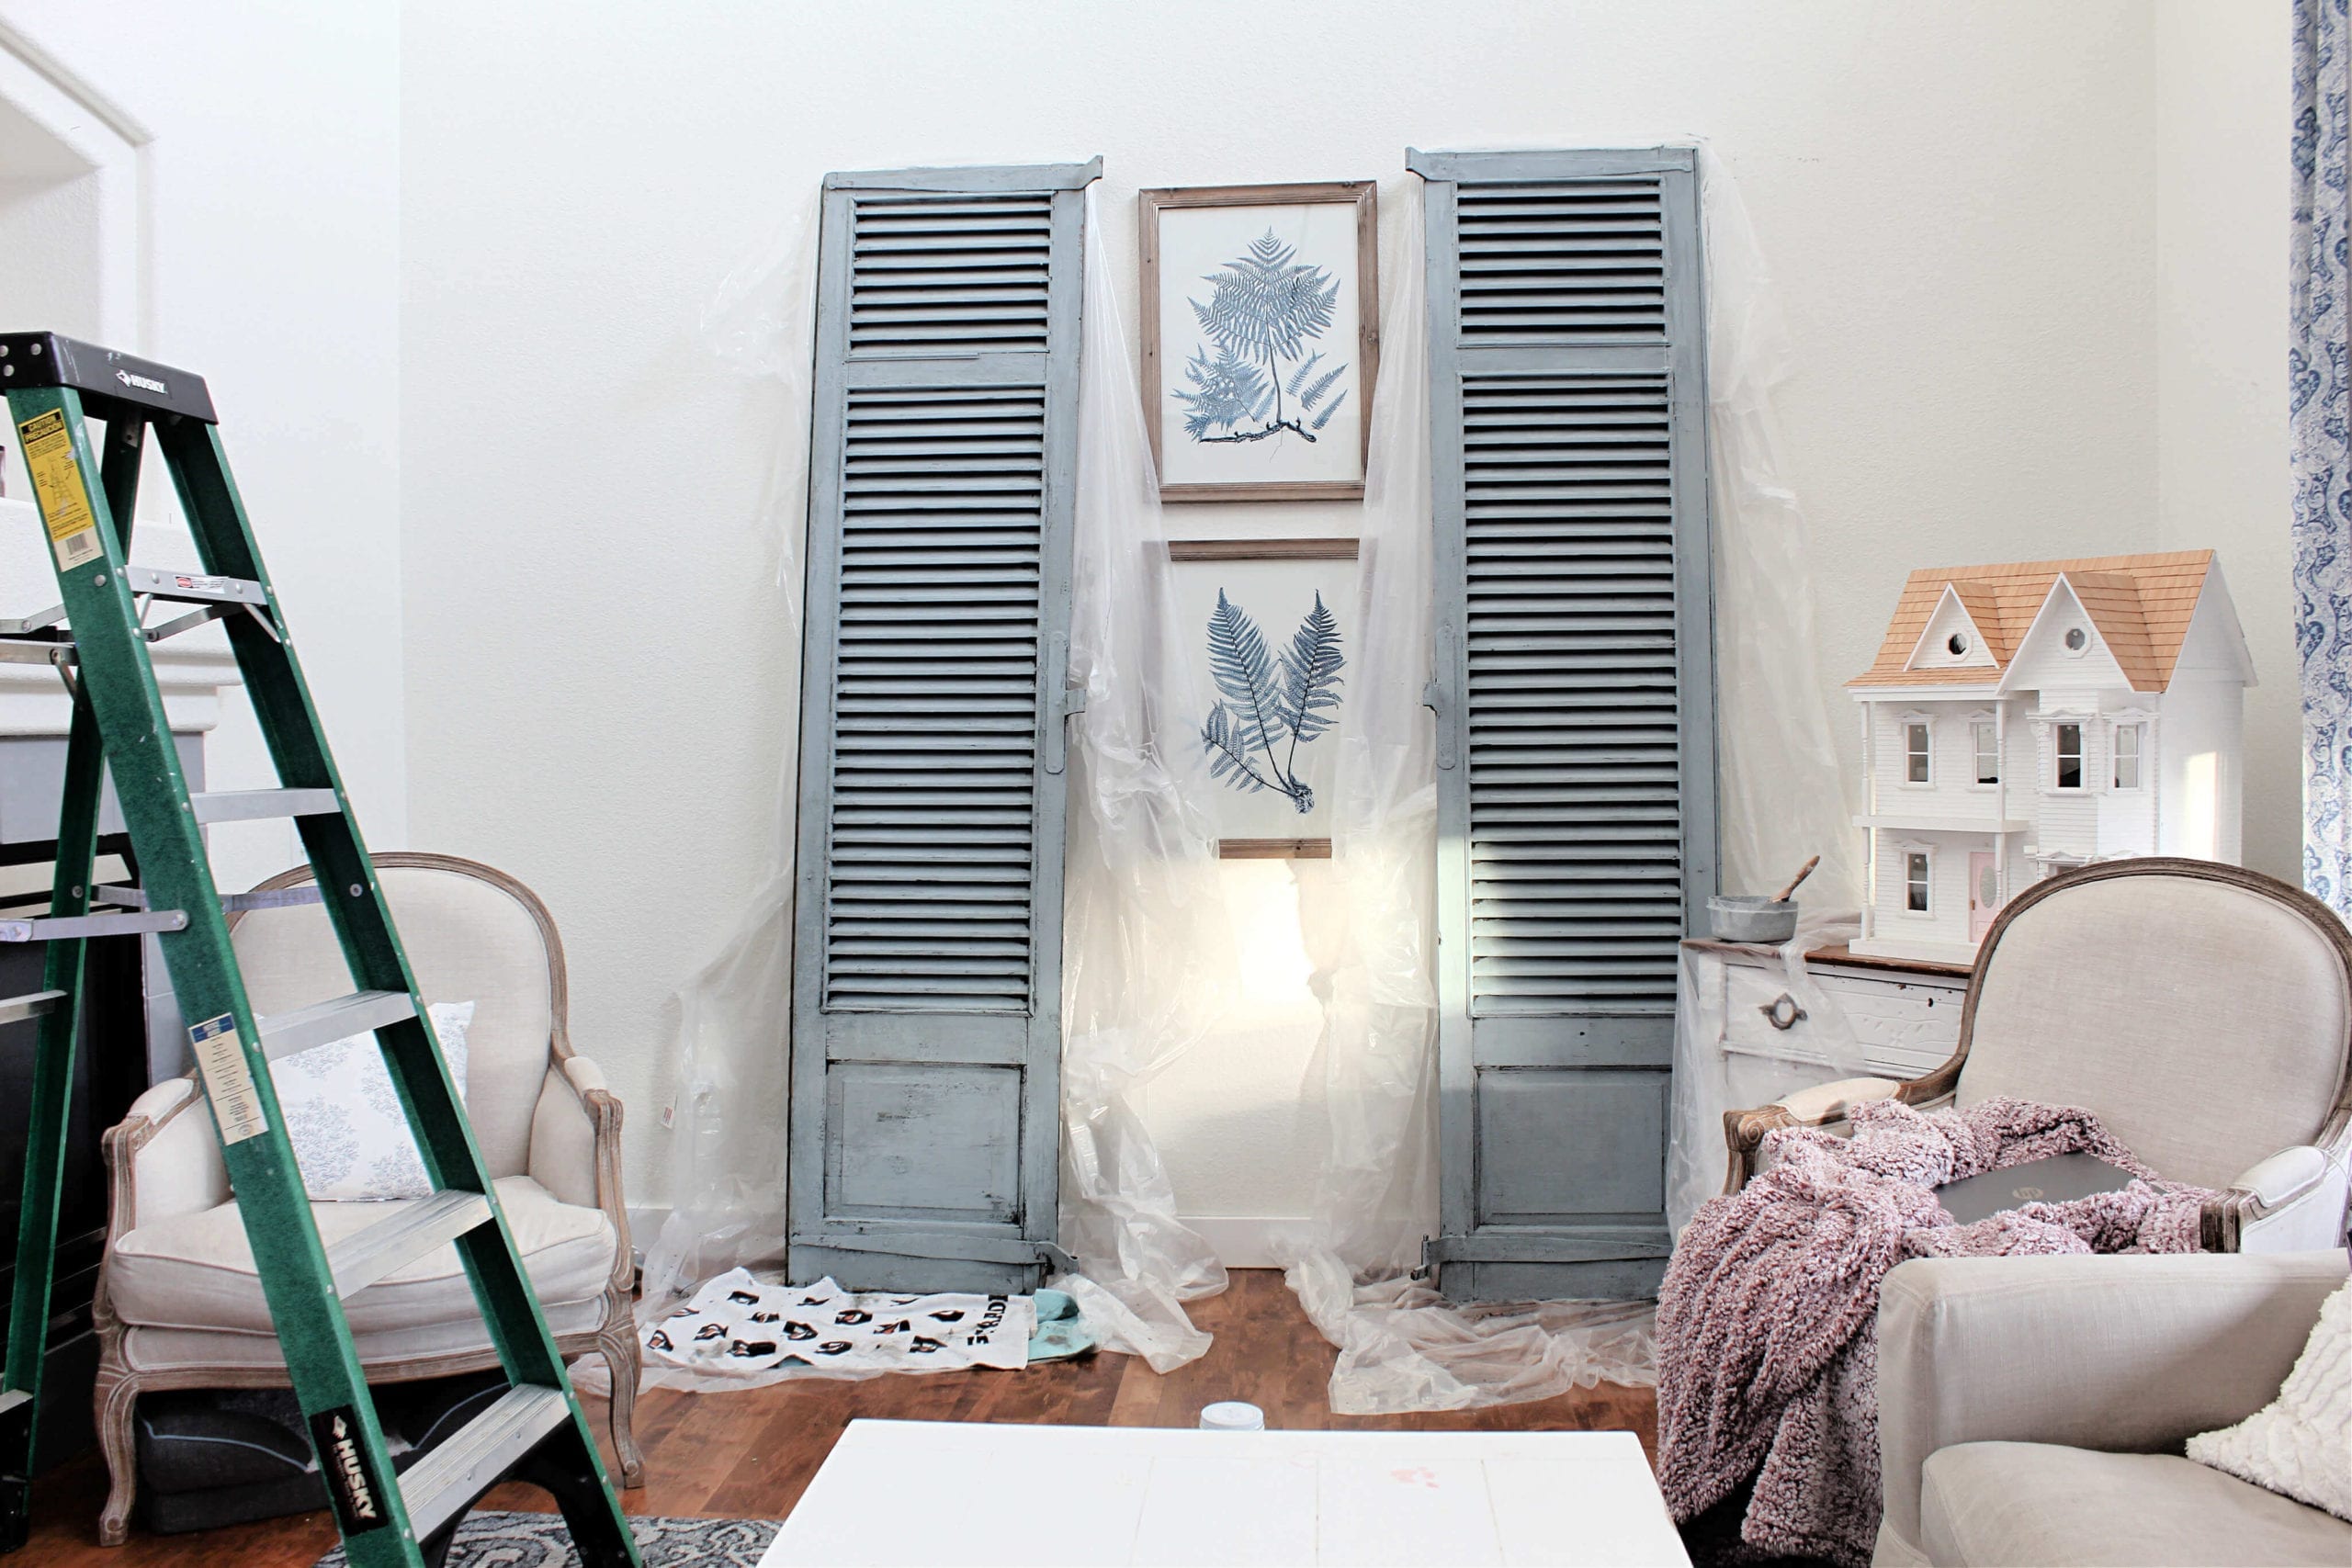
After mixing up the milk paint I let it set for 10 minutes. Then I got to work painting the backs of these huge 9 foot shutters.
And guess what?
I did not have to sand them! But I did have to wipe them down a bit because boy were they dusty.
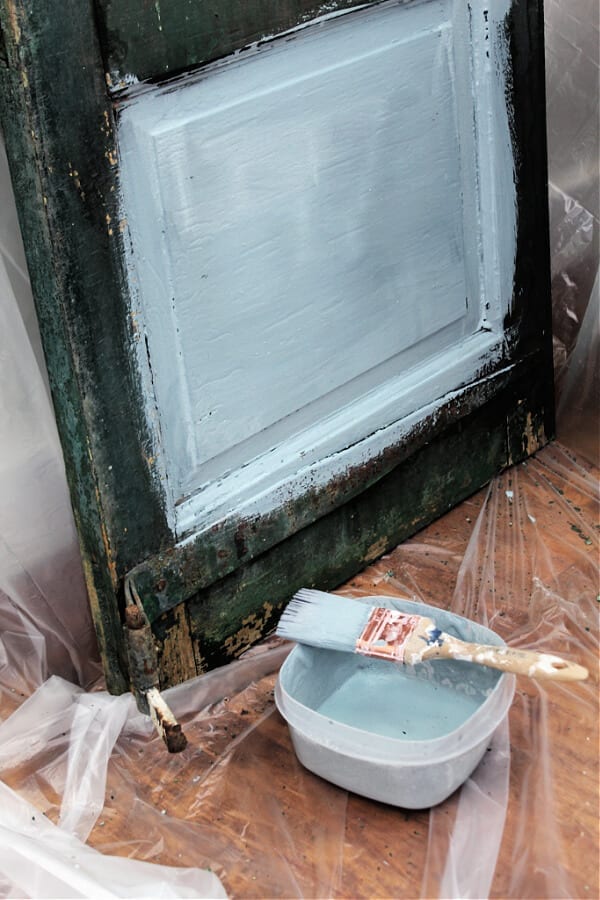
It only took me 40 minutes total to paint both of these beauties!
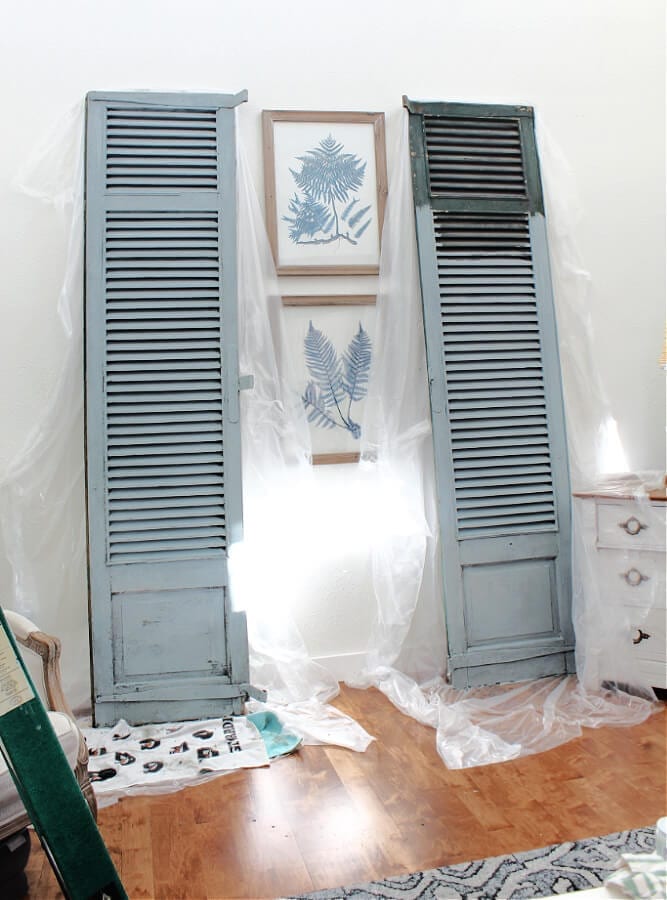
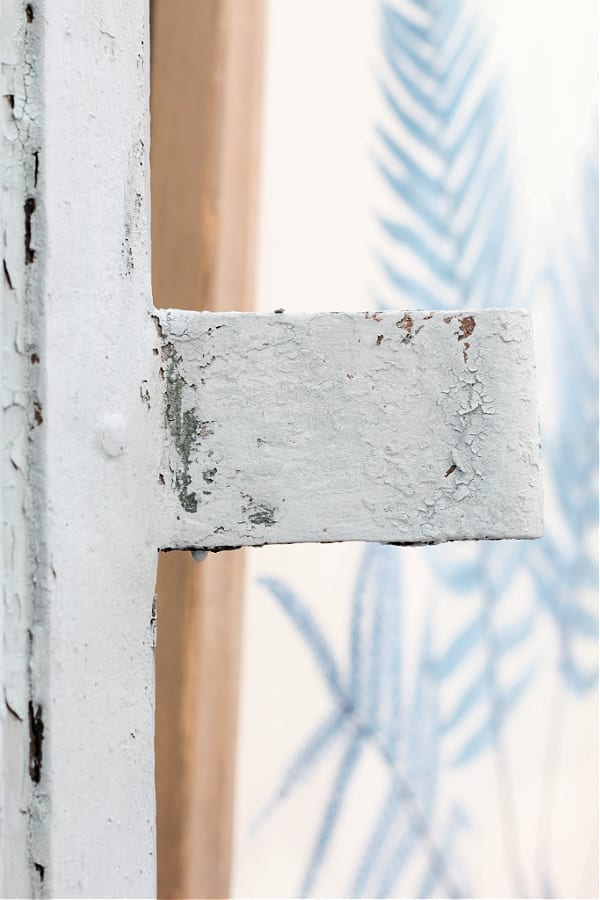
The paint surprised me with how far it went and how much it covered. It ended up that each shutter only needed one coat of paint. The coverage was perfect and even allowed some of the green to show through in a few areas. Also, it started crackling and chipping almost immediately!
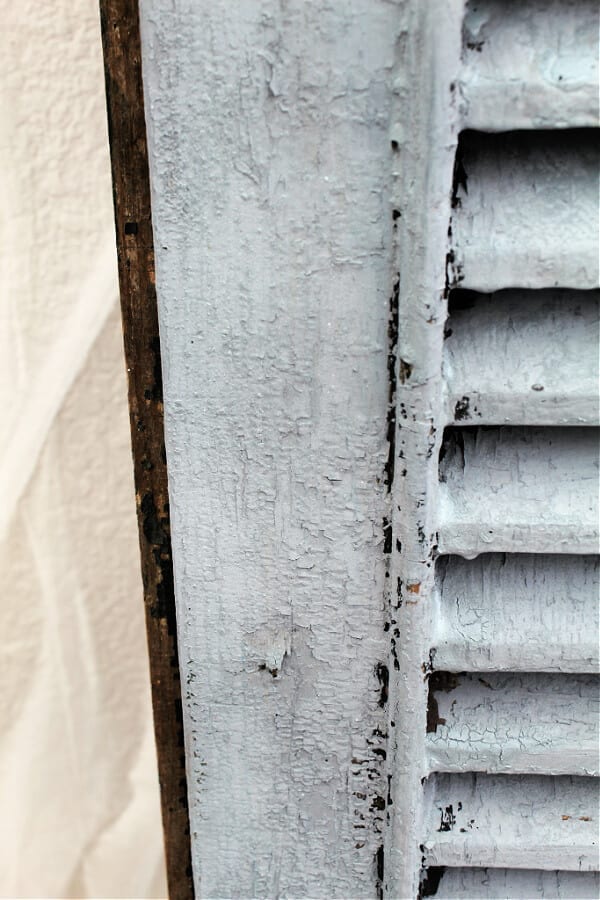
Such a pretty finish, right?!
If you follow me over on Instagram you might have seen that I documented this entire process in my stories. If you missed it don’t’ worry, I saved all of the videos in my highlight section labeled “shutters”.
Enjoying My New Shutters
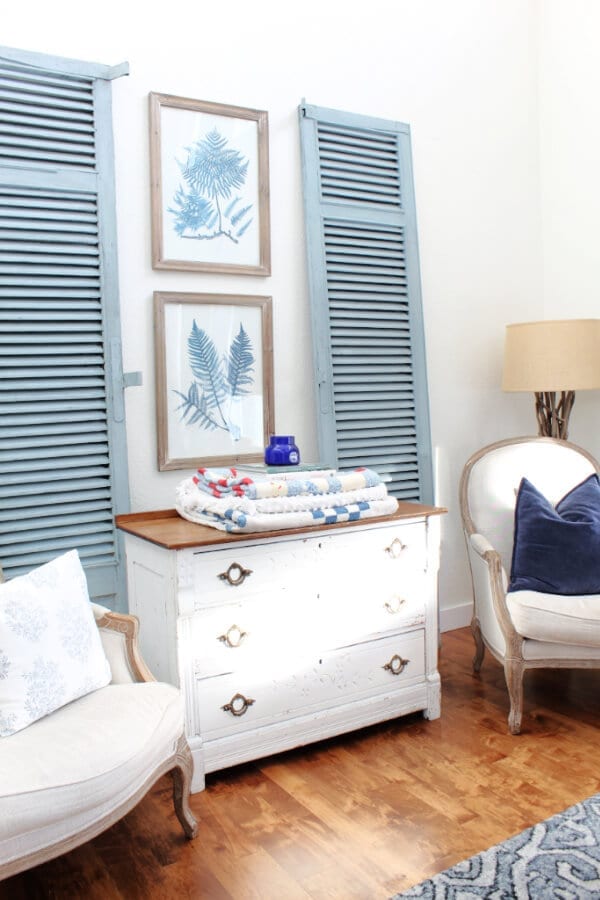
Like everyone always says the power of paint is amazing! I might add that the power of Miss Mustard Seed’s milk paint is amazing and especially when it comes to the color Bergere! This simple DIY project of painting just one side of these shutters made such a huge impact in our family room.
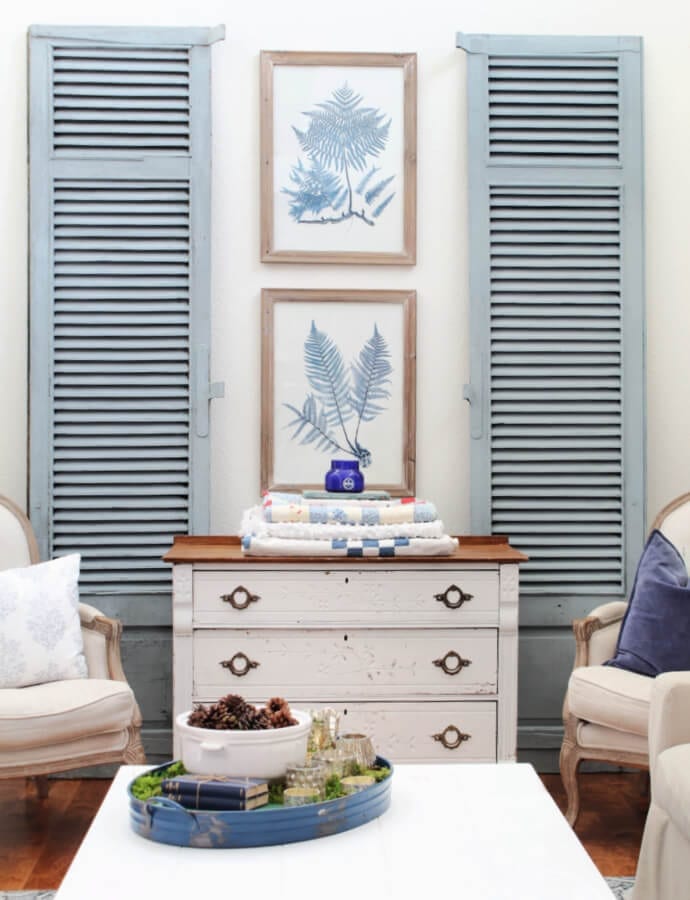
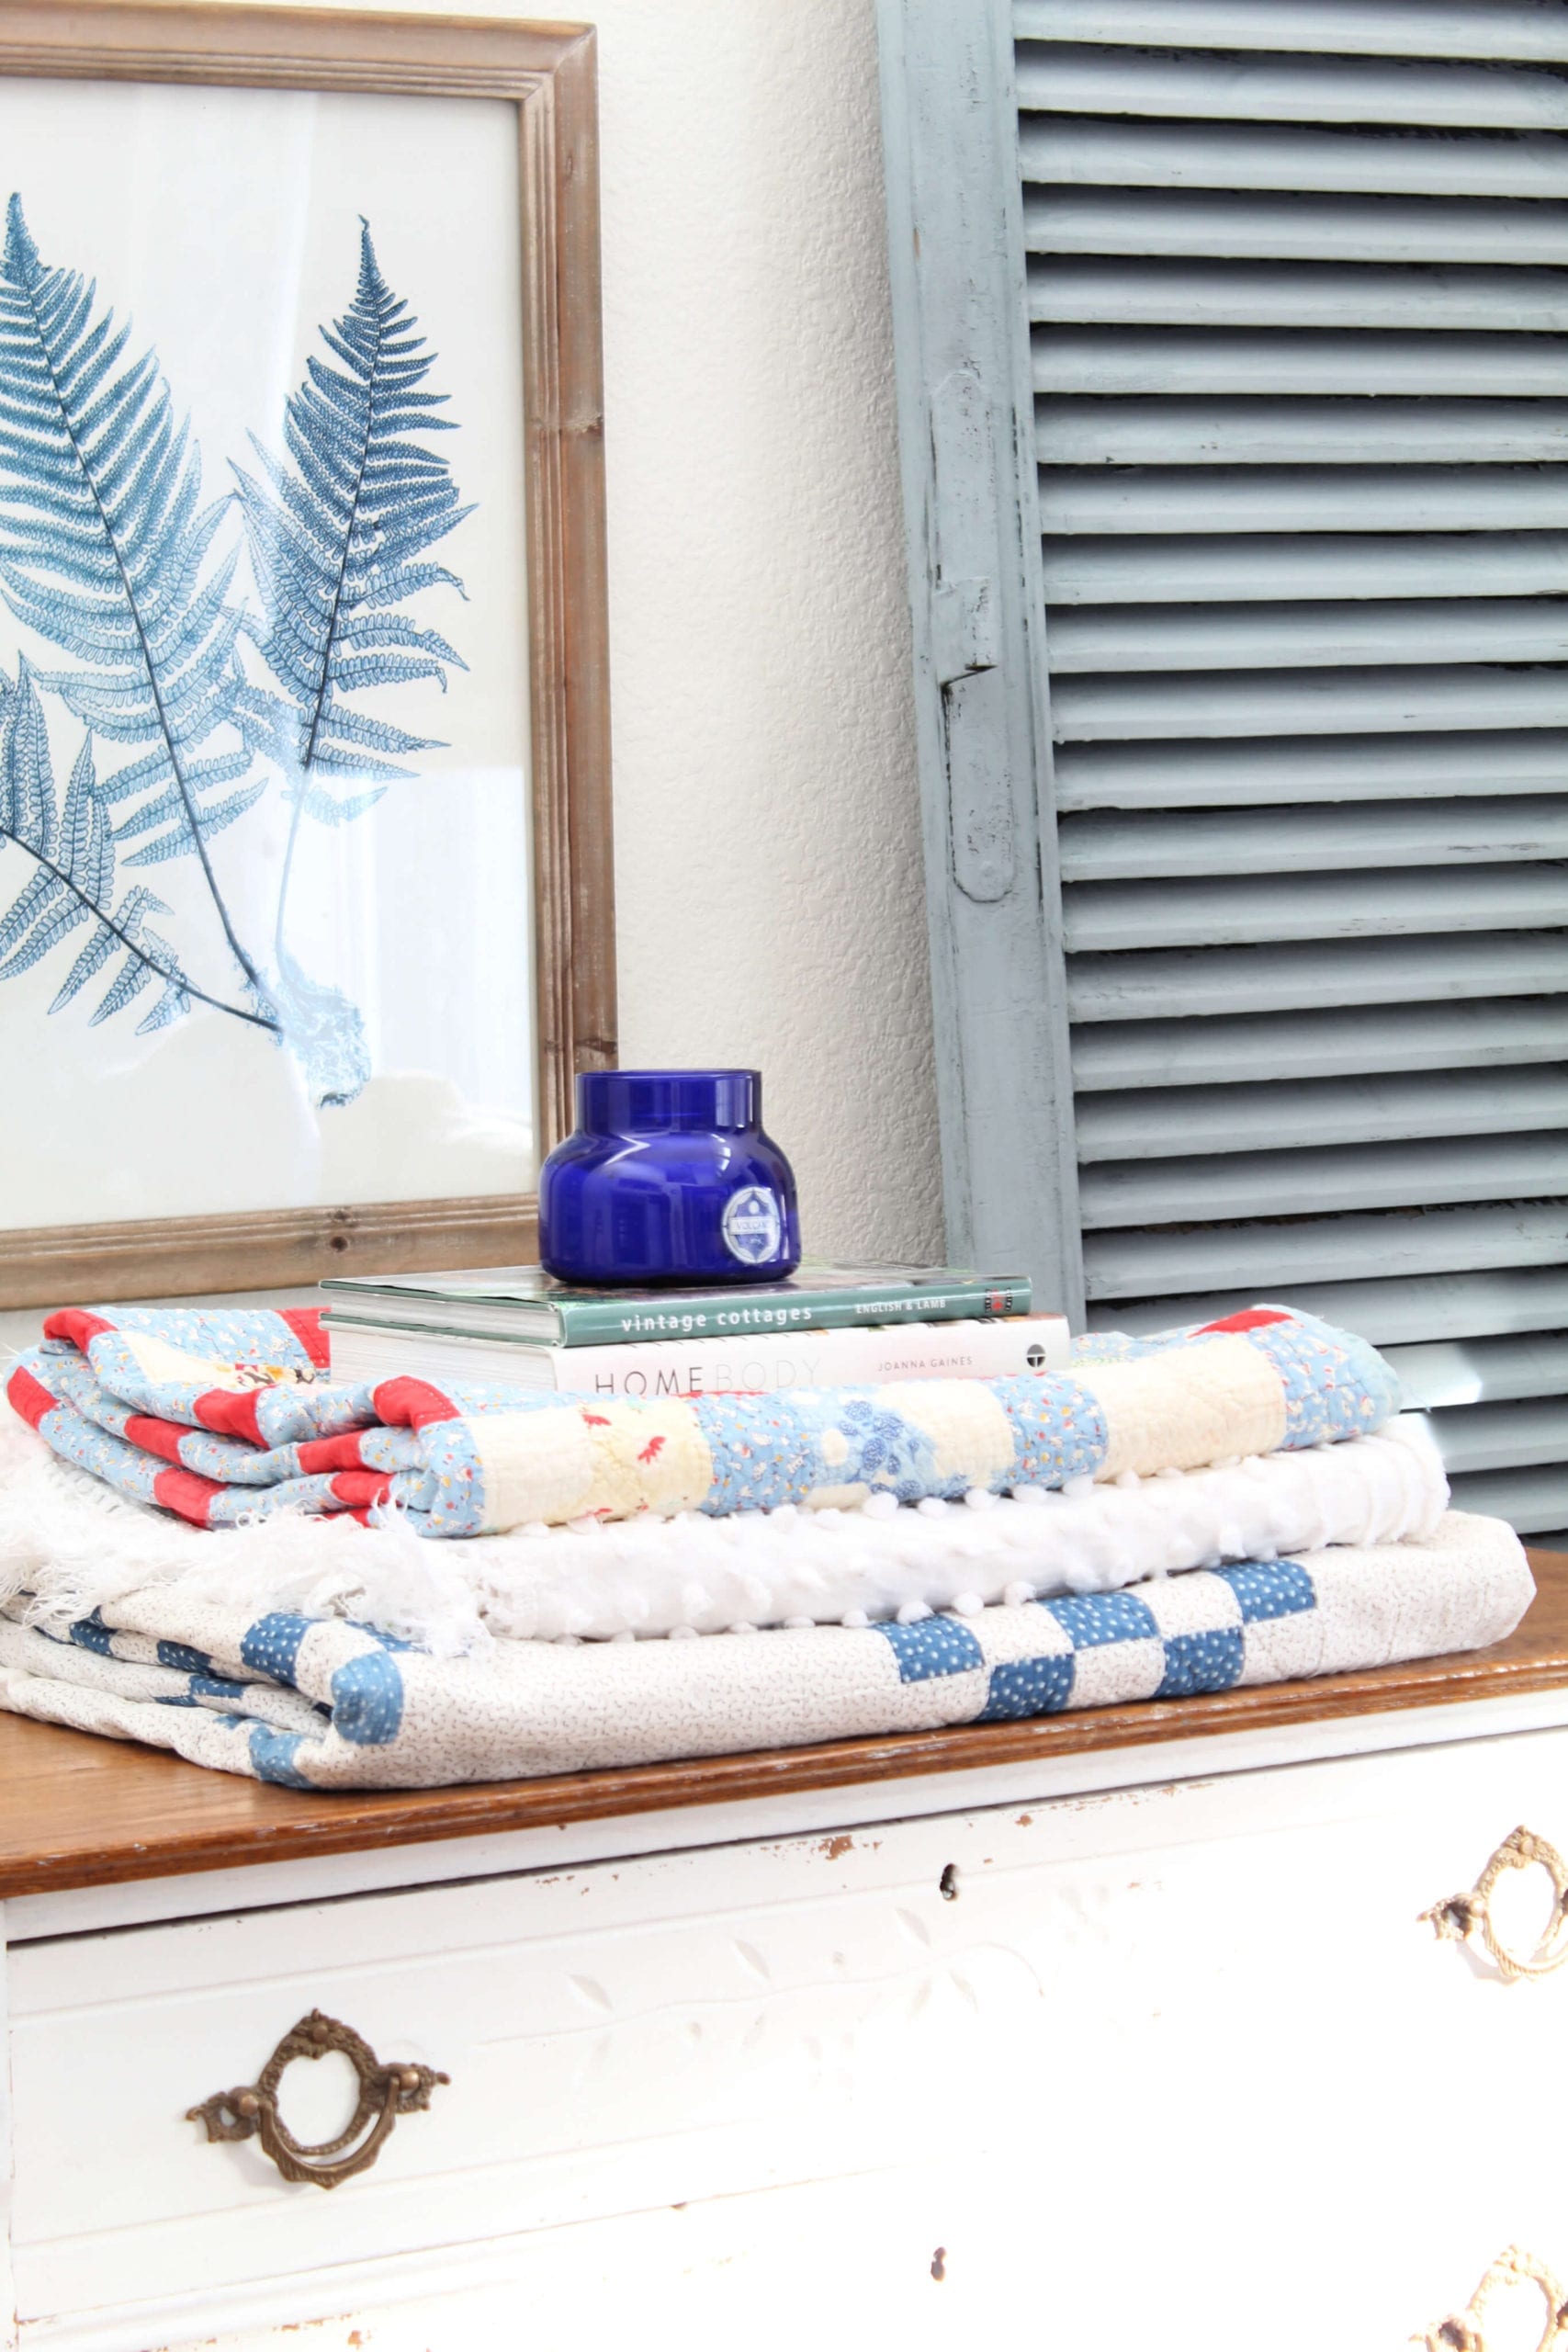
This soft grayish blue makes my heart happy…especially paired with my vintage quilts.
Shutters Painted In Bergere By Miss Mustard Seed’s Milk Paint
If you are looking for a quick and easy paint project I would highly recommend giving milk paint a try. The good news is you can’t mess it up!
So I’m curious, what do you think of my shutters painted in Bergere milk paint? Would you paint just one side of something or would you want to paint both sides?
XOXO,
Kelly
Make sure to visit the Thrifty Style Team posts below too!
The Painted Hinge – How to Repurpose Cabinet Doors into Wall Decor
DIY Beautify – 7 Thrifty Cleaning and Organizing Solutions for the Home
2 Bees In A Pod – Repurposed Vintage Tea Towel
Postcards From The Ridge – Paper Heart Wall Art
The How To Home – DIY Family Charging Station
The Tattered Pew – Bergere Painted Shutters
Sweet Pea – DIY Frosted Branches
What Meegan Makes – How to Refresh a Stand Mixer with Spray Paint
Cottage At The Crossroads – Fabric Hearts with Yo-yos
Lora B. Create & Ponder – Upcycled Old Tin Organizer DIY

Kelly – the new paint color is gorgeous! We love the idea of only painting one side too – such a smart tip! Thanks for sharing this new-to-us color. It is beautiful and your shutters looks great!
Thank you! I am loving this color!!! And I feel like these shutters were given new life!
This is such a clever idea, Kelly. And that color is absolutely gorgeous! The “new” shutters look perfect in your living room. 😘
Thank you Jen! The color is my new favorite color!!! And I love how they look in my family room it’s almost as if it’s a whole new room!
You picked a wonderful color to use on your shutters. Painting one side is such a great idea! Now you can turn them around when you want the green look back.
Thanks Paula! Yep…so excited to have options!
I love MMS paint, too<3 Have a couple projects coming up with it, but I've never used Bergere; such a pretty color blue! Love the idea of having both sides as options…and blue and green are the best colors, too!
Oh Lora I can’t wait to see what you do! And I totally have a crush on blue and green!
The color is so soft and beautiful! It’s the perfect lighter color for this time of year! Brilliant idea to paint the backs!!
Thank you Cindy! It really did brighten up the entire room!
Only painting one side of your shutters was a great idea, Kelly. I love both colors! And you’ve inspired me to paint something (I don’t know what yet) with milk paint! I have some in my paint stash and just have to decide what’s getting a makeover soon! Thanks for the tutorial and the inspiration.
Thanks Angie…so thankful my mom did it first! Have fun painting!
What a beautiful shade of blue! I have been thinking of painting a piece of furniture blue so I may use MMS’s paint to do it.
Oh Jane you must try this color! I think you would love it:)
I love this transformation Kelly! Gotta love Miss Mustard Seed’s milk paint! Great job!
Thank you Michelle! Yes I adore their paint!
Love the 2 color shutters! ❤️
I have a pair of green shutters almost exactly like yours & I am really thinking of painting one side. I have one question for you…what did you do to ensure the blue paint didn’t drip on the back/green side?
Thanks
Sharon
Hi Sharon! Great question… when I decided which side to paint I chose the side that had the shutter facing down rather than up. It’s hard to explain but if you look at the pictures you can see the slats are tilted down. I hope that helps and have fun!
I just love the idea of keeping one side original! Thank your mom for me, too.
The new color looks fresh and inviting , but still has the chippy goodness that is so classic.
Thank you Meegan…I will definitely tell her thank you!
I LOVE your shutters, and love the idea of having the dual colors for decorating purposes! Such a smart mom! 😉 Pinned!
Thank you Julie! Yes, she is smart indeed! Thanks for pinning!
Kelly,
I love how great these turned out.
Thank you Rachel…I love them too! It’s been a nice change.
I love that color and have always wondered how that paint would turn out. I have shutters that I’d like to paint as well. Might try just one side first. I like choices! Great job and they look fantastic with your quilts. Pinned
Thank you Cindy! If you try it on your shutters let me know. It is always good to have choices. 🙂 I appreciate you pinning it!
They are so beautiful! Bergere is one of my very favourite MMS paint colours.
Aww thanks! I have fallen in love with this color!
That country shade of blue on those shutters is absolutely beautiful! What a fun project to do.
Thank you Jenn! It was really fun!
Kelly I saw these on IG and just fell in loveeee!
Thanks Ana! They were so simple to paint and I love them!
So pretty Kelly! I can’t believe how well the milk paint looks over the old finish. Love the color too!
Thank you Michelle! Milk paint is a miracle worker!
I absolutely love how these shutters turned out! I’ve got a set of dark green shutters and I think I’m gonna give your two color trick a try. Thanks so much for a great tutorial! They really look beautiful in your home both ways!
Thanks Anne! The two color trick gives you so many options. So thankful that you shared!