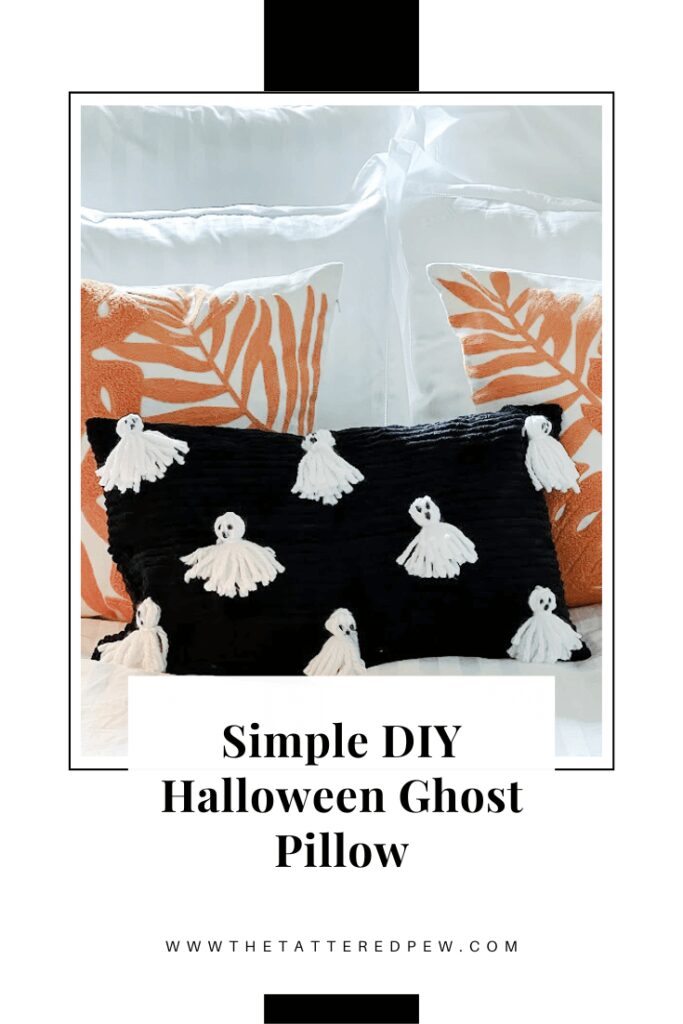
Simple DIY Halloween Ghost Pillow
Halloween is almost here! Do you love cute Halloween decor that doesn’t cost a lot and is easy to make? Check out my simple DIY Halloween ghost pillow that you can make in less than 30 minutes. A last minute Halloween addition that will surely become a new favorite!
*As an Amazon Associate, I earn from qualifying purchases. This post contains other affiliate links too for your convenience. Click here to read my full disclosure policy.
October Thrifty Style Team
Each month I join Julie from Redhead Can Decorate and the Thrifty Style Team for a monthly themed post! This month is a fun mix of Fall and thrifty ideas. I am excited to share my Halloween pillow with you all as well as see what the other bloggers are sharing. This group is always so creative and I love gathering inspiration each month. You can catch their posts linked at the end of mine!
Simple DIY Halloween Ghost Pillow
When I was a kid I remember making yarn ghosts for fun crafts at home and in school. So when I recently saw a pillow for $29 at Home Goods while shopping with my mom that had yarn ghosts on it, I instantly knew I wanted to make my own thrifty no-sew version!
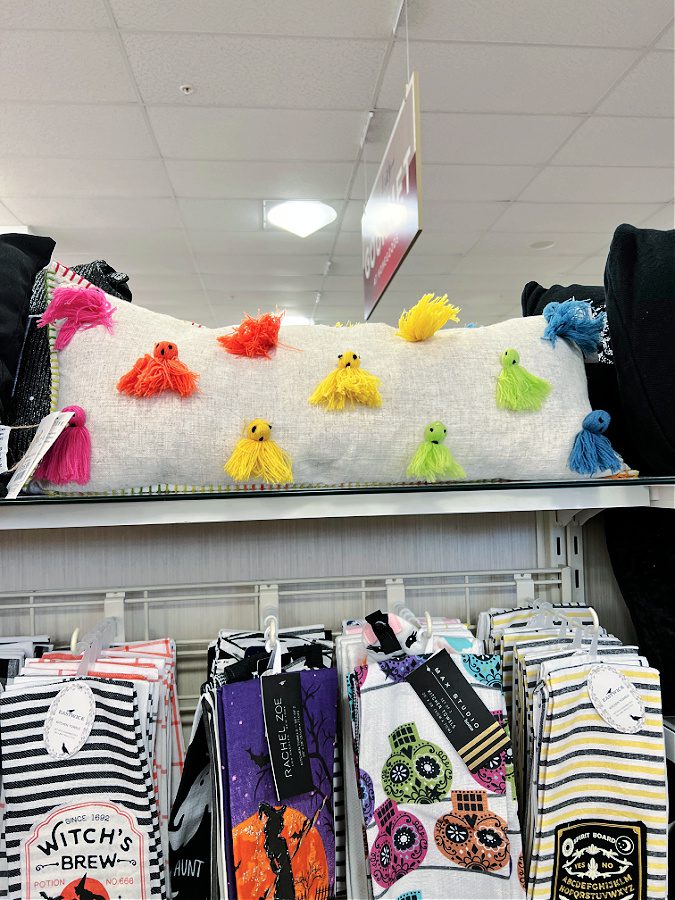
I knocked this out in just about 30 minutes and think that next time I will have my kiddos help me which will make it go even quicker.
Friends when I say this DIY took me 30 minutes I am not kidding. Because honestly, I spent the majority of my time making the darling little yarn ghosts and attaching them to the pillow case. So if you are looking for a fun, quick and family friendly Halloween DIY, you have landed in the right spot!
No Sew Halloween Pillow
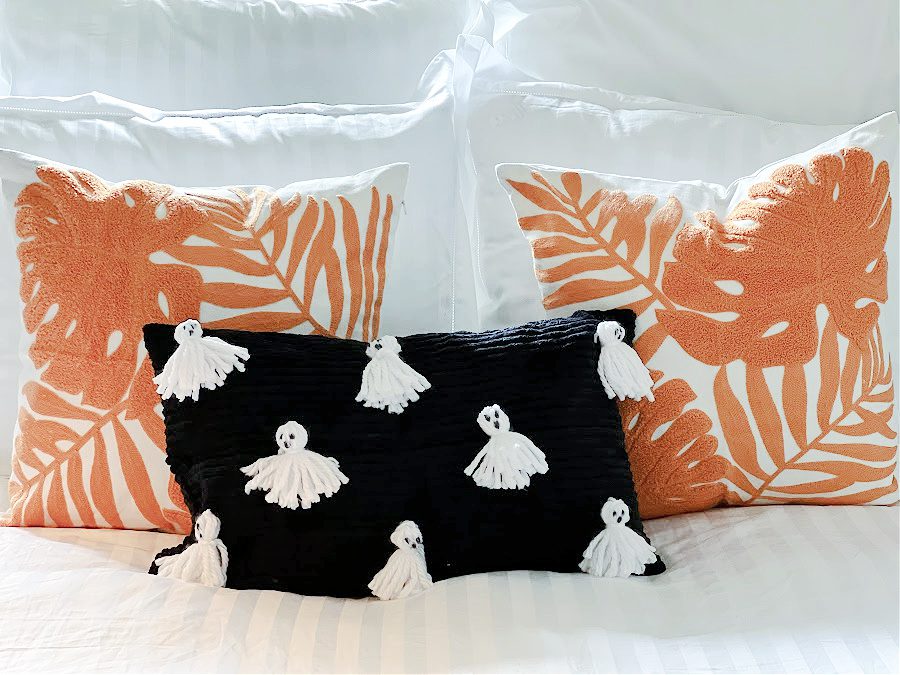
If you know me, you know I am all about the simple projects for seasonal decor. Remember my easy haunted house silhouette craft?
But seriously, how stinking cute did it turn out? I love how it pops on my daughter’s bed in her new beachy teen room! And did I mention this was a no-sew DIY?
Now let me walk you through step by step on how to make this simple and thrifty DIY Halloween ghost pillow.
Supplies Needed for Your Ghost Pillow
Before you start this simple DIY you will want to make sure you have all of your supplies on hand. I had everything except the yarn and black pillow case cover so I ordered both on Amazon! After ordering these two items my project was a total of $14! So budget friendly, right?
- pillow insert
- black pillow case ( I used this 12×20 one)
- safety pins
- yarn
- sharpie
- scissors
- cardboard square
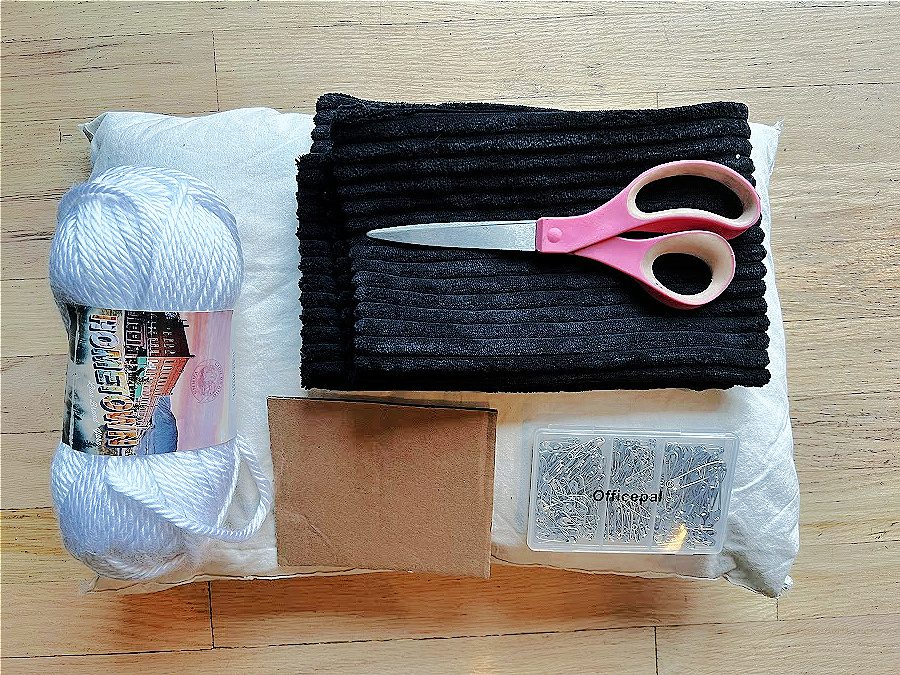
Making the Ghosts
Making the yarn ghosts will be the most time consuming part of this project but will also be the most fun part too!
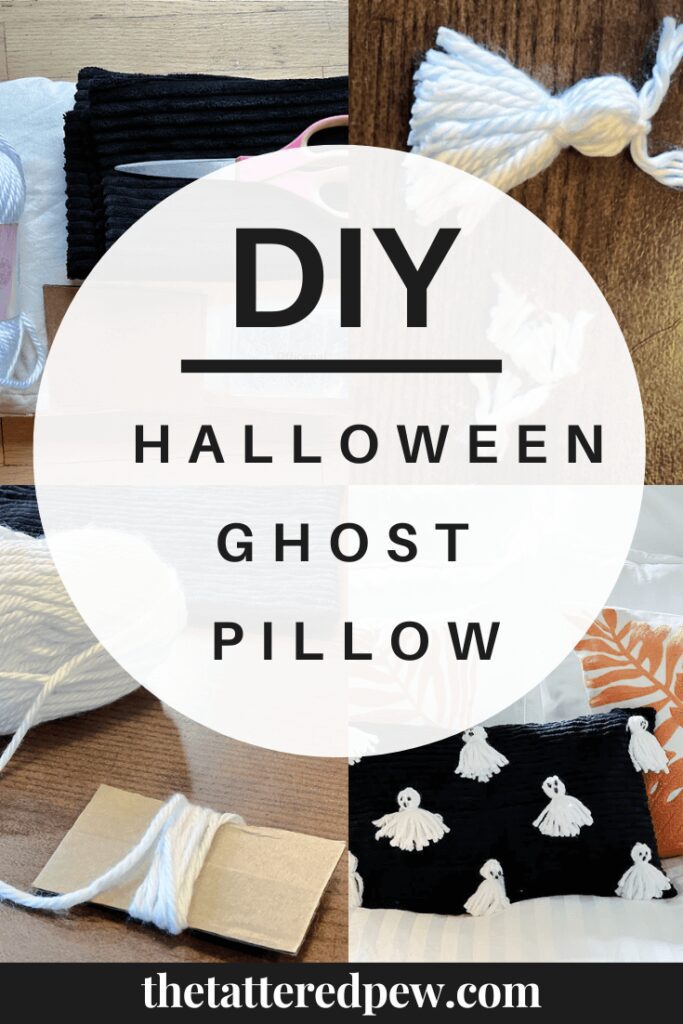
- In order to make your yarn ghosts you first need to create a template from cardboard. (or you can use your hand or even a notebook if you don’t have cardboard)
- Take your yarn and wind it around your cardboard template 15-20 times. I chose 15 times so my ghosts would all be the same size. * Note: I used thick yarn which is why I only wrapped it around 15 times. When using thinner yarn you will want to double the number of times you wrap it around your template!
- Next, gently slip an additional piece of yarn under the wrapped yarn or simply remove the yarn from the template and tie one piece of yarn around the top of the loop. It is best to do at least 2-3 secure knots.
- Once the top is secure you will then cut the end of the loop to make the bottom of the ghost.
- Tie a piece of yarn around the top of the ghost to form the head. Optional: stuff some paper in the head to make it fuller.
- Finally, trim the bottom of the yarn ghost to make it even and use a sharpie to draw on your ghost face.
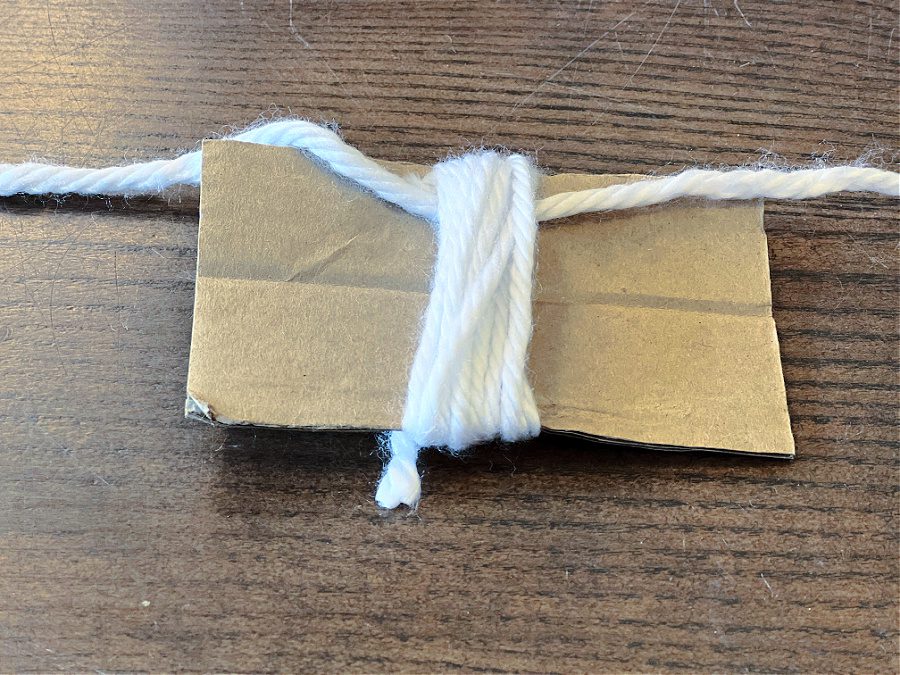
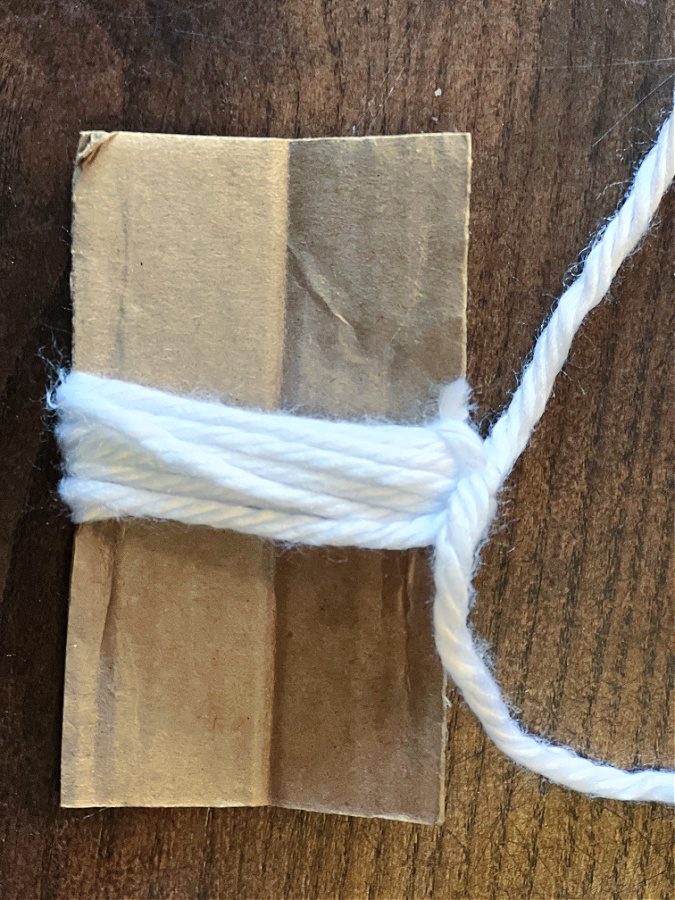
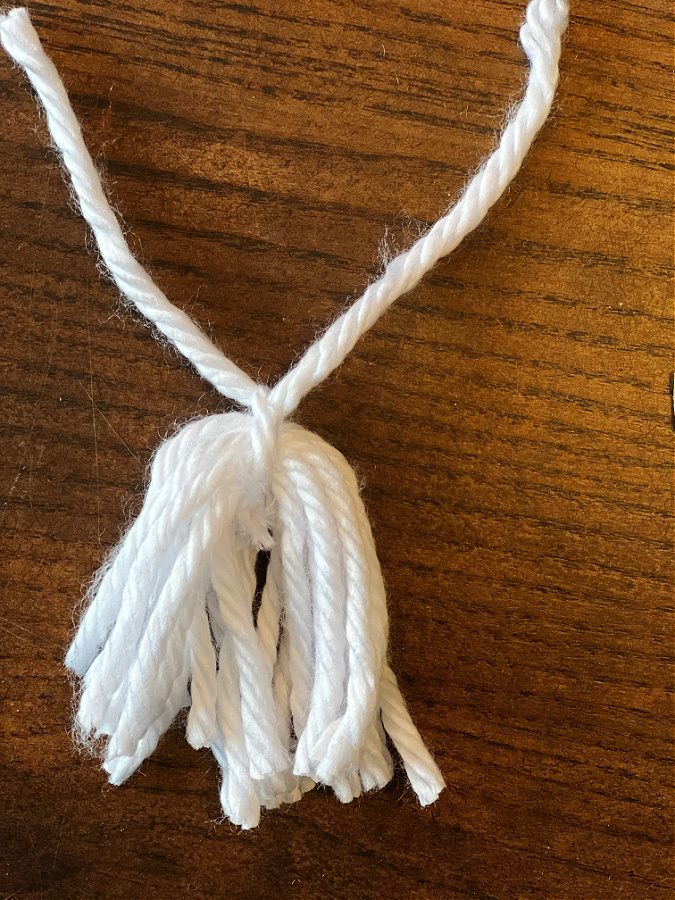
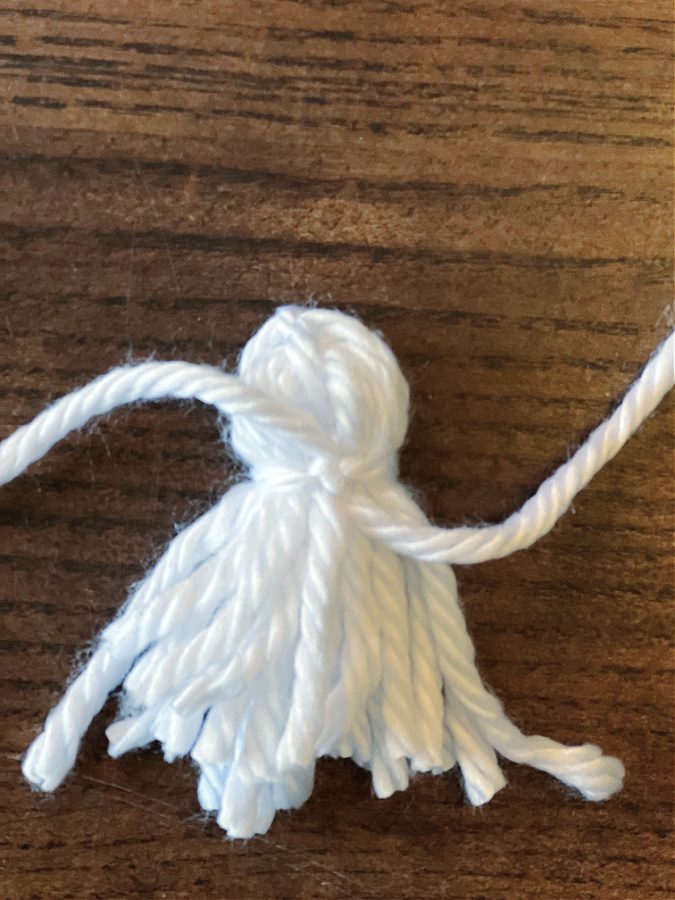
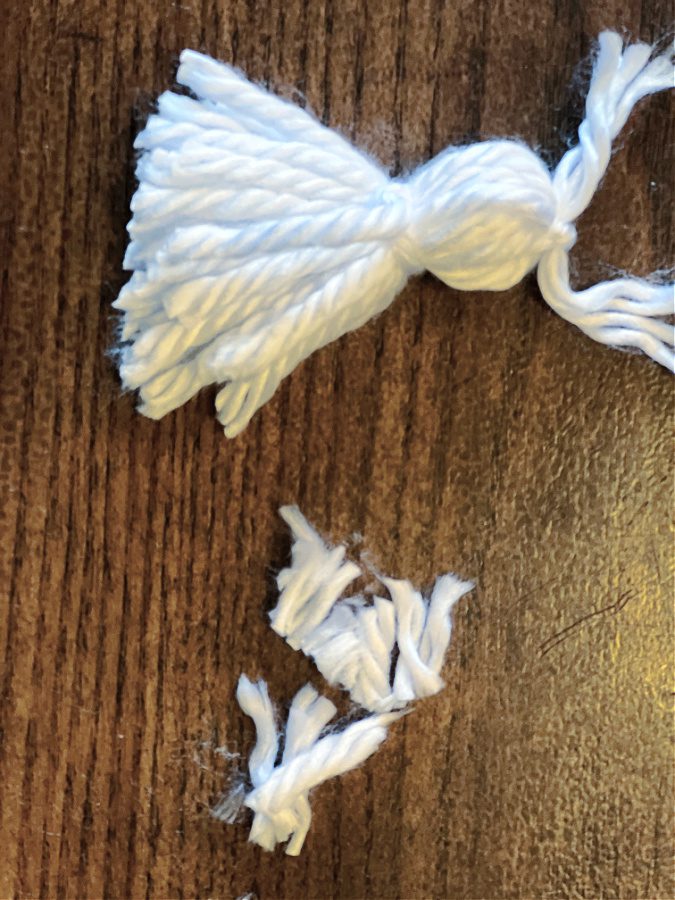
TIP: Make sure to hold one of the ghosts up to the pillow to get a feel for how many you will want on your pillow. I made 8 total ghosts for my pillow cover which was 12×20.
Wouldn’t these yarn ghosts make a cute garland too?
Attaching the Ghosts to the Pillow Case
Once you have made your ghosts and drawn on their faces get out your safety pins. Do a dry run of where you will want to attach your ghosts. I used the corduroy lines to help me line up the ghosts. If you don’t have lines on your cover you can always use a ruler and chalk to mark your spots.
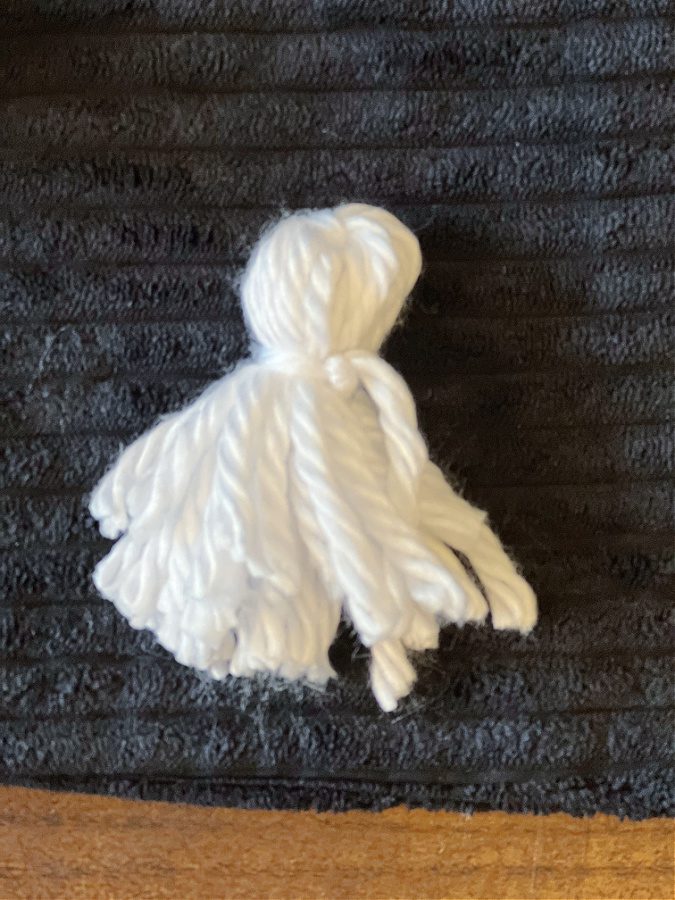
I used a safety pin to attach each ghost to the pillow case. Yep, no sewing involved!
I did this before I put the pillow in the case so it was easier to adjust as I added each ghost. Once I had all of my ghosts attached I stuffed the pillow insert into my new Halloween Ghost pillow and admired my work!
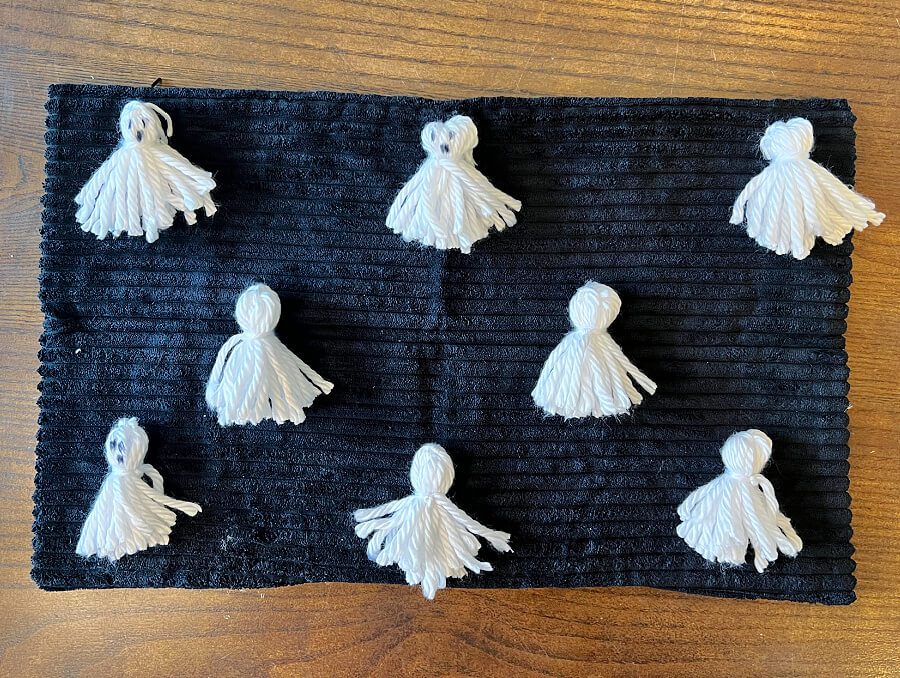
So absolutely simple, right?! I can’t believe how well it turned out!
Decorating With Simple DIY Halloween Ghost Pillow
Once you are finished making your simple DIY ghost pillow then the real fun starts. You get to decide where you want to use it around your home.
Immediately I knew it would look so good in my daughter Grace’s room with her all white bedding and orange accent pillows, and boy was I right! The black pillow pops against the orange and white pillow covers!
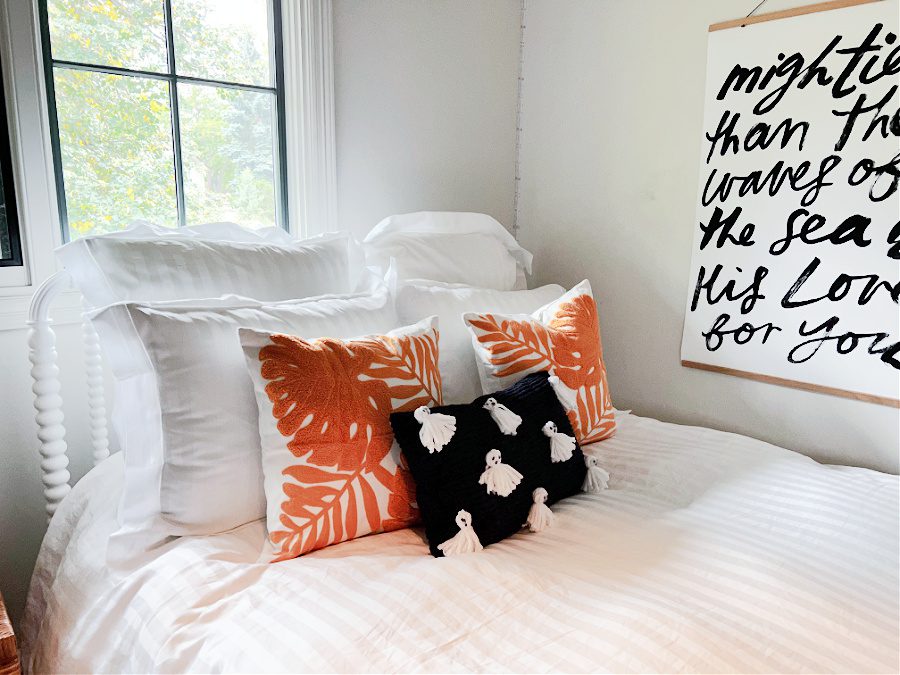
So cute and just like I want my Halloween decor, fun but not spooky!
Simple DIY Halloween Ghost Pillow
So what do you think? Will you give this simple project a try? Where would you use your ghost pillow? I love that even for people like me who don’t do a ton of Halloween decorations this DIY is perfect! Not too over the top and not too cringe worthy.
Thanks for stopping by today! Now make sure to visit my friends sharing their thrifty projects all linked below!
I’d love to have you hang out with me some more! Feel free to follow along with me on any of the platforms linked below.
LTK | Facebook | Instagram | Pinterest | Amazon
xoxo,
Kelly
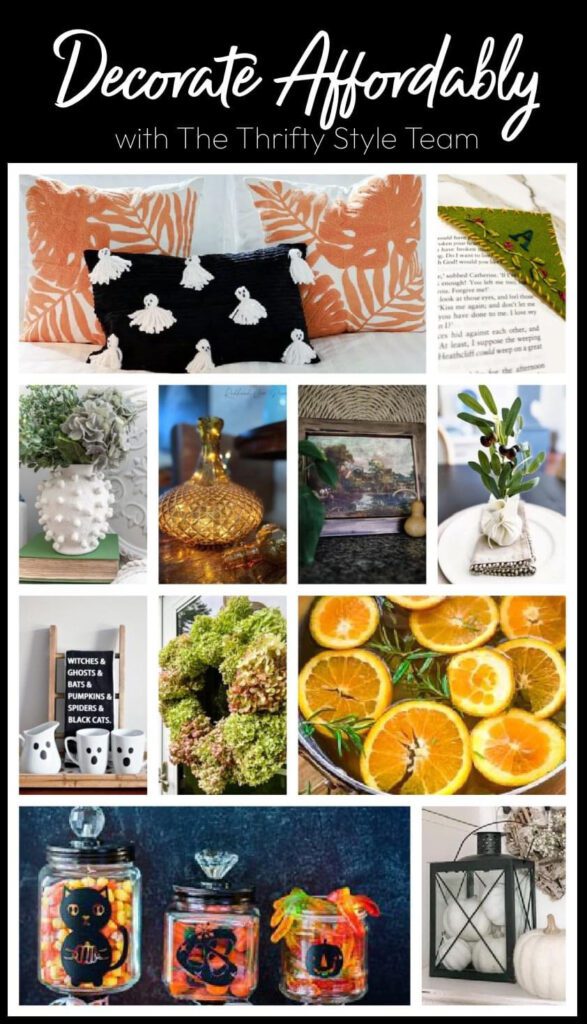
Thrifty Style Team
Redhead Can Decorate –Cozy Fall Corner
Our Crafty Mom –Ghost Mug Pottery Barn Dupe
I Should Be Mopping the Floor – Fall Simmer Pot Recipe
The How to Home –Dollar Store Halloween Apothecary Jars
DIY Beautify –Anthro Minka Pot Dupe for Under $5
2 Bees in a Pod –Olive Topiary Ballard’s Dupe
The Tattered Pew –Simple DIY Halloween Ghost Pillow
Cottage on Bunker Hill –Where I Find Free Art to Print at Home
My Family Thyme – How to Make a Dried Hydrangea Wreath
Amy Sadler Designs –Felt Bookmark with Embroidered Initial
Songbird –Decorating Lanterns for Fall

What an adorable Halloween pillow, Kelly! Such a fun and simple craft idea!! Pinned!
Yes so simple. Thanks, Lynne!
What a cute project Kelly! Love it in your daughter’s room!
Thank you, Cindy!
I totally flashing back to the 80s!!! Remember that we covered Tootsie Pops like this to look like ghosts added googly eyes and give them out to our friends for Halloween???
Yes I totally remember doing that too! Everything comes full circle, right?!
This is the cutest pillow! I’m sure your daughter loves it too!
Thanks Kim! She really loves it!
Kelly – your ghost pillow is adorable, and dare we say, better than the inspiration piece! It looks perfect in your daughter’s room.
Aww thanks! I love it better too!
That is a fun little pillow! And I love that your ghosts are not scary at all.
I love this little lumbar pillow, Kelly! And you can use it over & over every year! I hope you guys have a great Halloween!!!
Seriously adorable, Kelly! Love how it turned out. xoxo, kristi
Thank you, Kristi!
This is so stinkin’ cute! And, it looks like something I could do in a few minutes here and there. Perfect craft for even busy days. Thanks so much for sharing your creativity. xo
Yes and thank you!
Kelly this pillow is adorable! I’m sharing in my weekly Nesting post tomorrow! Have a great weekend!