The Easy Way To Stencil A Sea Grass Basket
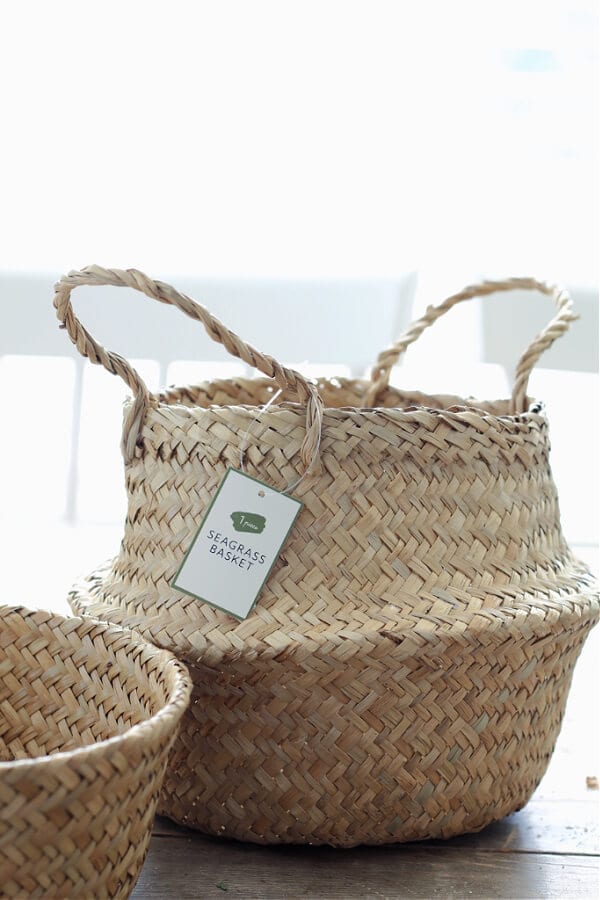
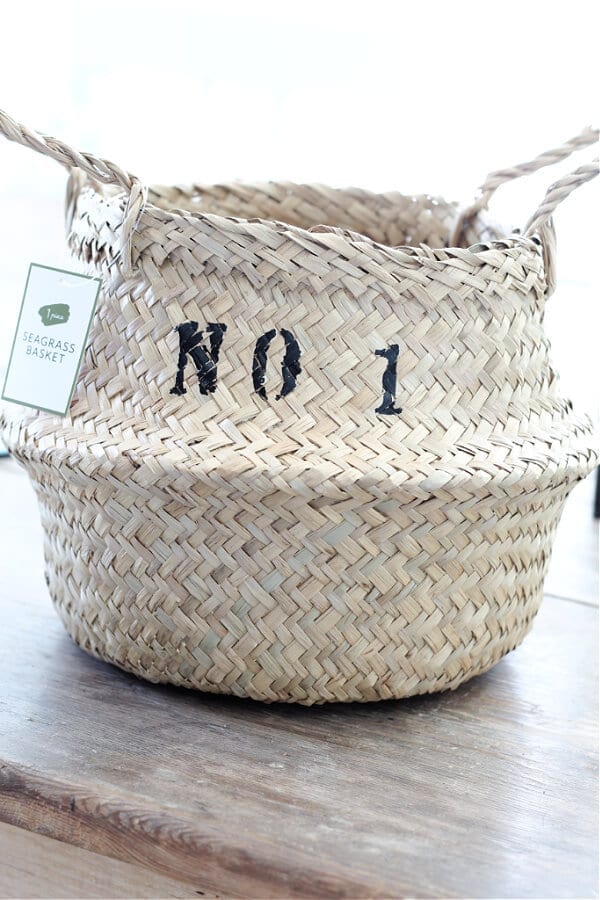
I love decorating with baskets and whenever I am out shopping I always keep my eyes open for them. So when I saw these darling sea grass baskets at Target for only $3, I was so excited! They were begging me to bring them home! I decided to spice them up a bit for Spring by stenciling them. I can hardy wait to show you the easy way to stencil a sea grass basket!
This post contains some affiliate links for your convenience. Click here to read my full disclosure policy.
The Easy Way To Stencil A Sea Grass Basket
Whenever early Spring rolls around I am in the mood for fresh and fun DIY’s! So when Krista from The Happy Housie asked if I wanted to join her Spring Seasonal Simplicity DIY blog hop I said for sure! So many other bloggings friends also joined and all of their posts can be found at the end of mine.
An Easy DIY
Honestly, I didn’t know what Spring DIY I would be sharing for this hop but the minute I saw these mini sea grass baskets at Target, my mind started racing! How cute would they be if I stenciled them? They needed a little extra oomph!
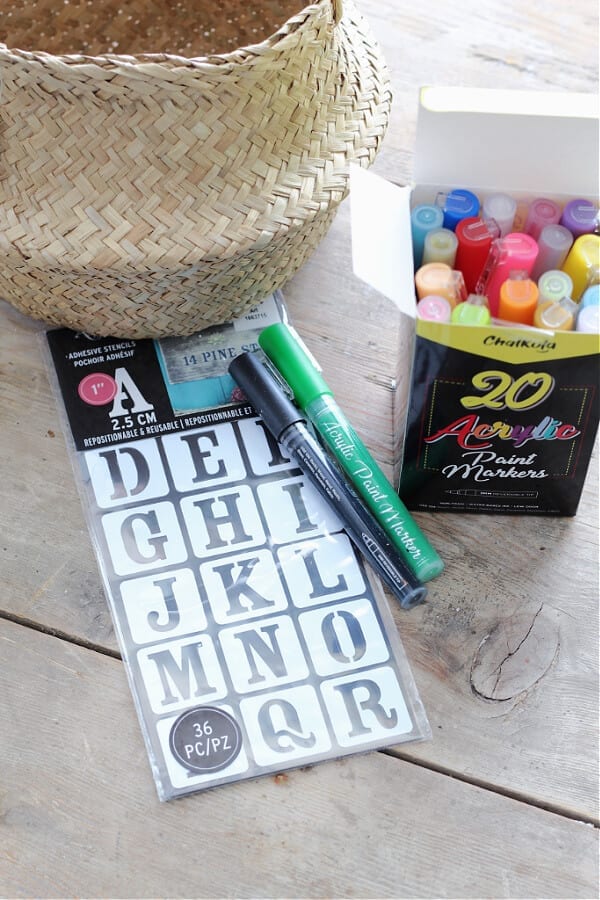
Supplies Needed To Stencil A Sea Grass Basket
Here is what I used:
- Chalkola Paint Pens
- Sticker Stencils from Hobby Lobby
- Spring decor to accessorize the baskets
Stenciling The Sea Grass Basket
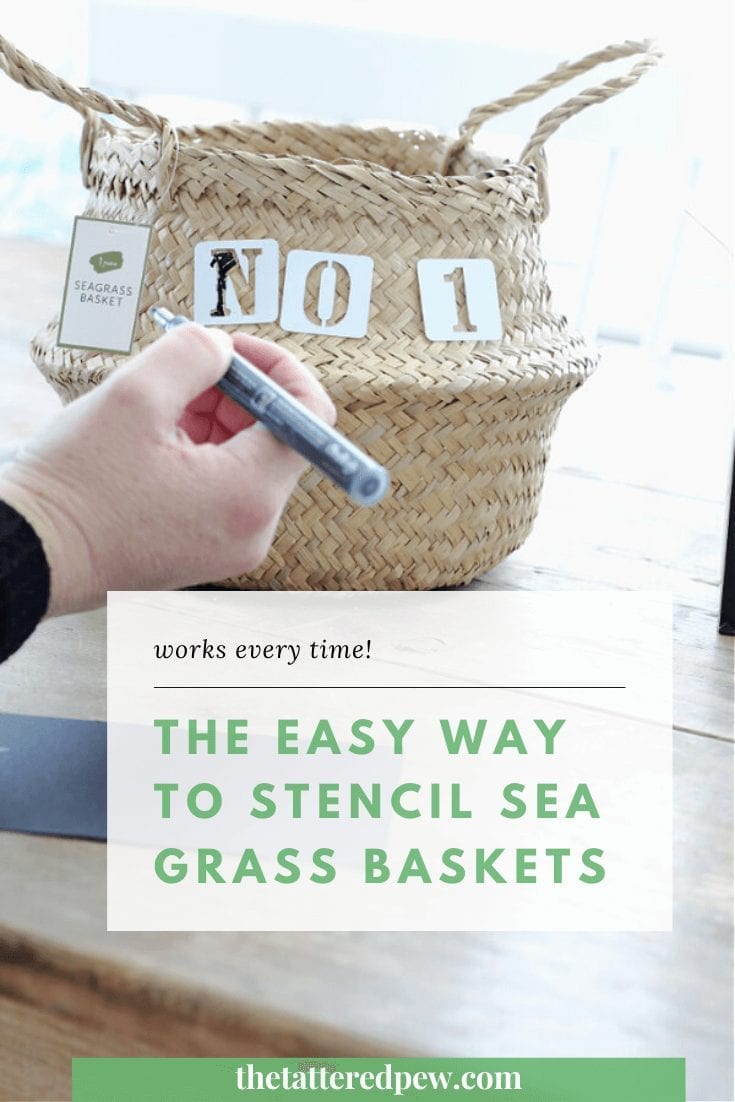
This might be the easiest DIY I have ever done. The shopping for the baskets and stencils took the most effort. Ha! Luckily I already had my favorite paint pens on hand ( the same ones I used for our Valentine’s Day charcuterie board) and I picked up the sticker stencils at Hobby Lobby for under $5.
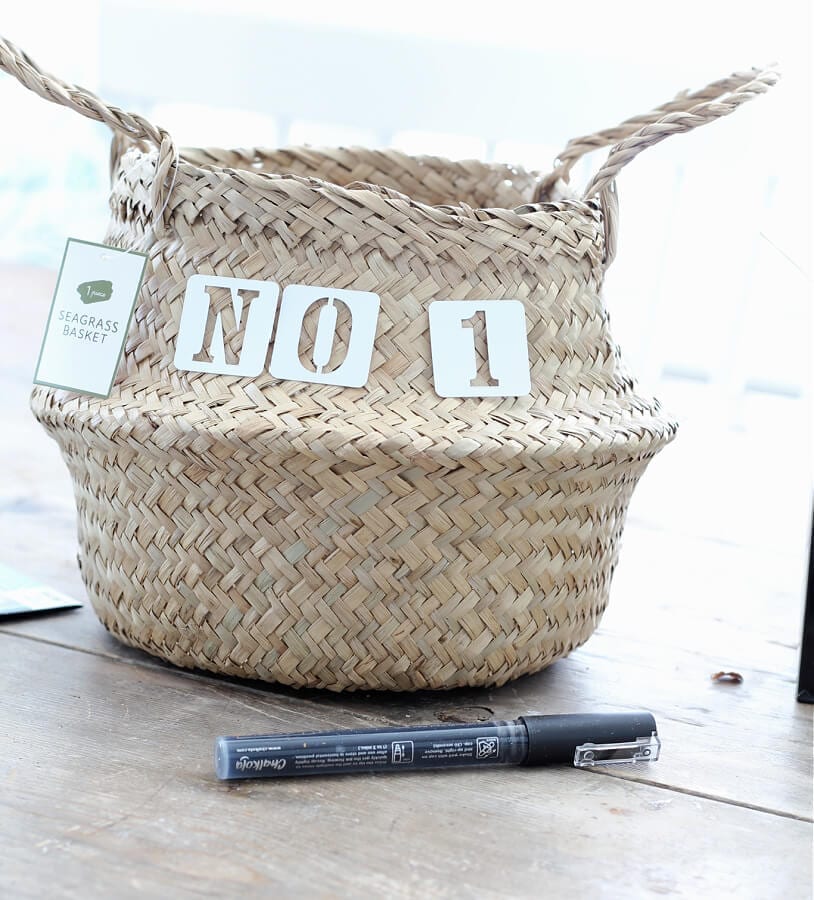
Once I had all of my supplies and decided what I wanted to stencil on my basket, I simply placed the stickers in place on the basket.
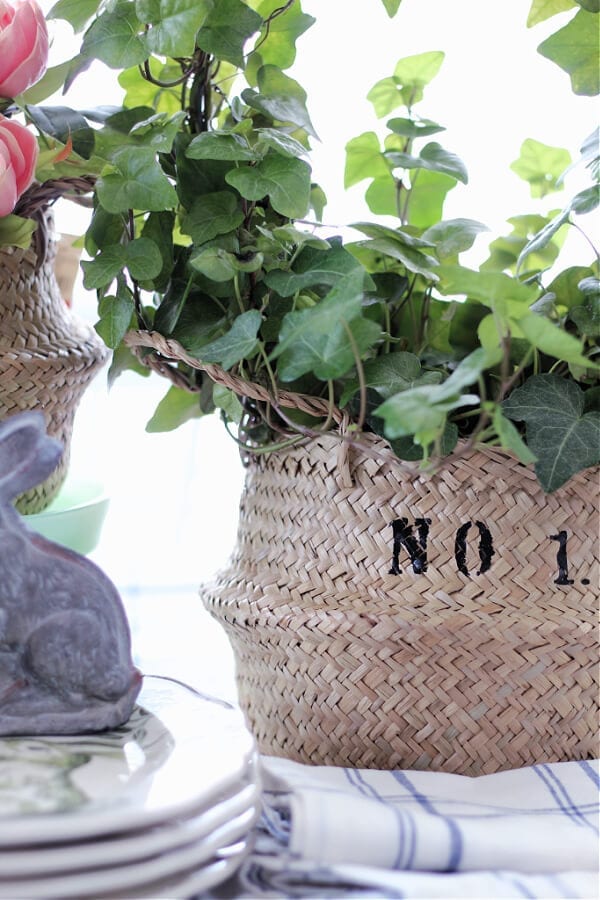
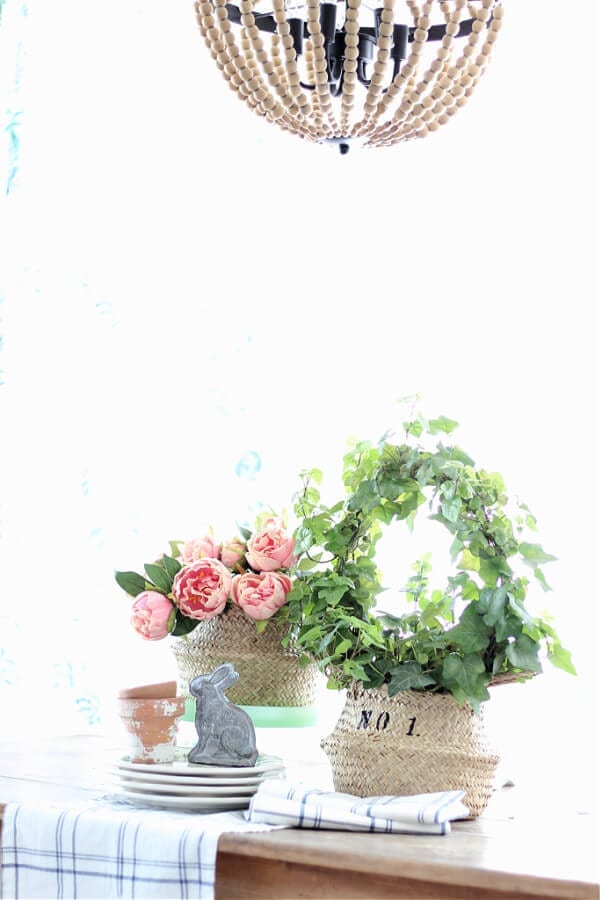
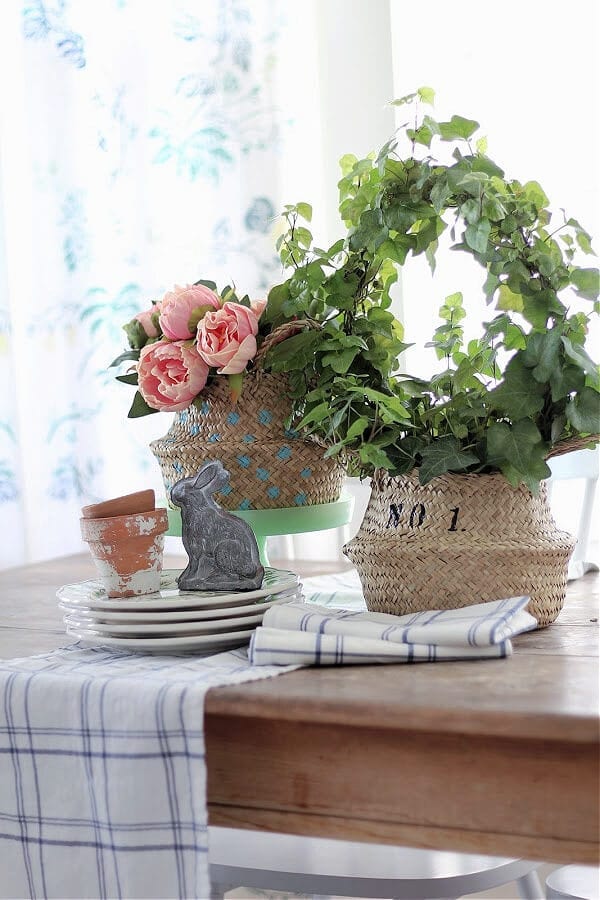
I went with stenciling “No. 1” on the basket because I have noticed numbers on a lot of vintage baskets that I admire. Plus it was simple and I didn’t want to go overboard.
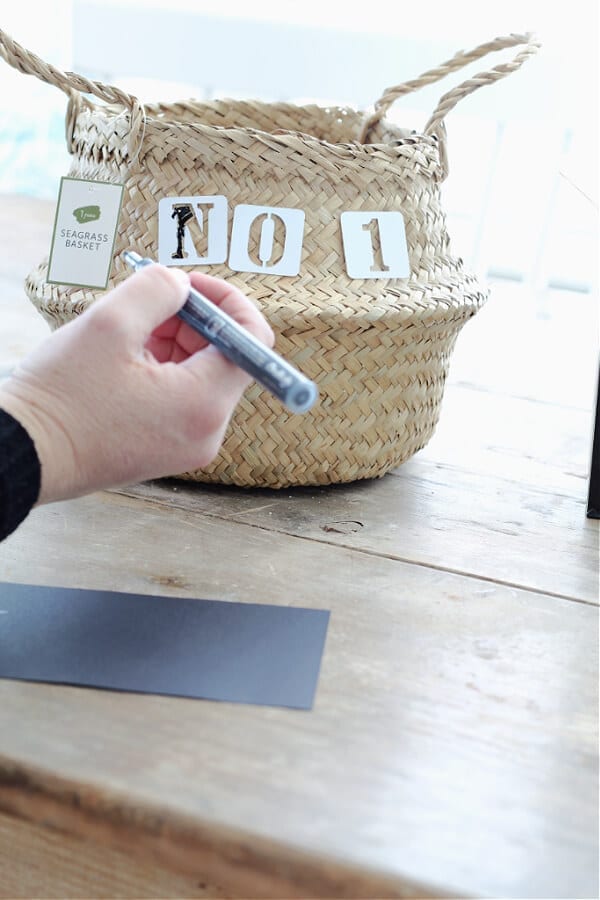
Chalkola Paint Pens
I used my black Chalkola paint pen and it worked perfectly! Since the sea grass basket is textured I did have to go over the stencil several times to make sure the black didn’t miss any areas. But once I removed the stencil I liked the vintage look it had with the black rubbed off in a few areas so I wasn’t to picky.
The stenciling literally took all of 2 minutes. Remember I mentioned that this was an easy DIY?
Didn’t it turn out so cute?
Adding My Spring Décor
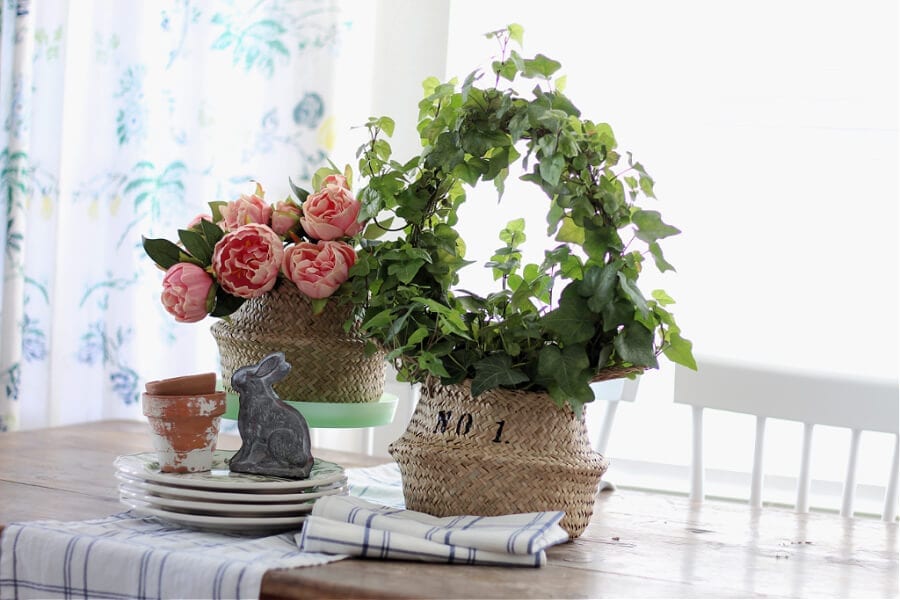
The stenciling on this basket is subtle but still stands out and makes it unique. My ivy topiary fit perfectly inside the basket and it was love at first sight. My heart was happy because this was an easy DIY project that barely cost me anything!
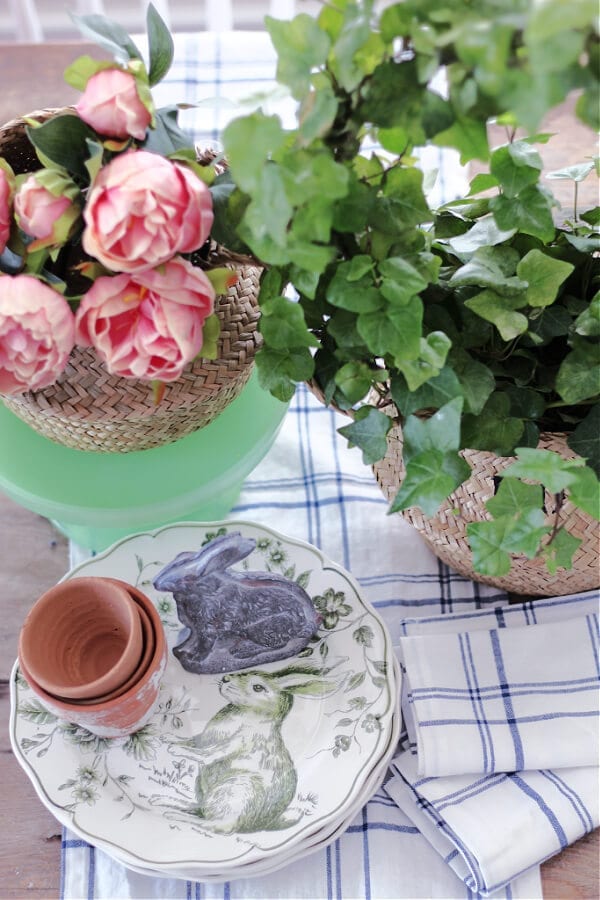
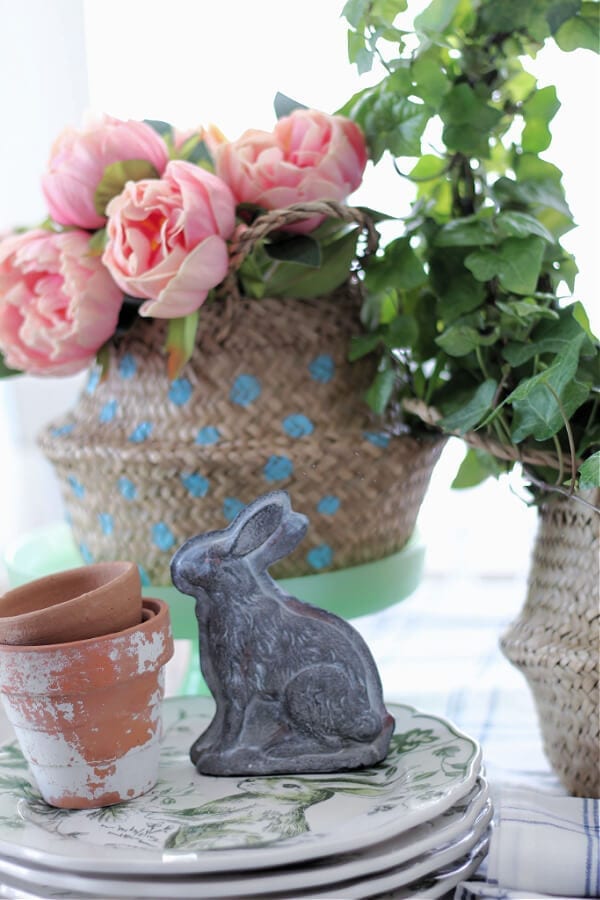
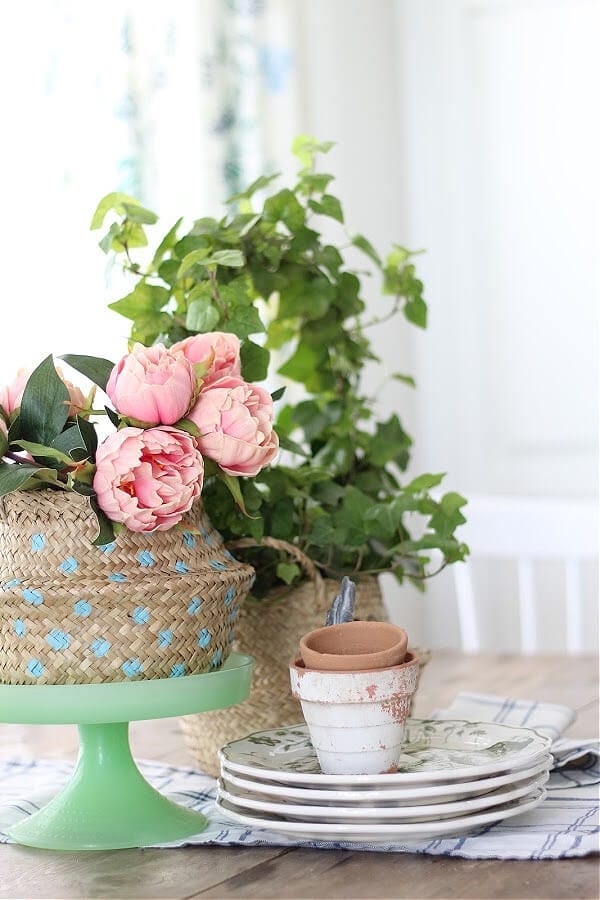
Of course I had fun adding my favorite pink faux peonies to the other basket and then added a few other Spring items I already had on hand. The blue and white runner and napkins were found in the Target Dollar bins several years ago and the green and white bunny plates were found at Home Goods a few years ago as well.
Painting The Other Basket
After styling the baskets and table I kept staring at the other plain sea grass basket. I thought about stenciling the word flowers on the front of it but the word is too long for the basket. So instead I used the light blue Chalkola pen and free handed some precious little polka dots. It added a fun touch to this Spring vignette.
What do you think of the polka dots? What would you paint on your basket?
The Easy Way To Stencil A Sea Grass Basket
This fun little DIY on the easy way to stencil a sea grass basket has me dreaming up more Spring projects! If you haven’t been to Target lately I would suggest you stop by soon to take a peek at the Dollar bins. They are full of great little items for projects!
How about you? Are you ready for Spring? Do you have any fun projects or DIY’s coming up?
Thanks for popping over today!
XOXO,
Kelly
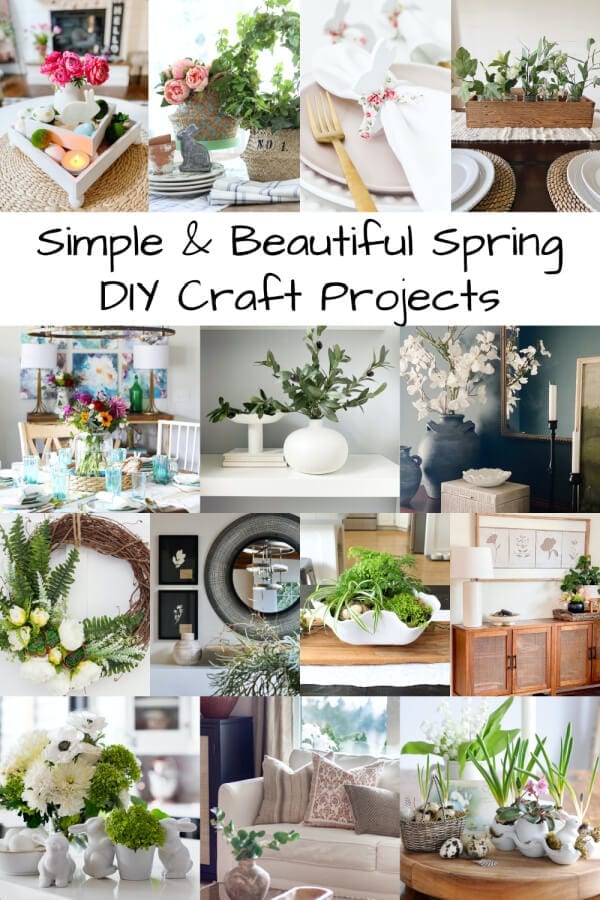
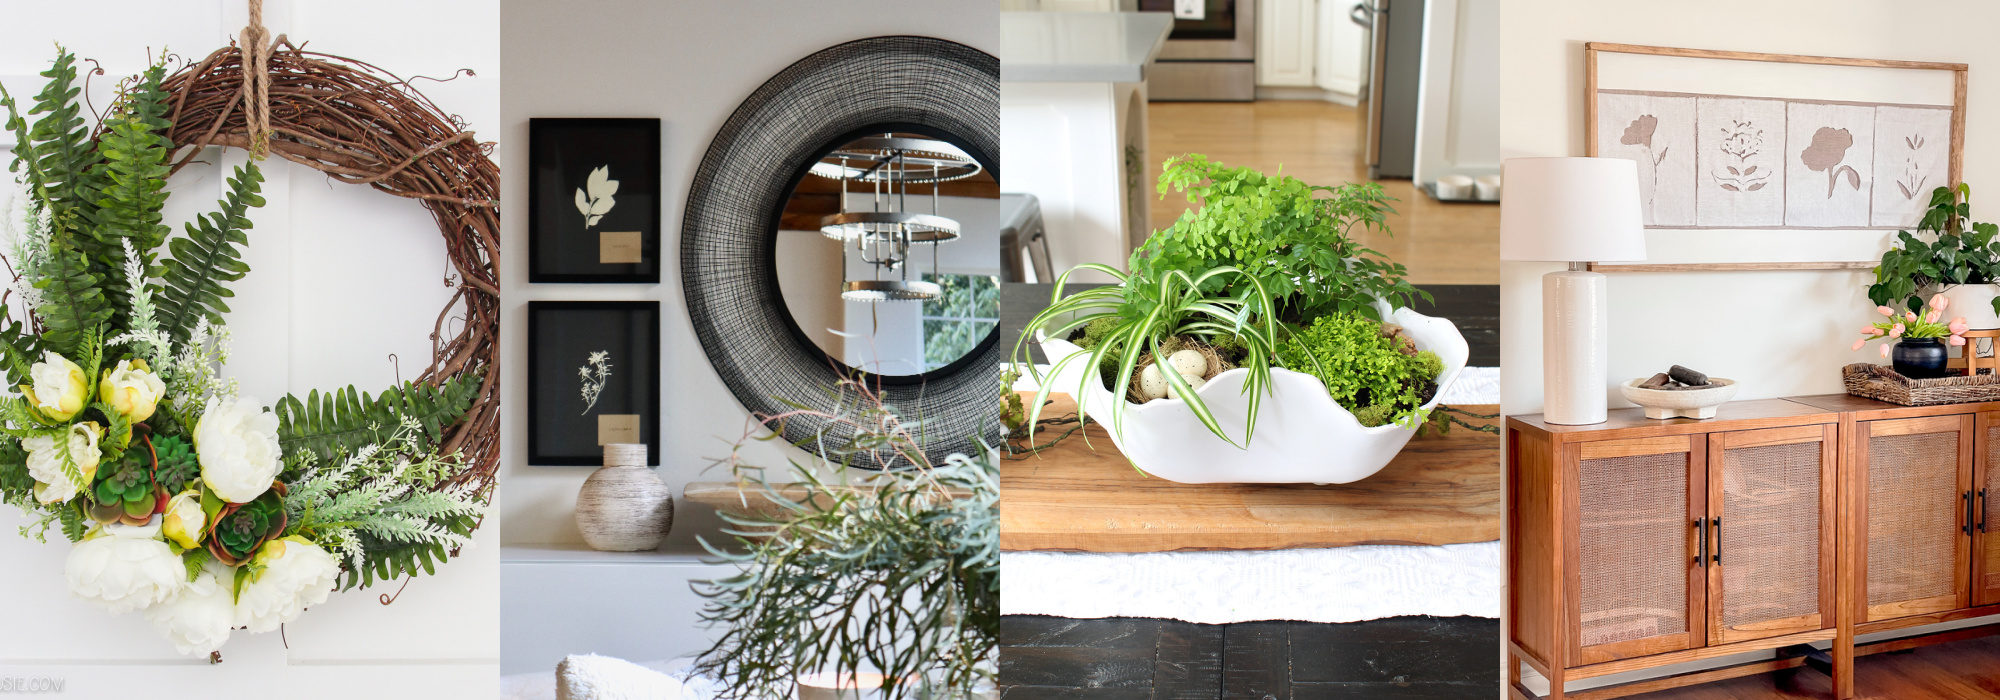
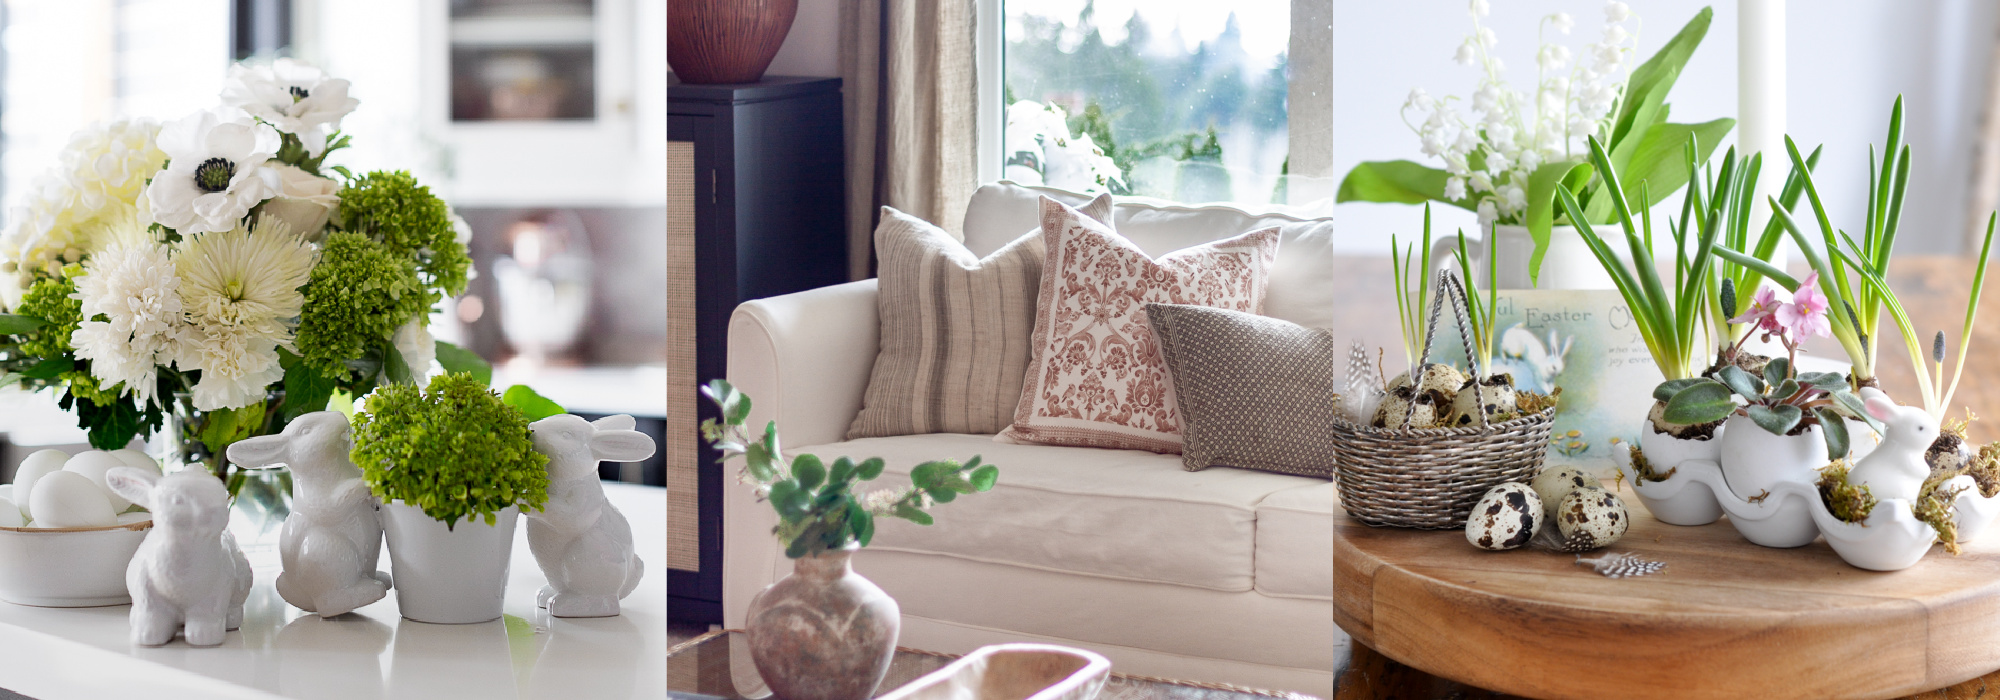
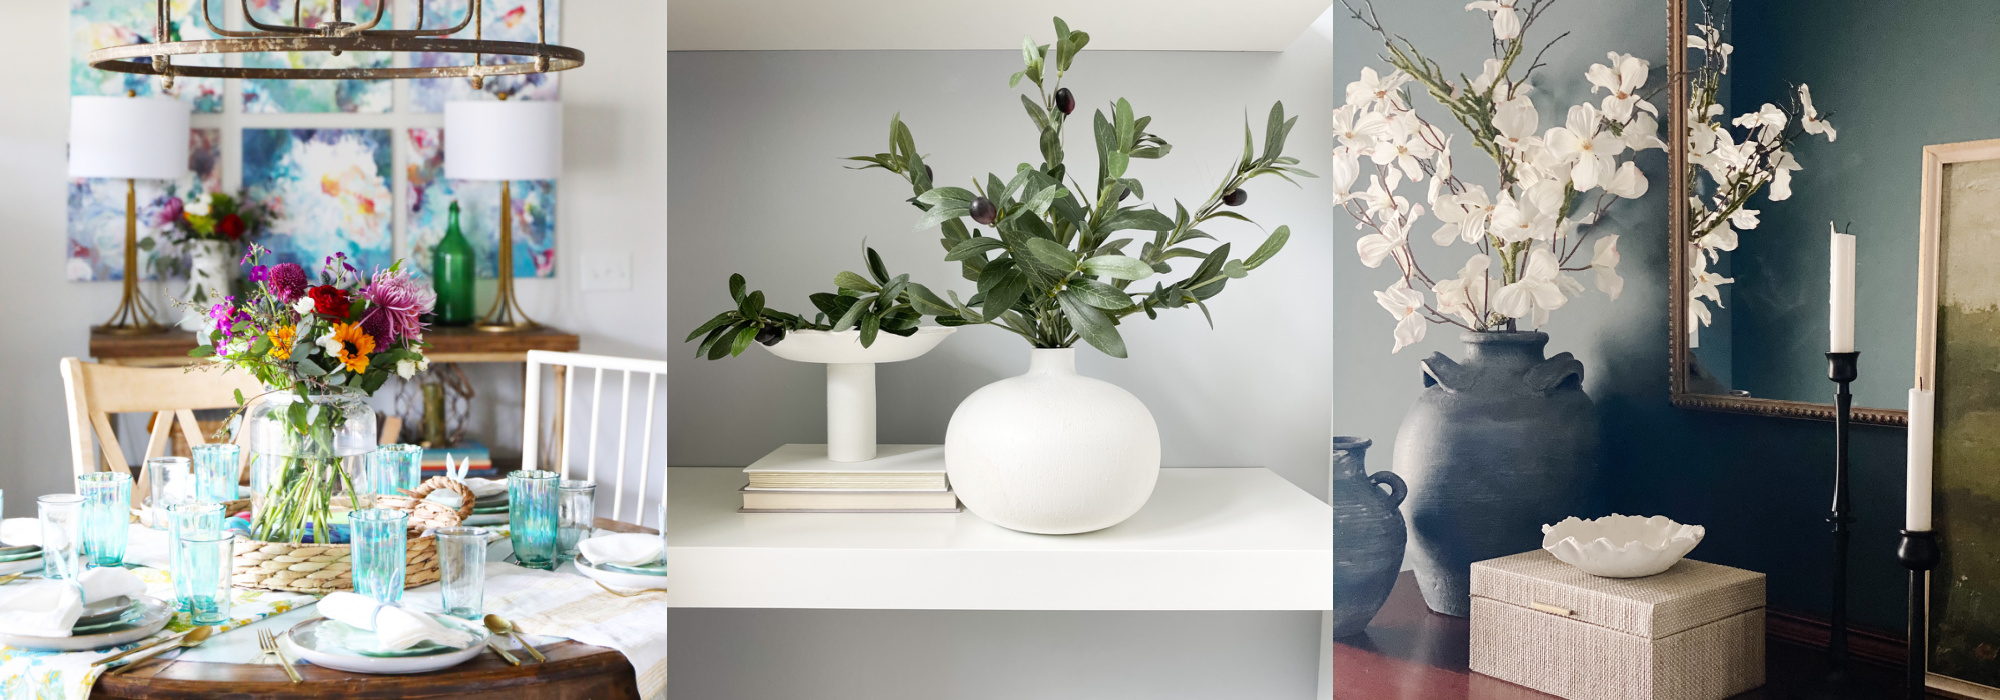
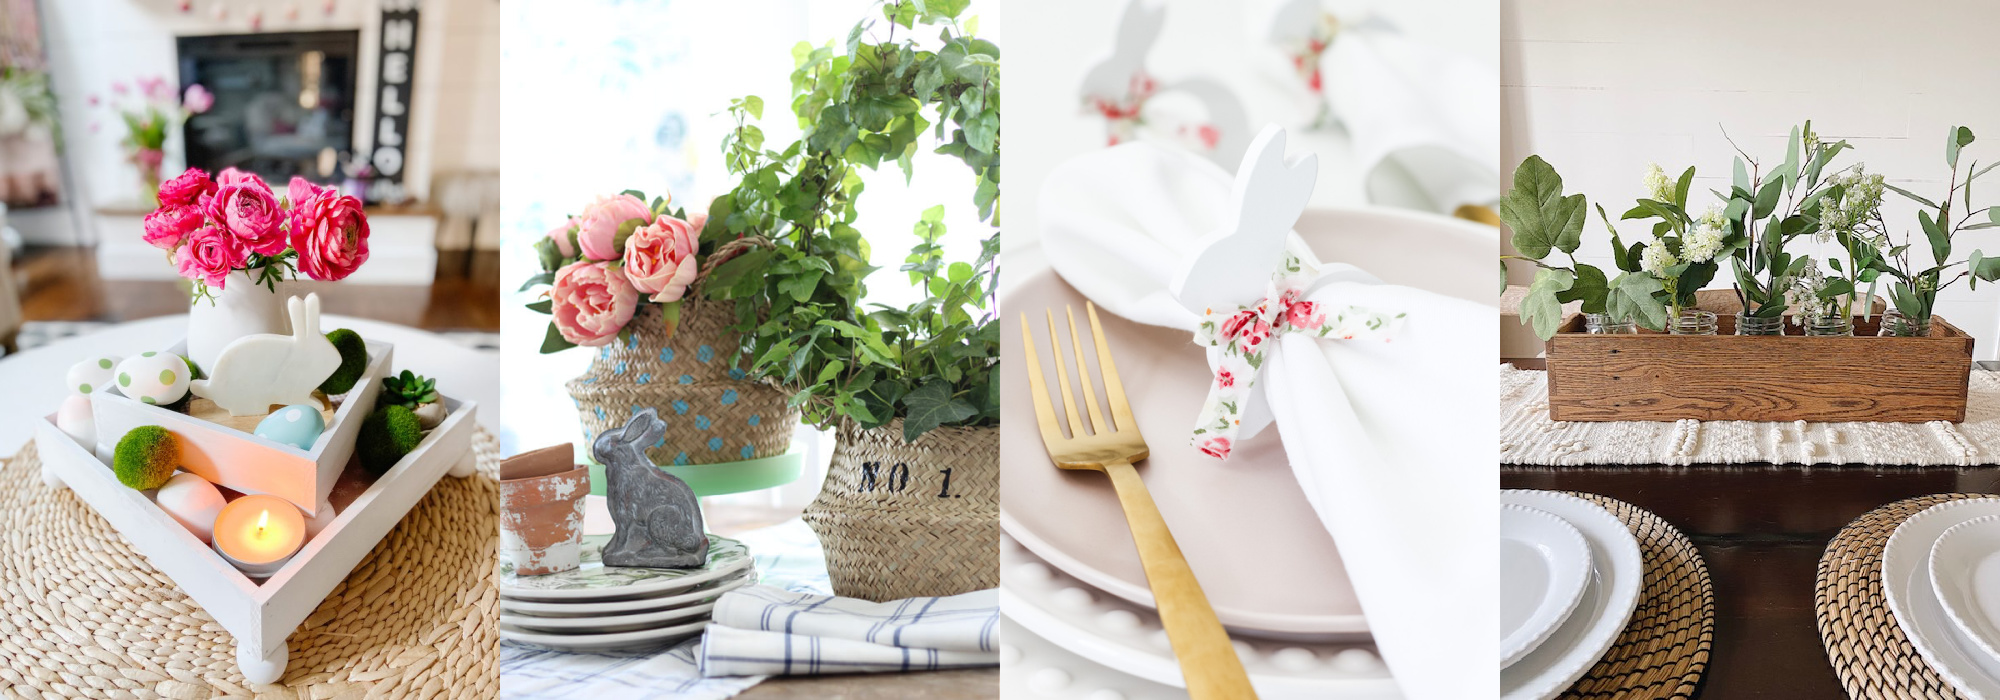
This week I’m joining some of my talented blogging friends for the Spring Seasonal Simplicity Series! We’re all sharing some fantastic spring DIY Ideas with you! Be sure to check out these fun spring crafts and DIY ideas by clicking on the links below each image.
My Best Spring DIY Craft Projects at The Happy Housie
DIY Black and White Botanical Art – My Sweet Savannah
Tropical Spring Centerpiece – Clean & Scentsible
DIY Textile Artwork that Changes by Season – Grace in My Space
Bunny Bowl Dupe – Craftberry Bush
How to Sew a Zippered Pillow Case from a Spring Cloth Napkin – Zevy Joy
DIY Eggshell Planter – Life is a Party
Bunny Ear Napkin Rings – The Handmade Home
DIY Vase Makeover with Paint and Baking Soda – This is Simplicite
Flower Petal Bowl – Deeply Southern Home
DIY Spring Footed Stacking Tray Centerpiece – Tatertots & Jello
The Easy Way to Stencil a Sea Grass Basket – The Tattered Pew
Easy Easter Napkin Rings – A Pretty Life
Easy Spring Mason Jar Centerpiece – She Gave it a Go

Love how simple this DiY is, Kelly! It turned out so pretty and your styling was perfect for some spring inspiration. 😉
Thank you so much Genevieve! I had fun and it was so quick!
Kelly!!! I love your baskets! They are gorgeous and PERFECT for Spring!! I’m totally going to Target this weekend. (The girls will be with the grandparents!) I’m grabbing all the baskets they have thanks to you!! haha
Oh Aliya you are so sweet! Good look basket shopping! Let me know if you find them!
Your baskets turned out beautifully, Kelly. I absolutely love them! Such a clever DIY.
Thank you Jen! So simple and so fun!
Excellent post. I was checking constantly this blog and I am impressed!
Extremely useful information particularly
the last part 🙂 I care for such info a lot. I was seeking this particular info for a
long time. Thank you and best of luck.
So easy peasy, my kind of DIY! I’m heading to Target! 😄
You can’t beat a simple yet pretty DIY! I hope you find some baskets and then you are welcome to come over and borrow my paint pens and stencils!
I have been enjoying making crafts for spring. I’m hoping if I keep creating spring will come.
I don’t think it works that way.
Cindy
I know! I wish it did…only 14 more days!
They both turned out great Kelly! The pastel blue dots are so perfect for Easter.
Thank you Shawna…I just love the blue too!
Your seagrass baskets are beautiful Kelly! I will definitely have to try this!
Thanks Kim…easy and fun! I hope you try it!
What a great project Kelly! I would love to feature you with it this week in my weekly round up! xoxo
Thank you Stacy I would love that!
This is so cute Kelly. I appreciate you for allowing me to join you this week on Welcome Home Saturday!
Thank you Rachel and thank YOU for being our guest!
Kelly this is so stinkin’ cute! What a quick and easy project too !
Thanks, Ana! It was a fun one!