Tips and Tricks For Long Lasting Cut Hydrangeas
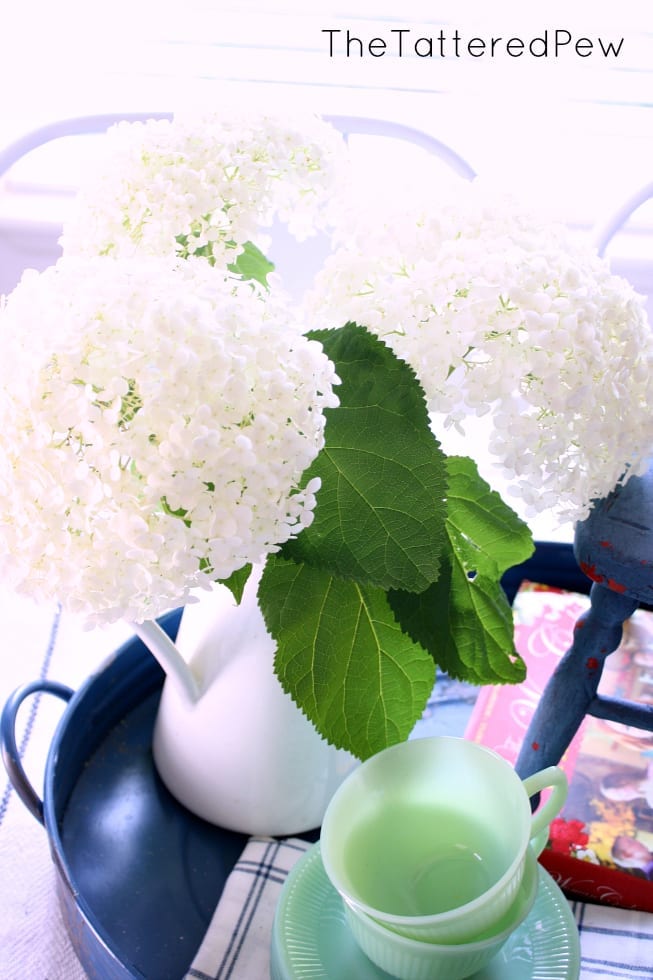
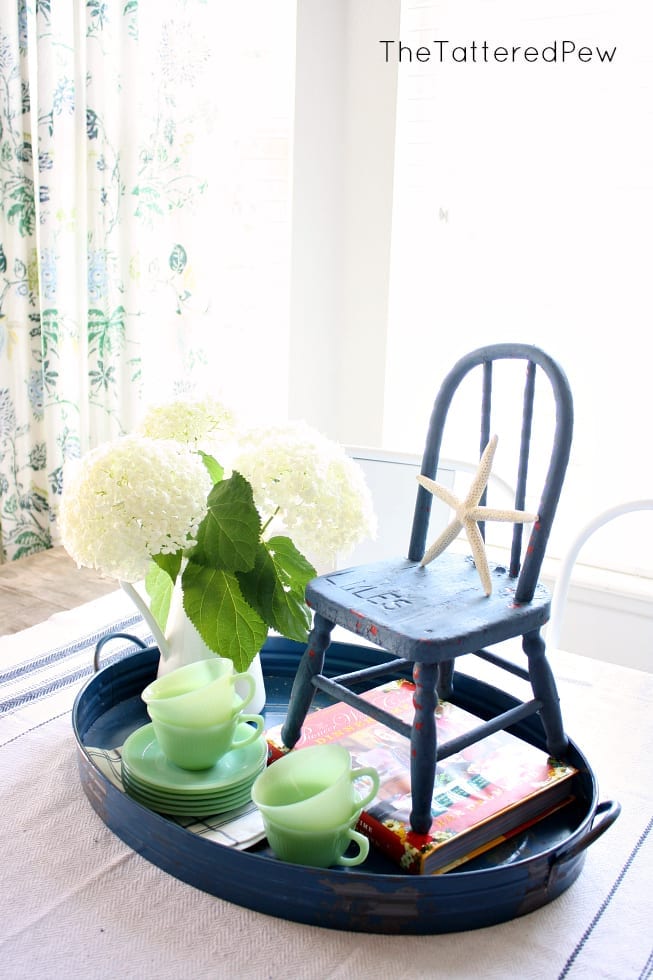
I am a total flower girl (remember my peonies post?) so of course I wanted to share some tips and tricks with you all that I recently learned on how to make your cut hydrangeas last longer!So read on for all of my tips and tricks for long lasting cut hydrangeas!
Hydrangea Tips and Tricks
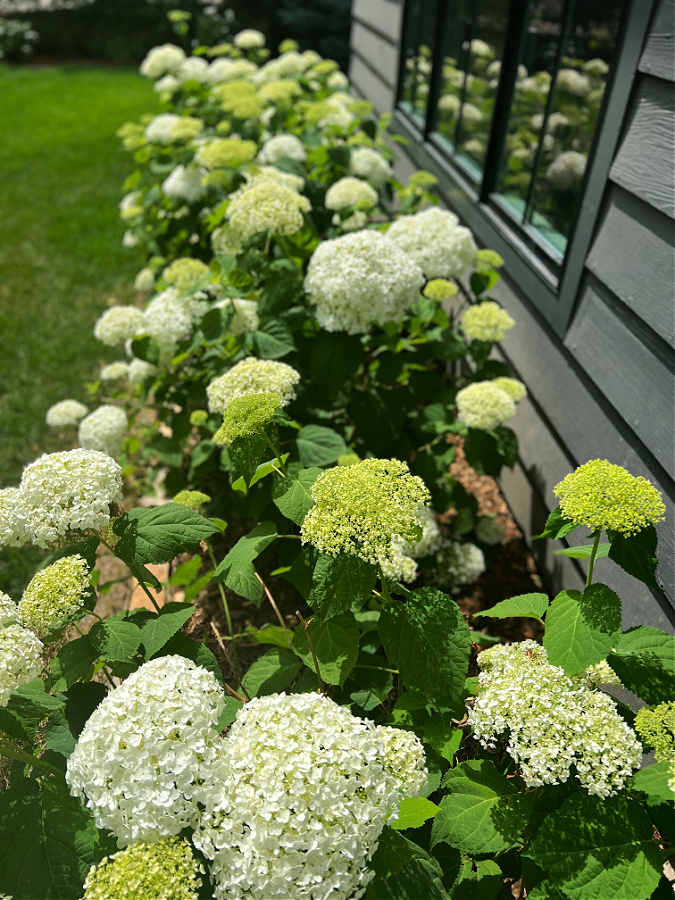
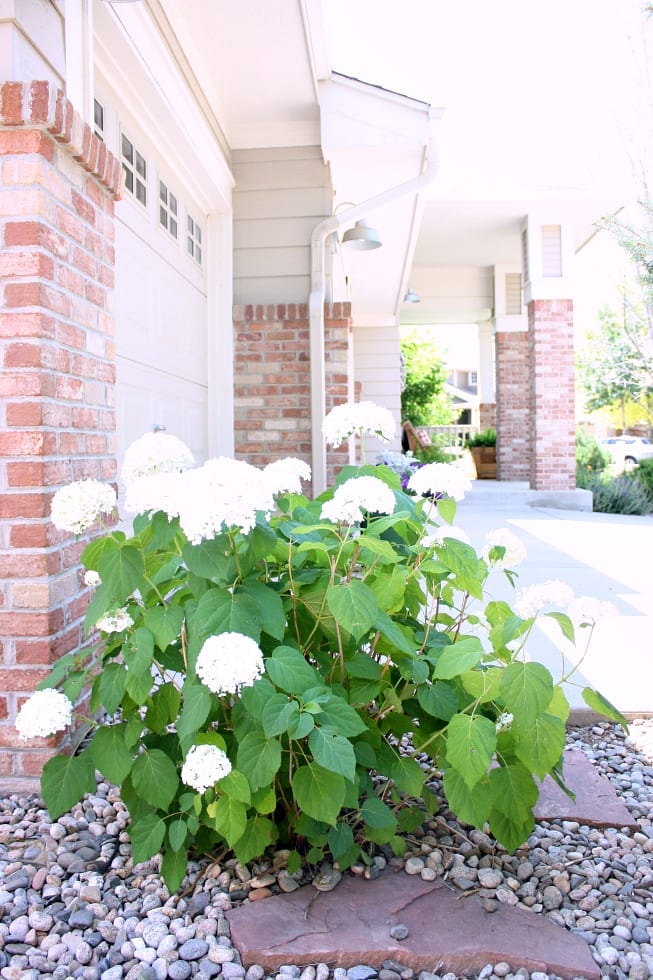
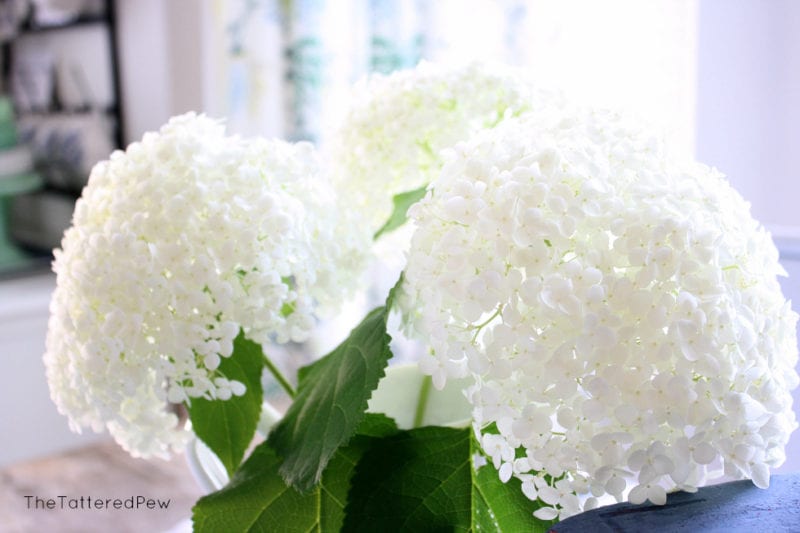
This past week as we returned home from our family vacation I instantly spotted my one glorious Annabelle hydrangea bush! I love hydrangeas almost as much as I love peonies, just ask my husband, every time we pass by some in town I have to say something about how beautiful they are!
Bless him for always agreeing with me! 😉
But since I only have one (an anniversary gift from my awesome parents) I tend to never want to cut the flowers and enjoy them in the house; plus whenever I do, they almost instantly wilt. I decided this needed to change and started researching ways to make hydrangeas last longer once they are cut!
UPDATE: I have since added three more Annabelle hydrangea bushes to our yard!
Second Update: We have moved and there are 4 gorgeous Annabelle hydrangea bushes under our front window!
My Disclaimer
First, I want to start off by letting you know that by no means am I an expert on this topic. I just wanted to share with you all what I have found that works for me, and hopefully it will work for you too!
My Tips and Tricks for Long Lasting Cut Hydrangeas
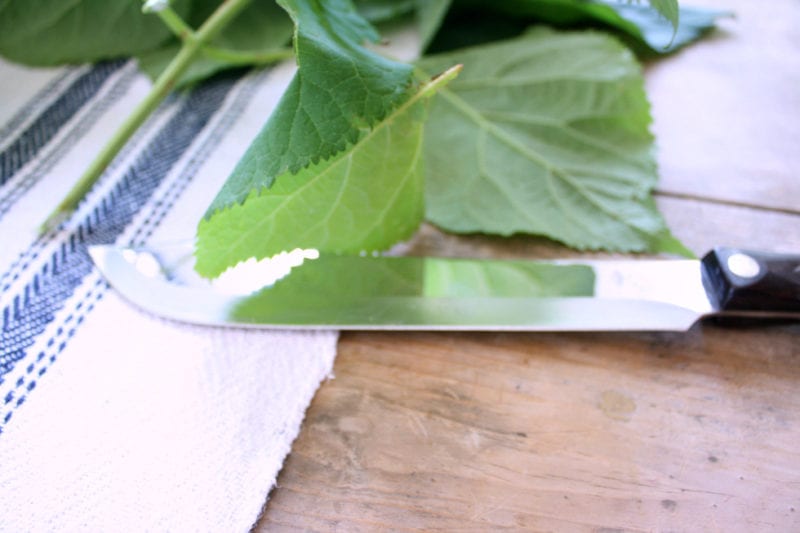
The first tip is that you should use a smooth (not serrated) knife to cut your hydrangeas from the bush. Make sure to cut the stems at a 45 degree angle. This step is important because when you cut straight across the stems (and especially with scissors) this pinches the stems closed and doesn’t allow water in. I also learned from some of my wonderful friends over on Instagram (Sarah and Amanda Marie) that they do better if you cut them early in the morning! Thanks ladies!
Water is Key!
When heading out to cut your stems (or perhaps buying them at the grocery store) it is critical that you immediately place the cut stems in water. These fragile flowers wilt very quickly. I usually head outside with a vase or bucket full of water so I can immediately drop them in!
Prepping the Stems
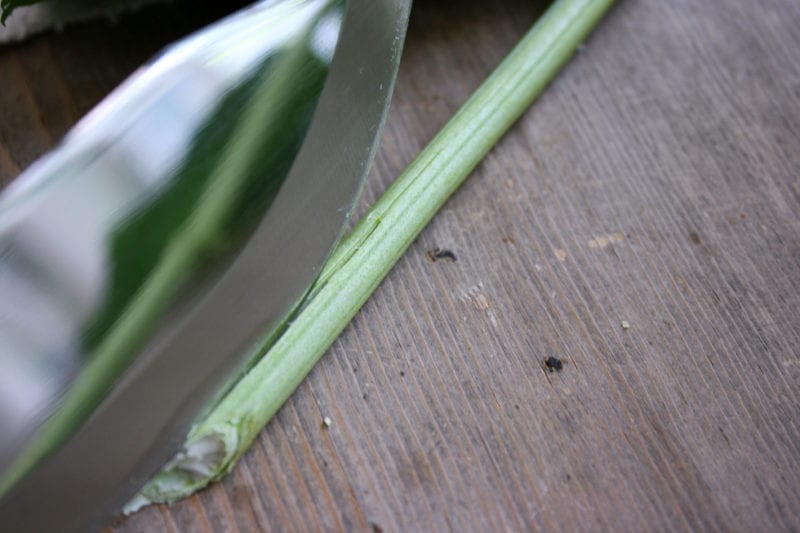
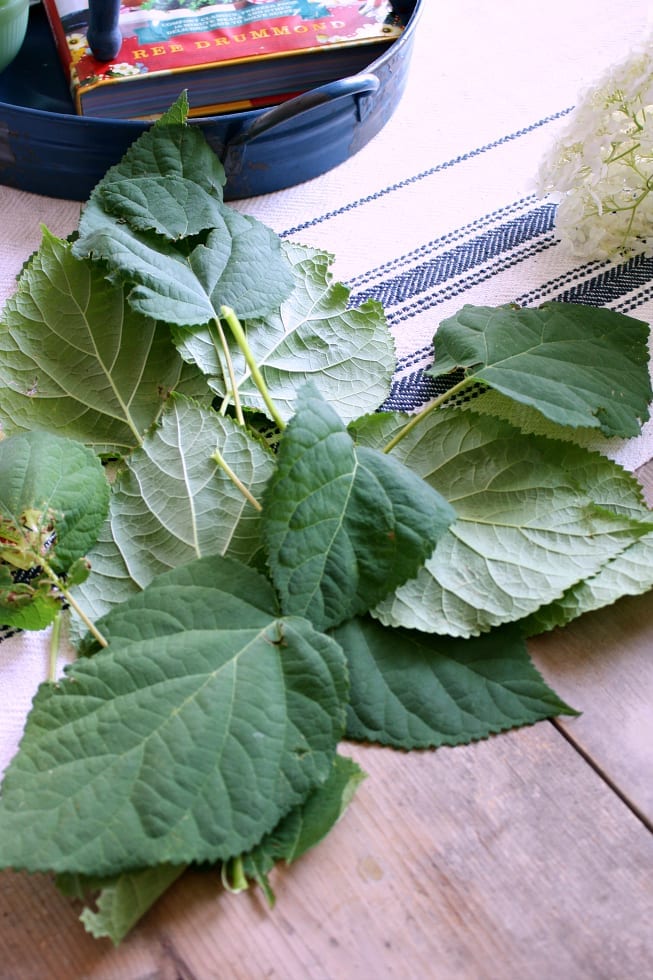
Once inside I tear off almost all of the large hydrangea leaves. I do leave a few because they add to the beauty but those lovely leaves are water suckers and will steal the water that the blooms need. I also use my knife to cut a 2-3 inch diagonal slit in each stem (see picture above) and this will allow the water to travel up the stems easier!
An Extra Step or Two
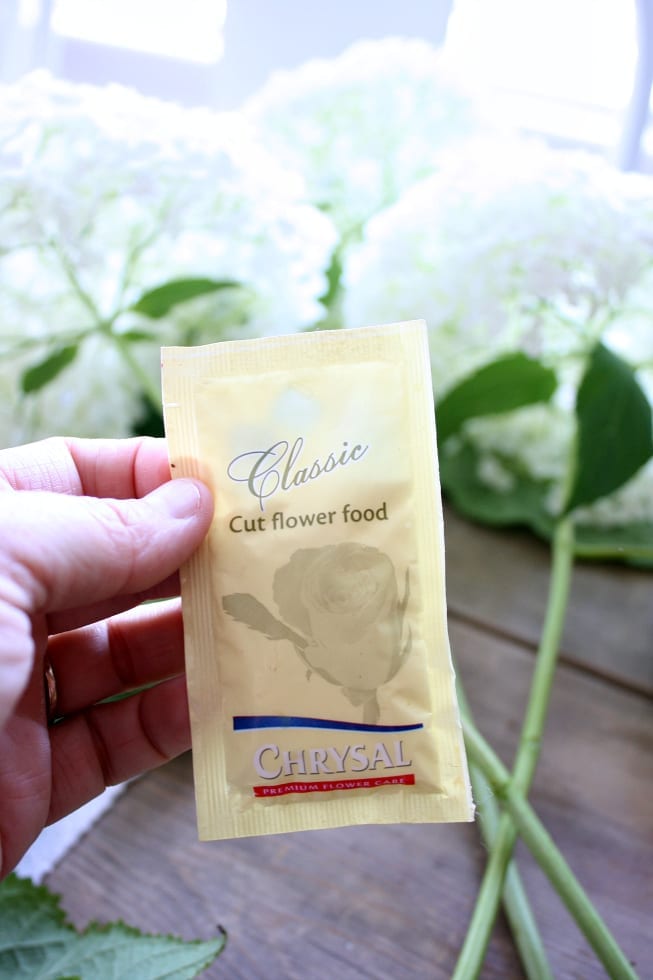
Because I love my hydrangeas and wanted to do everything possible I tried two more steps! Normally I would have just added the flower food packet to my vase and plopped those suckers in after cutting their stems so carefully, but I knew I couldn’t treat them like a normal flower!
Plus, I wanted them to live longer than a day!
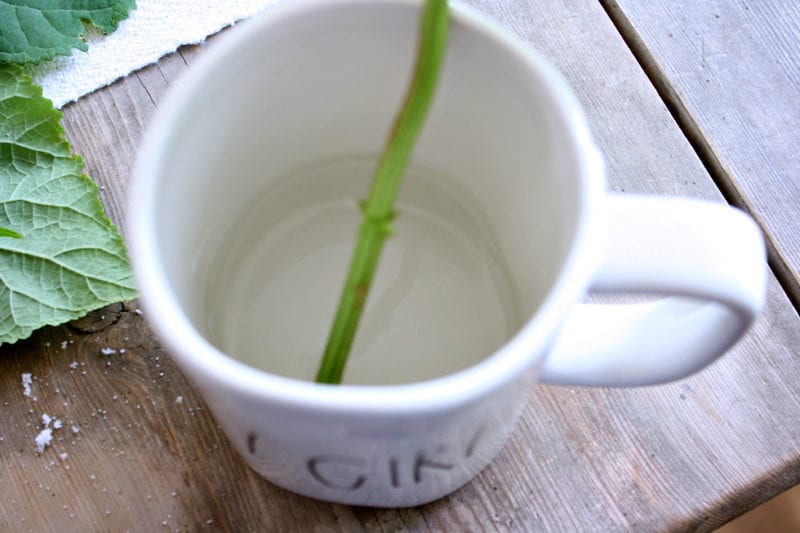
So, next I boiled some water and then dipped each stem in a mug of boiling water for 30 seconds. Apparently one of the reasons why hydrangeas don’t last very long once they are cut is because there is a sap that forms in their stems. This sap closes the stem off from water and then the flower dies from lack of water. So sad right?!
The boiled water clears out the sap!
NOTE: I have skipped the boiling water part and using just alum works as well too! So if you are low on time don’t worry about the boiling water!
Alum My Favorite Trick
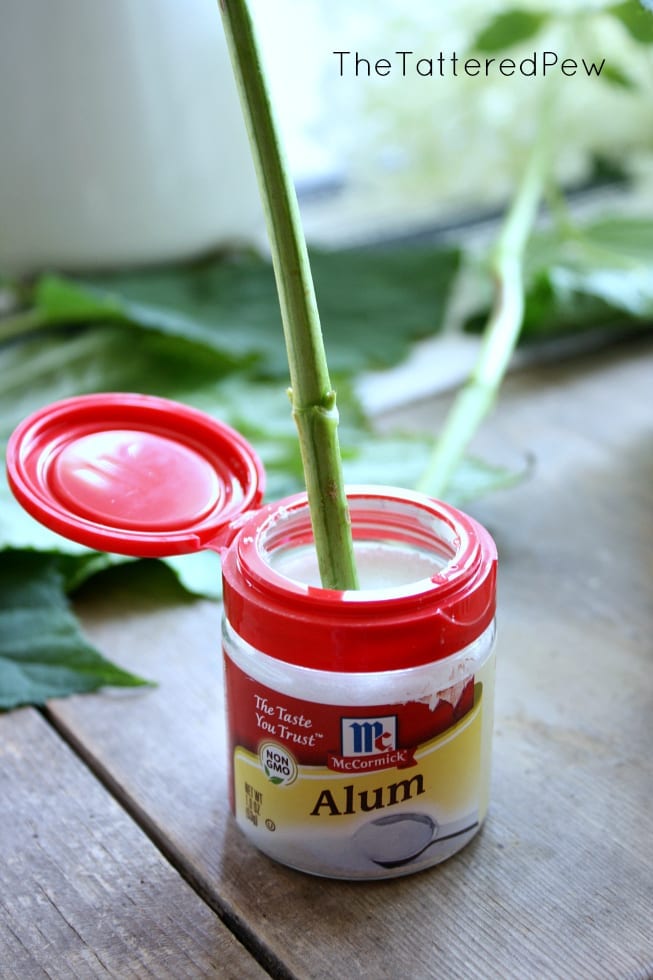
Then after each stem has sat in the boiled water you can dip the stem in Alum. This spice can be found on the spice aisle of you local grocery store.
I wish I knew what made the Alum work but I don’t. All I know is that it is supposed to keep that sticky sap from forming and from what I have seen so far it really works! If you know more about Alum leave me a comment below please.
Or if you know this works on other flowers I would love to know that as well!
Next Few Days
Over the next few days replace the water every other day, add new flower food packets and dip those lovely stems in Alum. If you start to notice one or more of your flowers wilting, repeat the steps above starting with cutting the stem again at a 45 degree angle and adding another diagonal slit. This method should help prolong these lovely blooms for several weeks!
Tips and Tricks for Long Lasting Cut Hydrangeas
I sure do appreciate you stopping by! I know this process may seem like a lot of work but honestly it took me all of 5 extra minutes to complete.
Not too bad, right?
I would love to hear from you! Do you love hydrangeas as much as I do? Have you tried this method or do you know of any other tips and tricks that work? Leave me a comment below! Also, I have a post all about how to dry your hydrangeas that you might want to check out too!
XOXO,


Such great tips Kelly! I have had the same problem so I’m excited to try these out! I’ve also noticed they last longer if I cut them early morning after being watered. Cutting them in the hot afternoon sun guarantees wilting.
Thank you Sarah! Yes I have heard that about cutting them in the morning…I might have to add that! Thanks for sharing!
I have not tried Alum but I will soon! Have fun at Haven!
THank you and I will for sure! have some if you need to borrow it!
Where do we purchase flower food packets?
You can actually pick them up for free at your local grocery store! Just ask in the floral department and usually they are really generous!
Great tips! I do love my Hydrangeas! I knew about the boiling water, but never heard of the alum, I will have to try that! Thank you!
Hi Leandra! Thank you for stopping by and I hope the Alum tip works for you!